
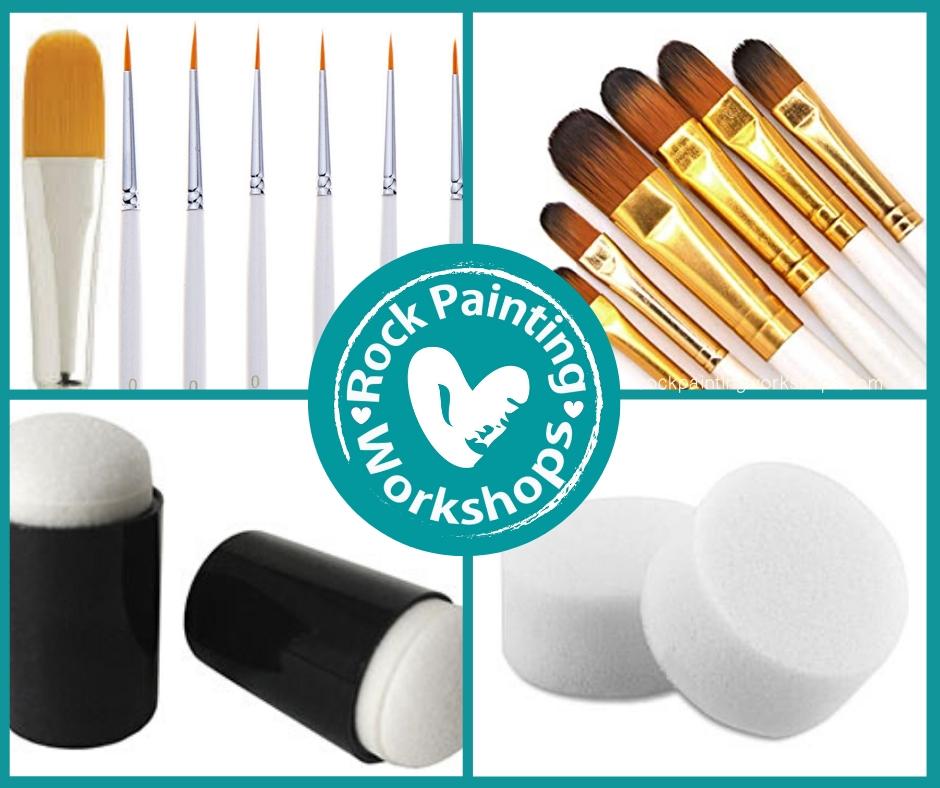
Do you use Acrylic paint to decorate your rocks? There are heaps of brush options out there that’s for sure. Which way do you go, what is the best brush to choose for the result you want ?
Are you looking to blend some great backgrounds? Sponges are an awesome tool for an easy way to create backgrounds – read on we have some great finds …
Let’s chat Brushes & Sponges …

")
")
")
")
Paintbrushes and rocks – which ones? As we recommend painting rocks with Acrylic paints we obviously recommend using brushes that suit the paint – Taklon brushes are the most cost effective. Here is some brief info on Brushes, it may help you understand why the brush you are using is not giving you the finish you desire.
")
Water Colour requires brushes that hold huge amounts of diluted colour – the brush is loaded with water colour paint and water and applied to the paper in very thin washes. Natural hair brushes are superior to synthetic hair brushes for liquid holding capacity. Squirrel & Sable are two popular bristle types for water colour. WATER COLOUR BRUSHES AVAILABLE HERE
Oil Paint requires when painting on a canvas, brushes that can move the oil paint against the grip of the fabric fibers. The classic brushes for oil painting are hog bristle brushes. If you use these stiff hog bristle brushes with acrylic paint they will leave streaks and ridges in your paints. These type brushes are not recommended for rock painting as it is rare to use oil paint on a rock.
HOG BRISTLE BRUSHES AVAILABLE HERE
Acrylic Paint synthetic brushes come in stiff and soft varieties that successfully mimic the feel of natural fibres. They cope well with acrylic polymer, are easy to clean, and don’t mind sitting in water. While they are durable they don’t hold their shape quite as well as natural-hair brushes, but the flip side is they usually cost less. Taklon is the common name for a synthetic fiber brush used with artist-quality paint – they have very smooth bristles allowing for smooth paint application and are perfect for detailed work. As we recomend using acryilic paint on rocks, this is the brush material type we recomend for rock painting. AVAILABLE HERE
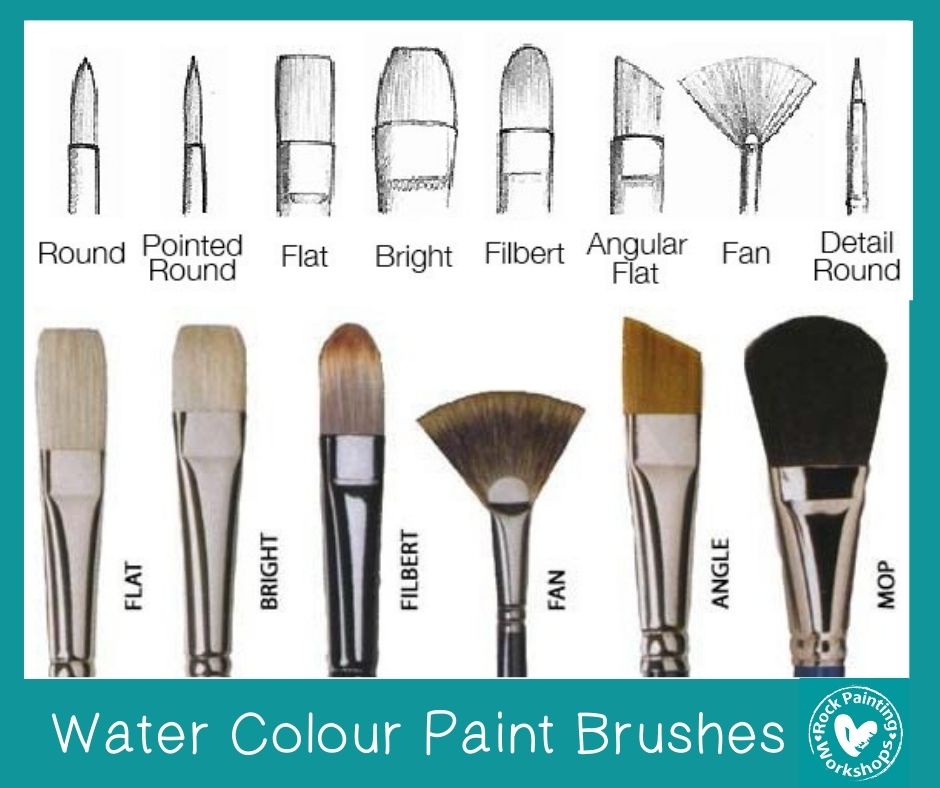
Brush Shapes
There are so many different shapes! Which one should I choose? Common question… Here are a few basic shapes we recommend.
Round Detail – Round, hairs shorter in length.
Flat – Square end, with medium to long hairs.
Round – Round or pointed tip.
Pointed Round – Round point tip, longer hairs
Filbert – Flat and oval-shaped with medium- long hairs.
Next question… what are these shapes used for ?
ROUND DETAIL BRUSH – AVAILABLE HERE
Good for: Fine details, short strokes, lines and retouching. This is the brush that Anne uses in her rock shading tutorials in a size 0.
FLAT BRUSH – AVAILABLE HERE
Good for: Bold strokes, washes, filling wide spaces, fine lines, straight edges and stripes. Use long hair flat brushes for sealing.
ROUND BRUSH – AVAILABLE HERE
Good for: Outlining, detailed work, washes, filling in small areas. A round brush can create thin to thick lines – thin at the tip using a light pressure, and it can become wider the more pressure you apply.
POINTED ROUND BRUSH – AVAILABLE HERE
Good for: Outlining, detailed work, it has has long hairs which are perfect for long thin lines – thin at the tip using a light pressure, and it can become wider the more pressure you apply.
FILBERT BRUSH – AVAILABLE HERE
Good for: Blending, soft rounded edges like flower petals. This brush is a combination of round and square – rounds as they can be used for detail and and flat as they can cover more space than round. The filbert is the best shape to paint with in general.
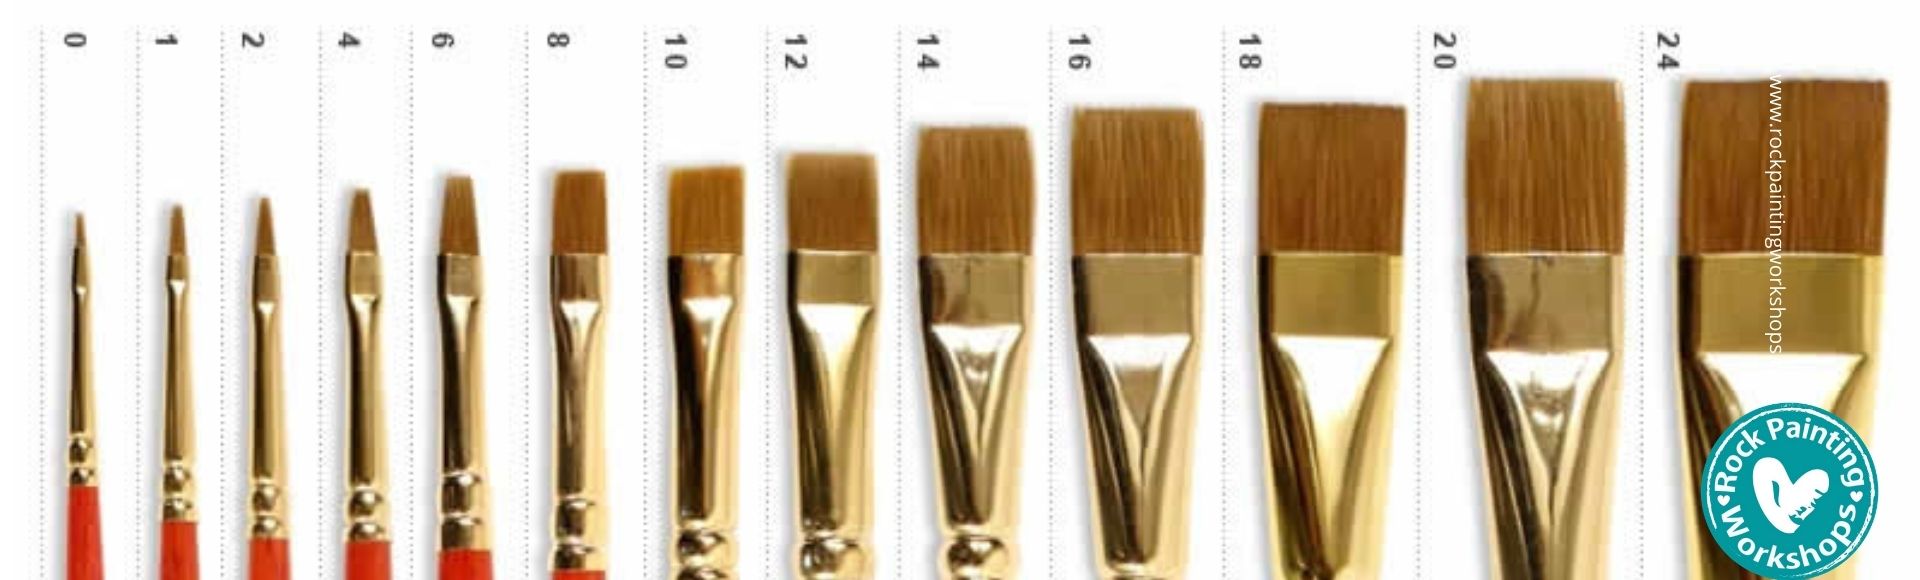
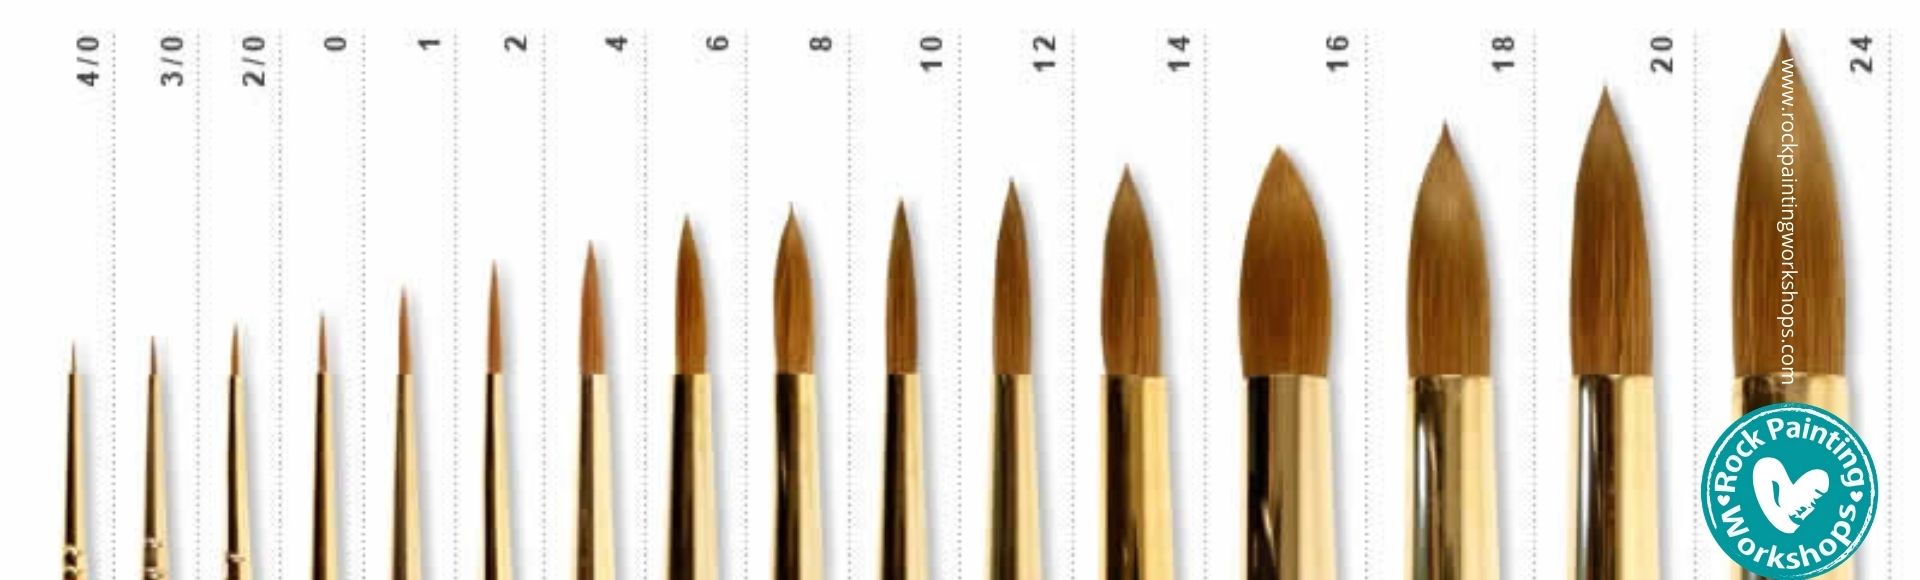
– Sizes of Paintbrushes –
Ok I am not going to lie – between brands the numbers are not exactly the same in sizes – but in the smaller numbers they are close ! When you order a new paint brush, note that a brush’s width doesn’t directly correspond to the width of the paint stroke that the brush makes. The width of that stroke varies according to
~ the amount of pressure you use
~ the angle at which you hold your brush
~ the medium you use
~ the spring of the brush’s bristles.
The size of a paint brush is printed on the handle of your brush. The smallest brushes start at 000, then proceed to 1, 2, and on up to 24 or even larger. The higher the number, the bigger or wider the brush; the more zeros, the smaller the brush.
Most rock painters are painting rocks to hide in their community and on average are painting on average rock sizes of between – 50 – 90mm or 2-4 inches. For these rock sizes have a look at grabbing –
Taklon Brushes
10 or 12 Flat Brush for base coats or sealing – Available Here
Filbert Brush in the smaller sizes, try 2 & 6 – Available Here
Fine Detail brush in 0 or 00 – Available Here
4 & 8 round if you like florals, leaves etc – Available Here
SPONGES
Sponges are a great way to create base coats or blended backgrounds on rocks. Depending on how you use them will give you different outcomes, check out our technique tutorials to see different ideas. Dab them sparingly to create foliage on trees. They are fabulous for blending colours together or creating a nice smooth even layer.
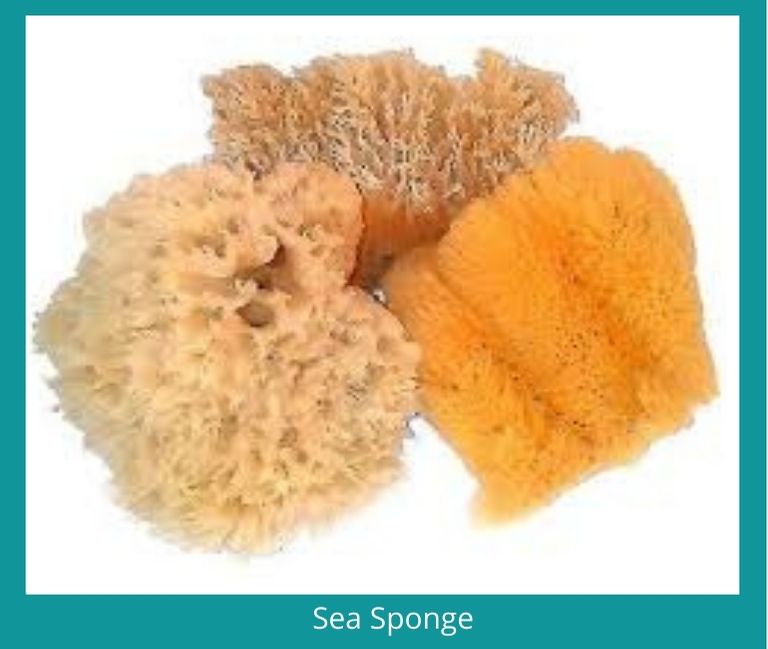
Natural Sea Sponge – Available HERE
The sea sponge is a natural sponge with a fine pore texture. They are highly absorbent and are great with watercolour washes. They come in a variety of sizes and are easy to cut to get the size you like. To achieve texture on your colour you can use them on wet paint to lift colour. They hold more liquid than foam sponges.
Dampen the whole sea sponge in a little water, squeezing out any excess water. Dip in some paint, dab off excess on a plate then sponge the rock . Rinse out new sponges thoroughly using clean water. They hold there shape while drying .
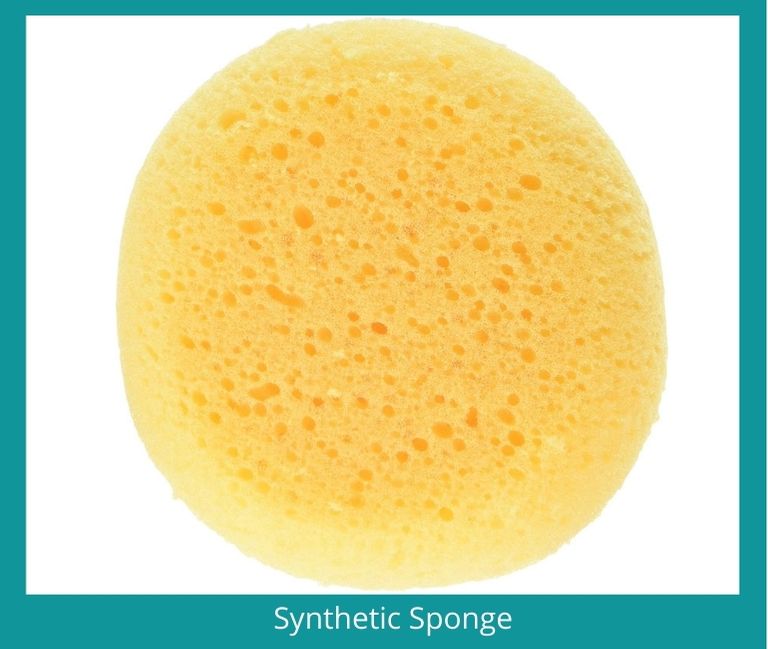
Foam Sponges – Available HERE
These yellow round type sponges are synthetic and approximately 1 inch thick. They are absorbent and soft so it is easy to achieve a smooth finish with them.
Like the sea sponges they can be used in two ways, press them into wet paint on your rock and it will remove some paint leaving a texture. For a smooth finish base, dampen the sponge, squeeze off excess water, dip in some paint and dab a few times on a plate to remove excess paint, then create your even finish on the rock.
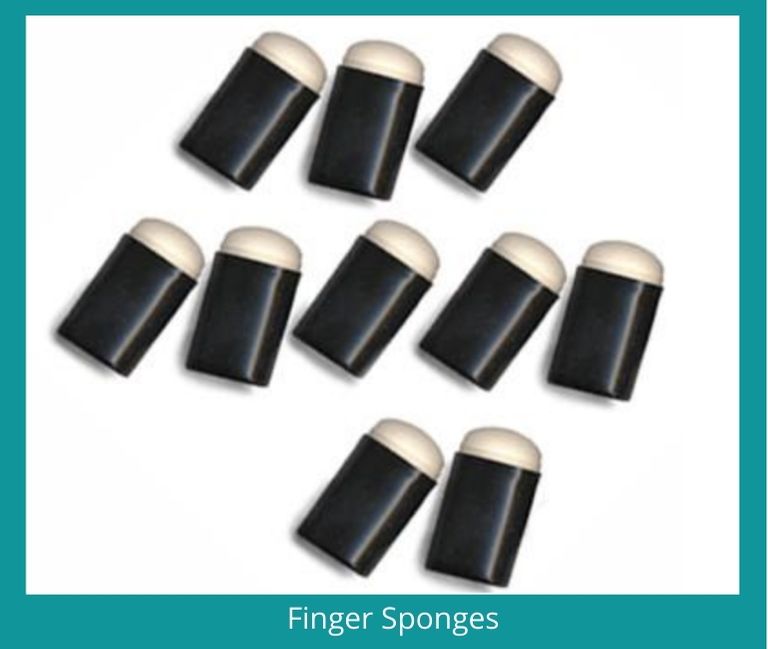
Finger sponges – Available HERE These are latex pouncer type sponges. The fit perfectly on your finger so they are easy to manage. These are great for using on the hard surface of a rock you can just dab paint on a thin layer at a time until your desired colour is achieved.
Pop some paint on a plate, dip the finger sponge in the paint. Dab a few times on a plate to get rid of the excess blob of paint. Then sponge your rock as desired.

Paintbrush Technique Tutorials come try them
CLICK HERE
Sponge Technique Tutorials come try them
CLICK HERE
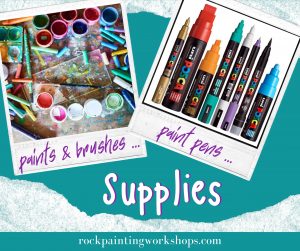


Our Supplies page is HERE to read up on everything you need to paint Rocks.
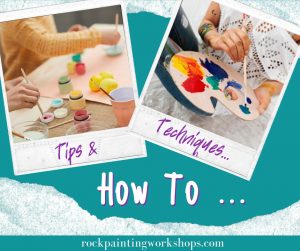
Learn heaps of different techniques on how to paint rocks – Right HERE
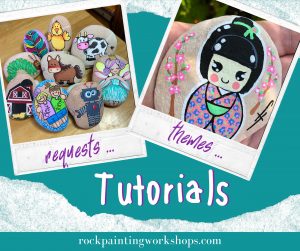
We are adding new tutorials all the time CLICK HERE for heaps of new ideas
