")
")
Gorgeous Backgrounds for your rocks without creating big thick layers. That is the trick to successful Rock Painting – making sure you do not have too many layers.
The way we create our backgrounds is to always use Acrylic Paint or Acrylic Paint Pens and keep the layers thin.
And it is no secret look below to see how we create our backgrounds they are so easy to achieve.
Let’s chat backgrounds on rocks ….

")


This back ground was created with Posca 3m tip – acrylic paint pens. Other acrylic paint pens will work and so will acrylic paint. Dip your pen in to clean water – have a small cup of water by your side. When the pen is drippy, scribble on your rock , it will be quite water heavy . You need to leave it undisturbed to dry .the water evaporates and translucent versions of the paint remains .
Keep swapping out your colours. If you are using acrylic paint, pop a touch of paint on your palette and water it down, use your brush to scoop up the watered down colour and place on your rock.
I used Posca Colours – (AVAILABLE HERE) For the Toucan Tutorial – CLICK HERE
Kharki
Green
Light green
Yellow

As I added the Narwhal on top of a rainbow background it was important to keep he background as thin as possible yet remain bright to keep the fun look. Click on the video to the side here to learn how I achieved the rainbow look. PAINT PENS AVAILABLE HERE
The full Narwhal tutorial CLICK HERE


it gives a great foundation to layer up your rock. Starting with the background first can make adding the finer details much easier. Click on the photos to see the full tutorial.
You can put all your colourful effort into creating the background and add a simple black pen silhouette on top. Click on the pictures to take you to these tutorials.


")
~ Blending
~ Shading
~ Gradient Effects
~ Layering
~ Colour Mixing
Learn all these techniques with Posca pens CLICK HERE


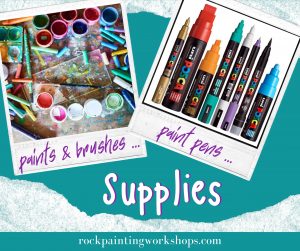
Our Supplies page is HERE to read up on everything you need to paint Rocks.
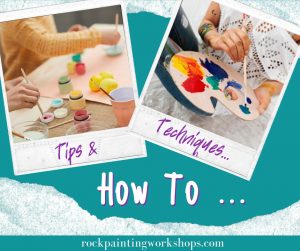
Learn heaps of different techniques on how to paint rocks – Right HERE
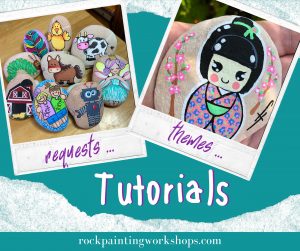
We are adding new tutorials all the time CLICK HERE for heaps of new ideas