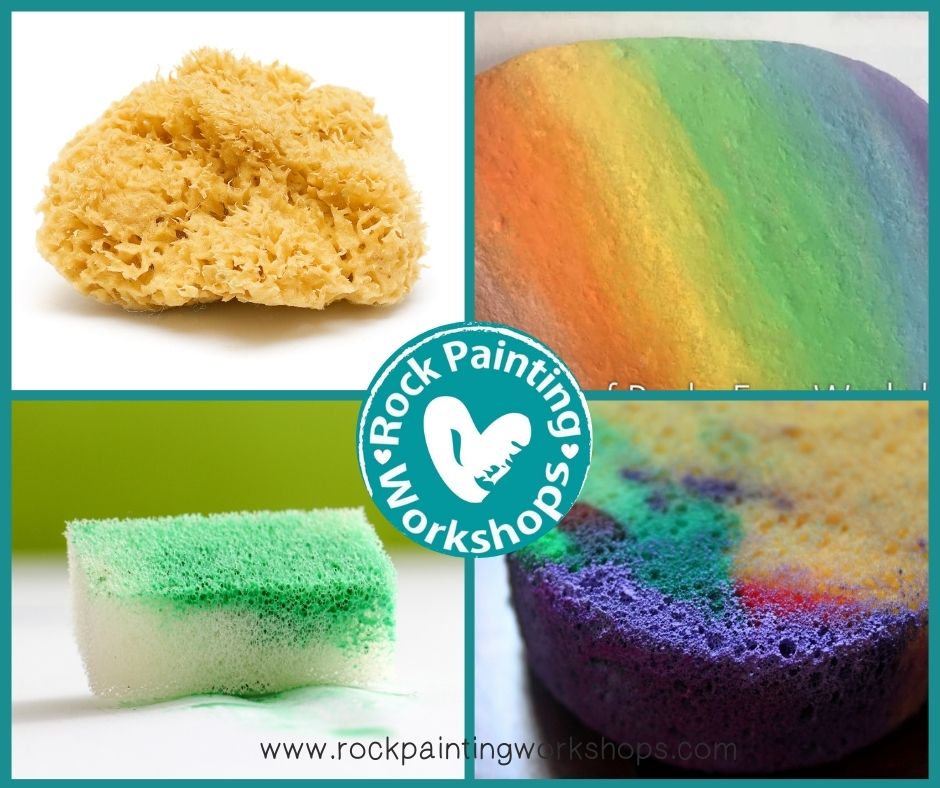
Rock painting is not limited to paintbrushes and paint pens. Using sponges are great for painting on rocks for a few different reasons.
They allow you to paint in hard-to-reach crevices. The sponge dabbing technique adds depth to your rock, creating textured effects. These effects can work as a background for your rock.
You can also use the sponge to give graduation and blending to your rock. A sponge can give you a uniform smooth background to your rock .
Lets chat sponges on rocks


When you paint on your rock with a sponge, most times you will want to use a wet sponge.
Dip the entire sponge in water so it soaks through evenly. Now squeeze all the excess water out. This allows all of your sponge to be slightly damp.
A dry sponge will give you harsh solid lines. You want your paint to blend when you use sponges. Latex sponges work ok without being wet – like the makeup type. Like the ones you see HERE
One step rainbow . Take your damp sponge and load up paint on to your sponge in stripes of colour.
Take the sponge and smoosh it across the rock leaving a rainbow look.
Do you want to see this method in action? Check out the video HERE. Pop on to our FB group and share your one step rainbow.
JOIN OUR FB GROUP
The definition for Ombre the French word is “color that is blended or graduated in tone. So… let’s make an Ombre rock ! Choose three colours, each colour lighter than the previous one.
Step 3 – Look on your rock and decide where you want the graduation to be. This will be called the waistband. Start dabbing your sponge back and forth across your rock . Try to keep the colours within their row.
Step 1 – Sponge an even layer of paint in the lightest colour that you chose.
Check out the type of sponge we use HERE
Step 4 – Take the lightest colour and keep dabbing on the light side of the rock that still need filling in .
Step 2 – Load your sponge in the three colours. Dab the sponge onto your palette to get rid of the excess colour. You want a light blended look left on your sponge.
Do you want to see this method in action? Check out the video HERE. Pop on to our FB group and share your ombre rock.
JOIN OUR FB GROUP
To add some visual texture to your rock you can sponge colour on to your rock. For this look dab the colour on to the rock but do not blend- keep the sponged look. This method is more easily achieved using a sponge that has more holes in it or a natural sponge.
You can grab a synthetic sponge for this technique HERE
You can get natural sea sponges if you prefer them and we get our packs of natural sea sponges HERE
Did you want to try this Northern Lights TUTORIAL and some blending with a sponge?
CLICK HERE TO TRY IT
Drawing on rocks was easy right?
Lets move on and learn how to fully paint your rock.
Learn step 2 – Colour on Rocks
The lesson is AVAILABLE HERE
Are you looking for some great ideas to paint on your rocks? We love sharing new tutorials keep up to date with all our new ones on
Join our FACEBOOK GROUP
Find TUTORIALS HERE
we load more each day.
Pop on to this page to learn some techniques, hints & tips about Paintbrushes.
Find the TUTORIAL HERE

Our Supplies page is HERE to read up on everything you need to paint Rocks.
Learn heaps of different techniques on how to paint rocks – Right HERE
We are adding new tutorials all the time CLICK HERE for heaps of new ideas


