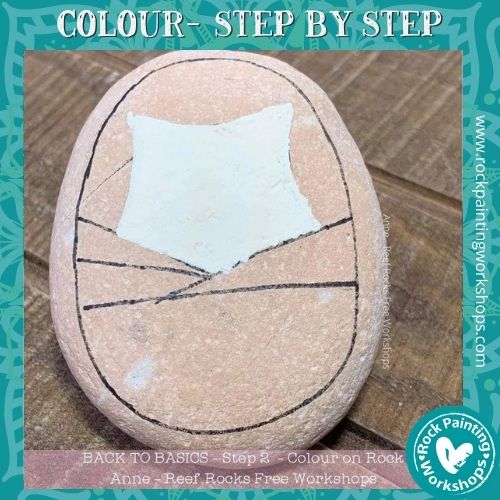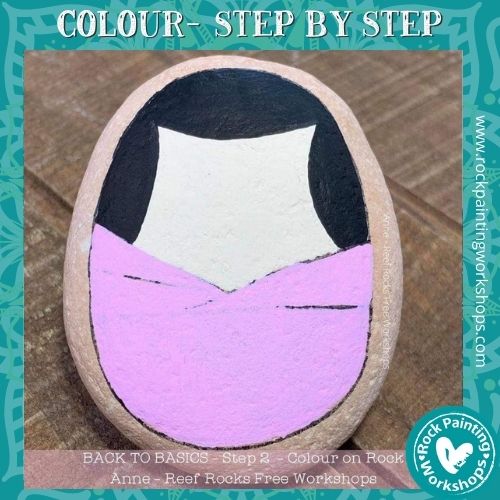
It is time to add the colour to your rock and on our rocks we keep that as simple as possible.
The more unwanted layers on your rock it can lead to cracking and the colour peeling off.
Painting light even layers with your colour is key. It can be acrylic paint or acrylic paint pens. Your outcome will be the best when you keep it simple.
Check out the tips we have here for you when painting on your rocks.
Let’s chat painting
on your Rocks …


SUPPLIES
Posca Paint Pens –
Click here – Australia
USA & other countries
Tooli-Art Paint Pens–
Click here – Australia
USA & other countries
Artistro Paint Pens –
Click here – Australia
USA & other countries
Acrylic Paint –
Click here – Australia
USA & other countries
You do not need all these supplies – choose one, these are just the supplies we have extensively tested and know work. We have been using them for 1000’s of rocks.
If they are not working for you please post a comment on our Facebook page where we can help you troubleshoot.
JOIN THE GROUP HERE
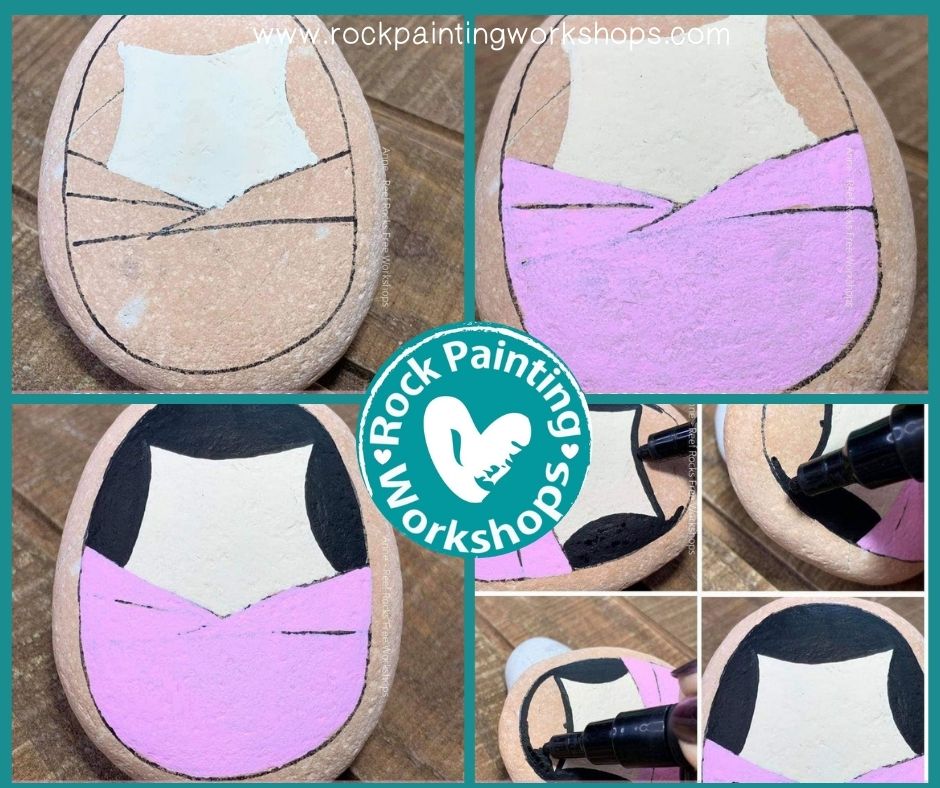
Paint a thin layer of colour on your rock.
You can start in the middle area and paint out this helps you not to smudge your paint. Paint in the middle then paint around the rock, turning the rock as you go. Leaning over the rock creates smudges.
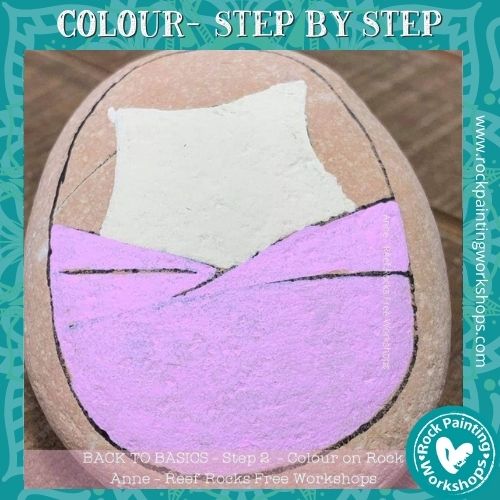
This layer of pink is the first layer – notice it is still translucent. This is what you want – one thin layer , now let this touch dry – a thin layer only takes a minute or so . Do not try to paint the end result at once – take it easy, paint one layer at a time.
The pink in the picture is the second thin layer see how it has now become opaque .
You can see my black lines as I purposefully don’t cover them up allowing me to always see my outline for later . This is how to get a nice coverage. Usually 2 layers is enough.
A few handy tips…
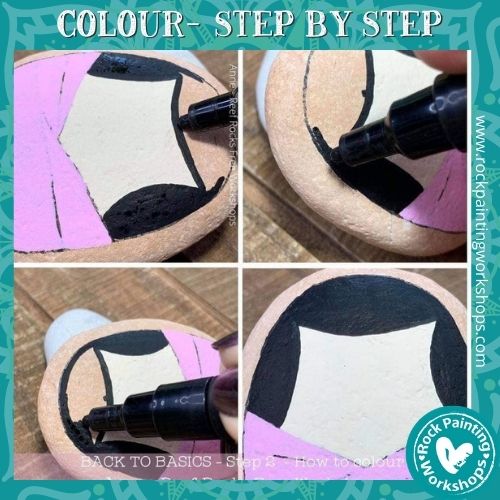
You want to turn your rock around as you colour always keeping the open space in your sight.
I am right handed so the pen slants to the right (see pic 1) So you will draw the line in the space that you see – on the left hand side.
Now you can turn your rock and repeat drawing in the line on the other side. Now you want to colour in your area.
Once you have coloured in the main areas you may want to do some shading – this helps give depth to the area.
The lesson is AVAILABLE HERE
Are you have trouble drawing an image on your rock? Learn this fantastic method to help you.
All you need is an original picture and this tutorial will teach you using the grid method how to draw it on your rock.
Find the TUTORIAL HERE
Learn the method of image transfer. Choose an image the size of your rock or a size that will fit on your rock.
Use our transfer method & you can have the image on your rock in minutes.
Find the TUTORIAL HERE

Our Supplies page is HERE to read up on everything you need to paint Rocks.
Learn heaps of different techniques on how to paint rocks – Right HERE
We are adding new tutorials all the time CLICK HERE for heaps of new ideas

