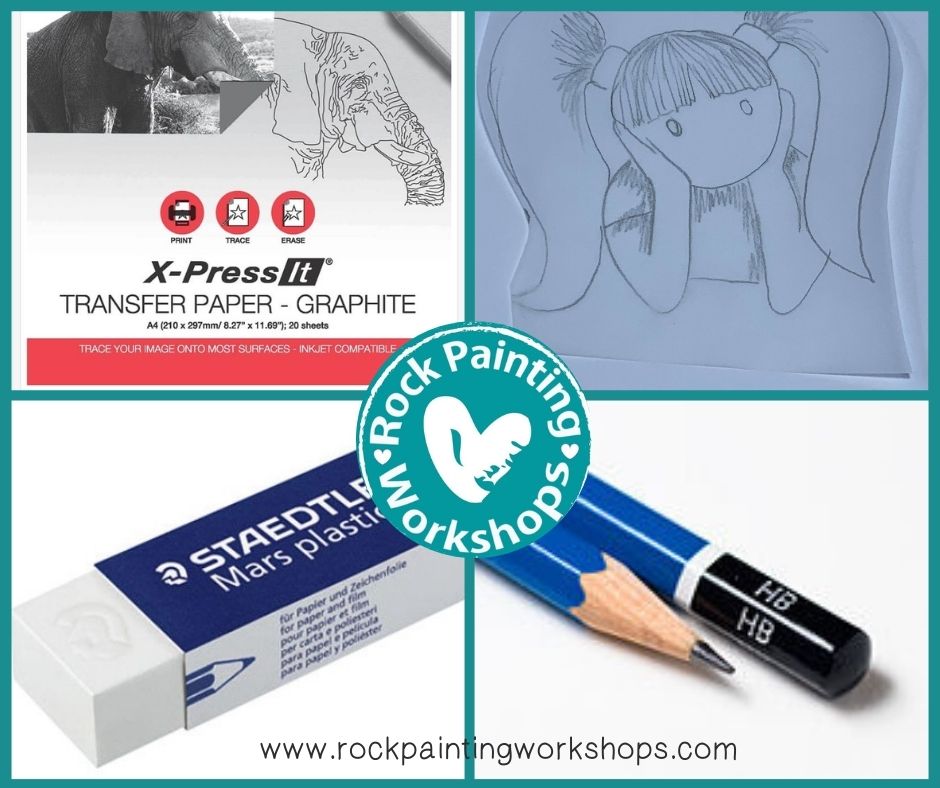
The Transfer method is how to trace an exact replica of your image on to a rock. You will need the following
SUPPLIES
– Rock
– Image
– Pencil
Click here – Australia
USA & other countries
– Eraser
Click here – Australia
USA & other countries
– Graphite Transfer Paper
Click here – Australia
USA & other countries
– Tracing Paper
– 0.7m Fineliner Acrylic Paint Pen Available Here
Lets chat Transfer Method on rocks


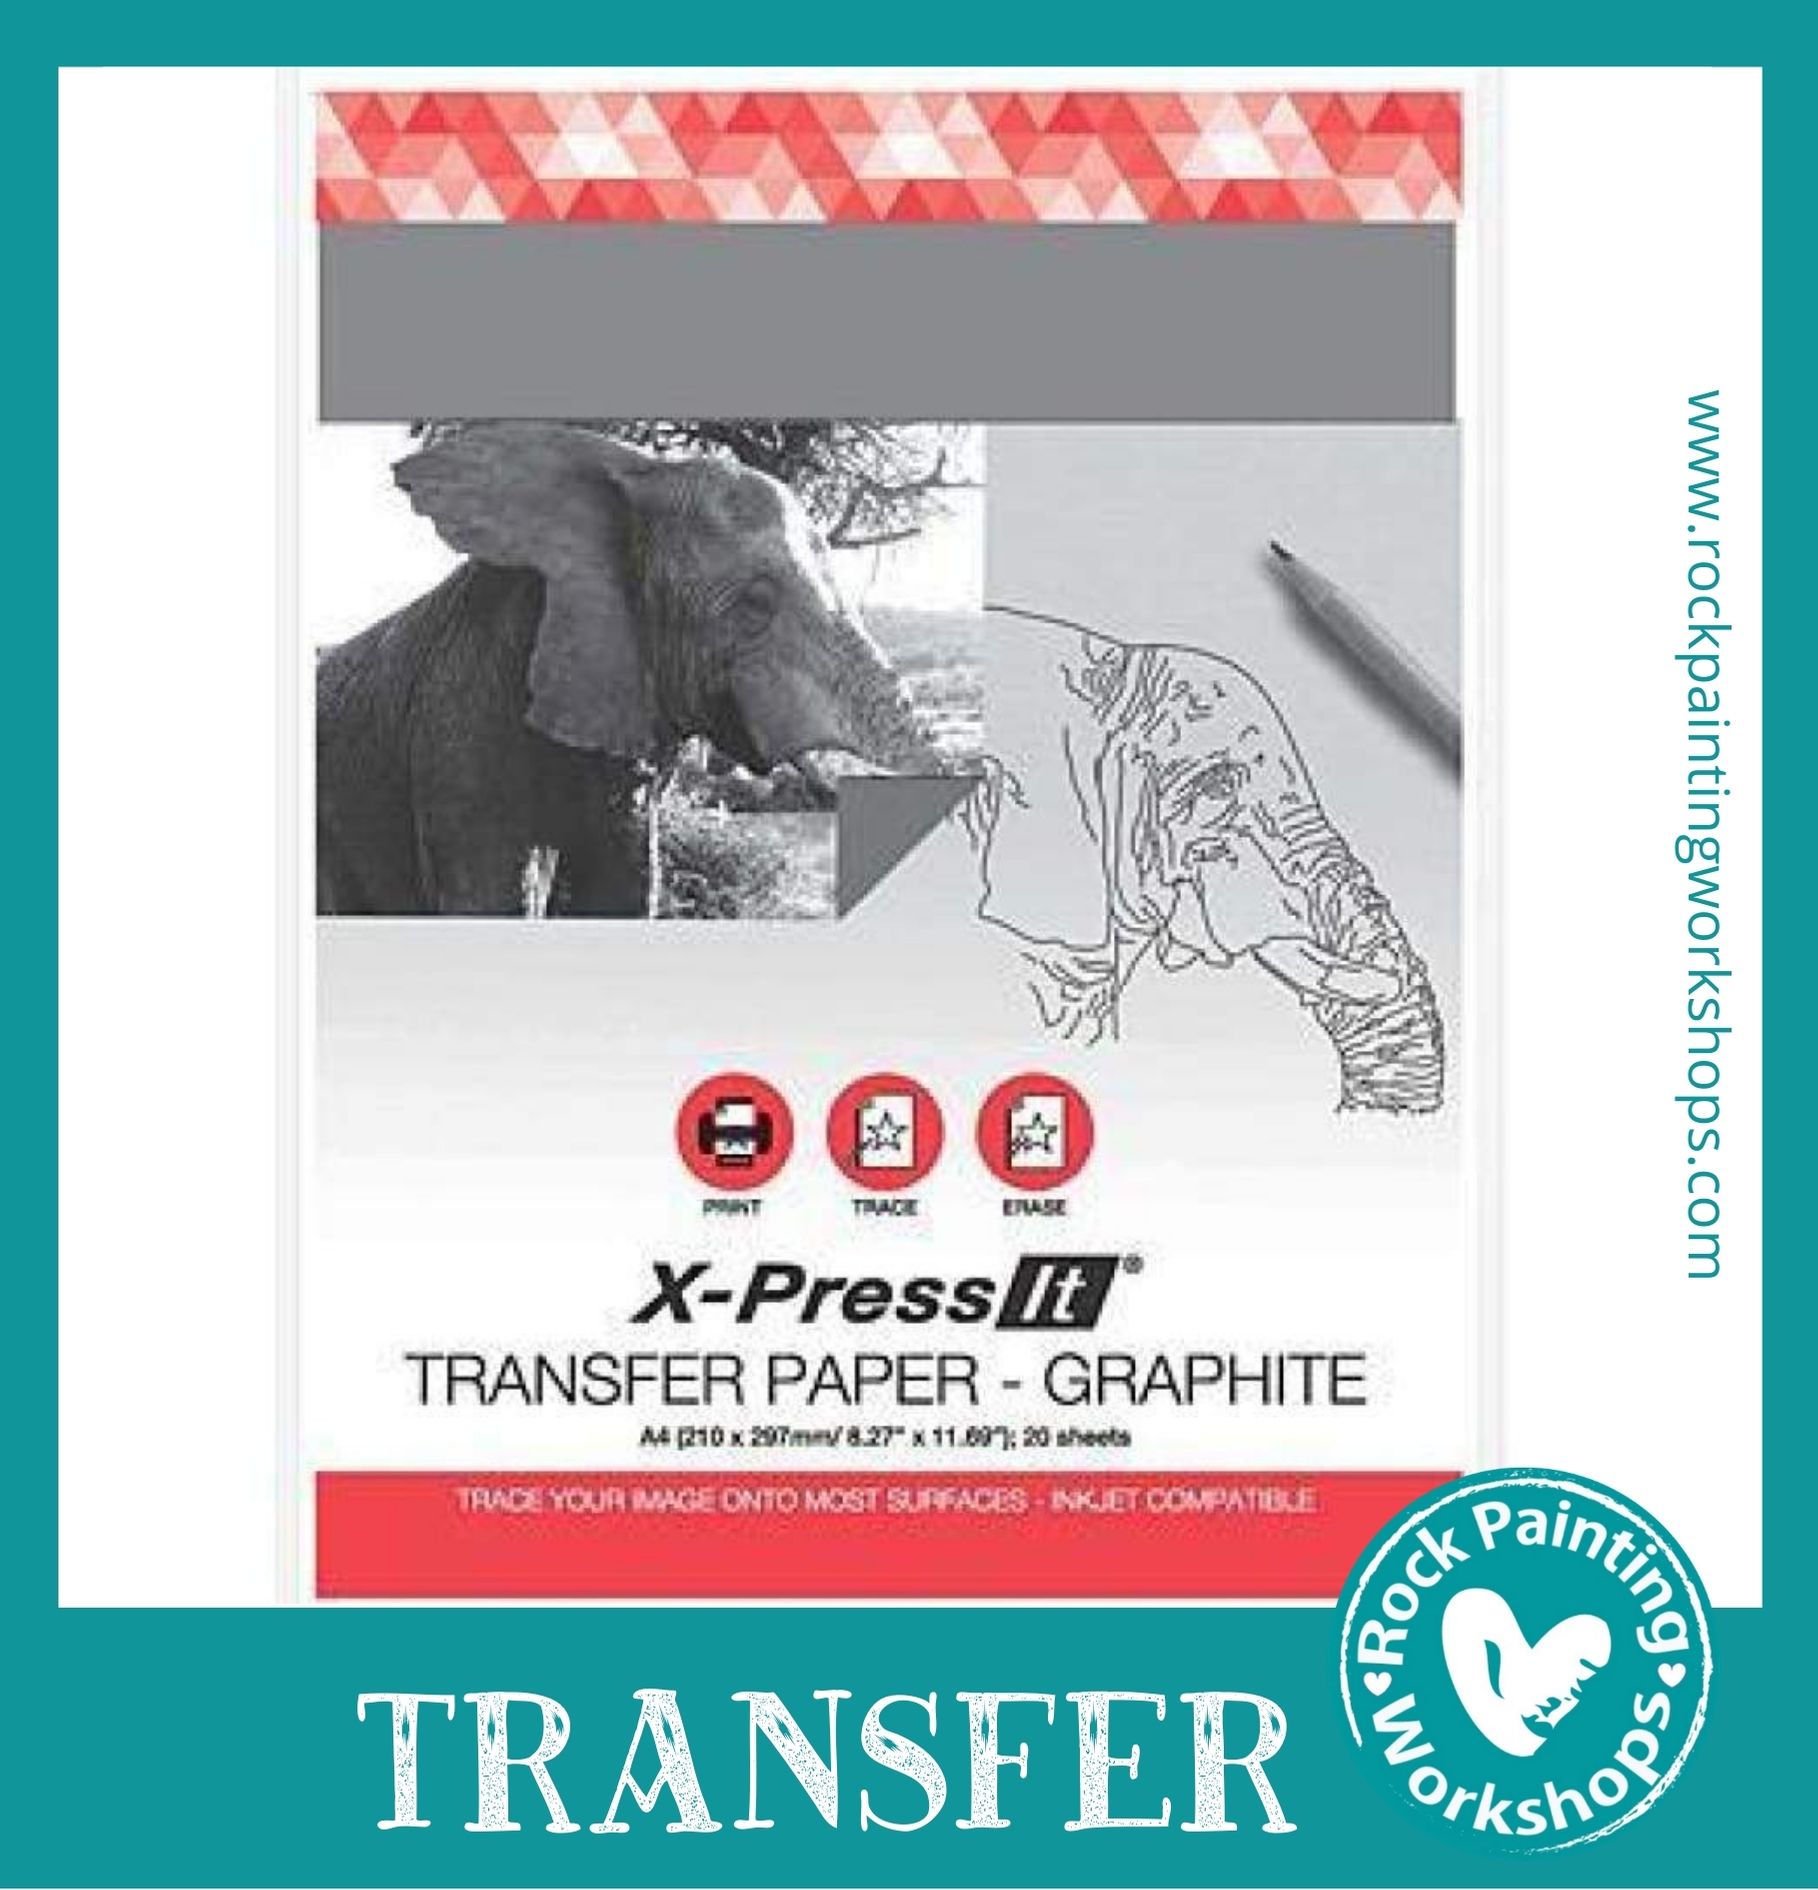
Let’s show you how to trace an image and transfer it to your rock using Graphite paper.
This paper can also go straight into your printer. You print the images on one side of the paper and on the other side is a layer of graphite.
You can transfer images onto a variety of surfaces and erase any excess lines with a standard eraser. It’s acid-free, wax free and will not smudge for high quality results.
- The graphite colour is ideal for use on lighter rocks but you can get a white version transfer paper to use on darker rocks.
Go here to buy your paper
Click here – Australia
USA & other countries
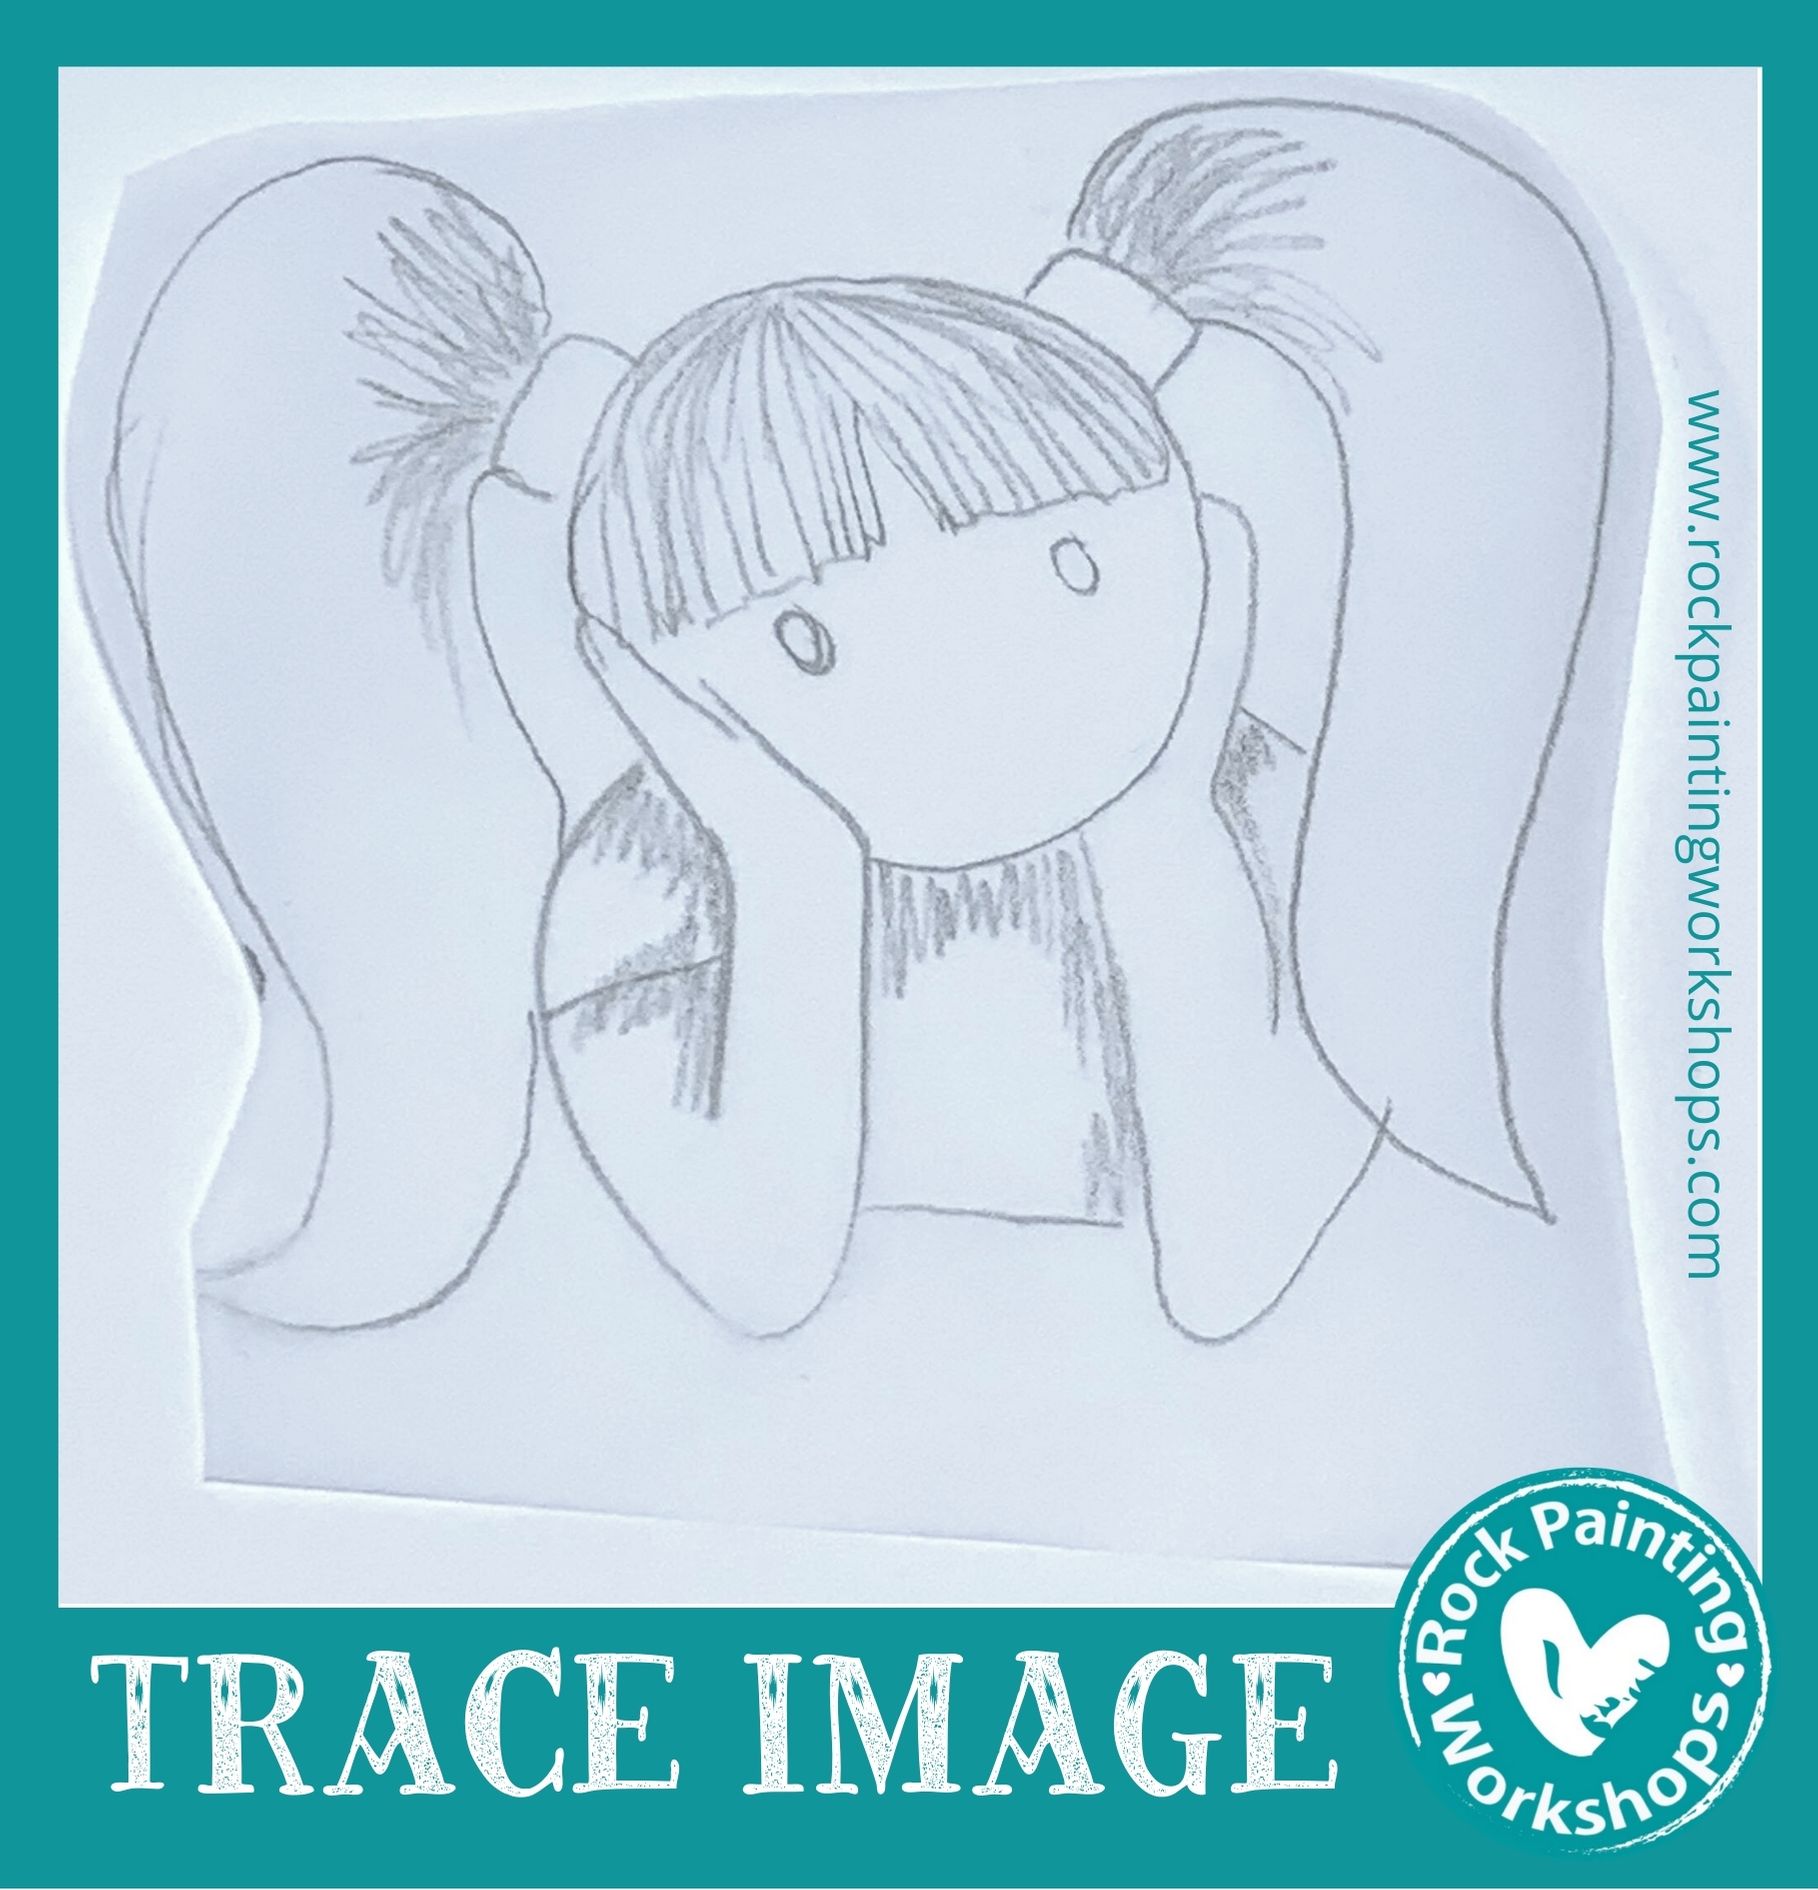
Take your standard Tracing Paper and trace the image that you want to see on your rock .
You can trace anything, an image from a book, I had a cute image from a tshirt that I managed to trace.
Now move to your graphite paper and place this on your rock, graphite side down on the rock.
You can see in the photo that the graphite side is a dark grey colour.
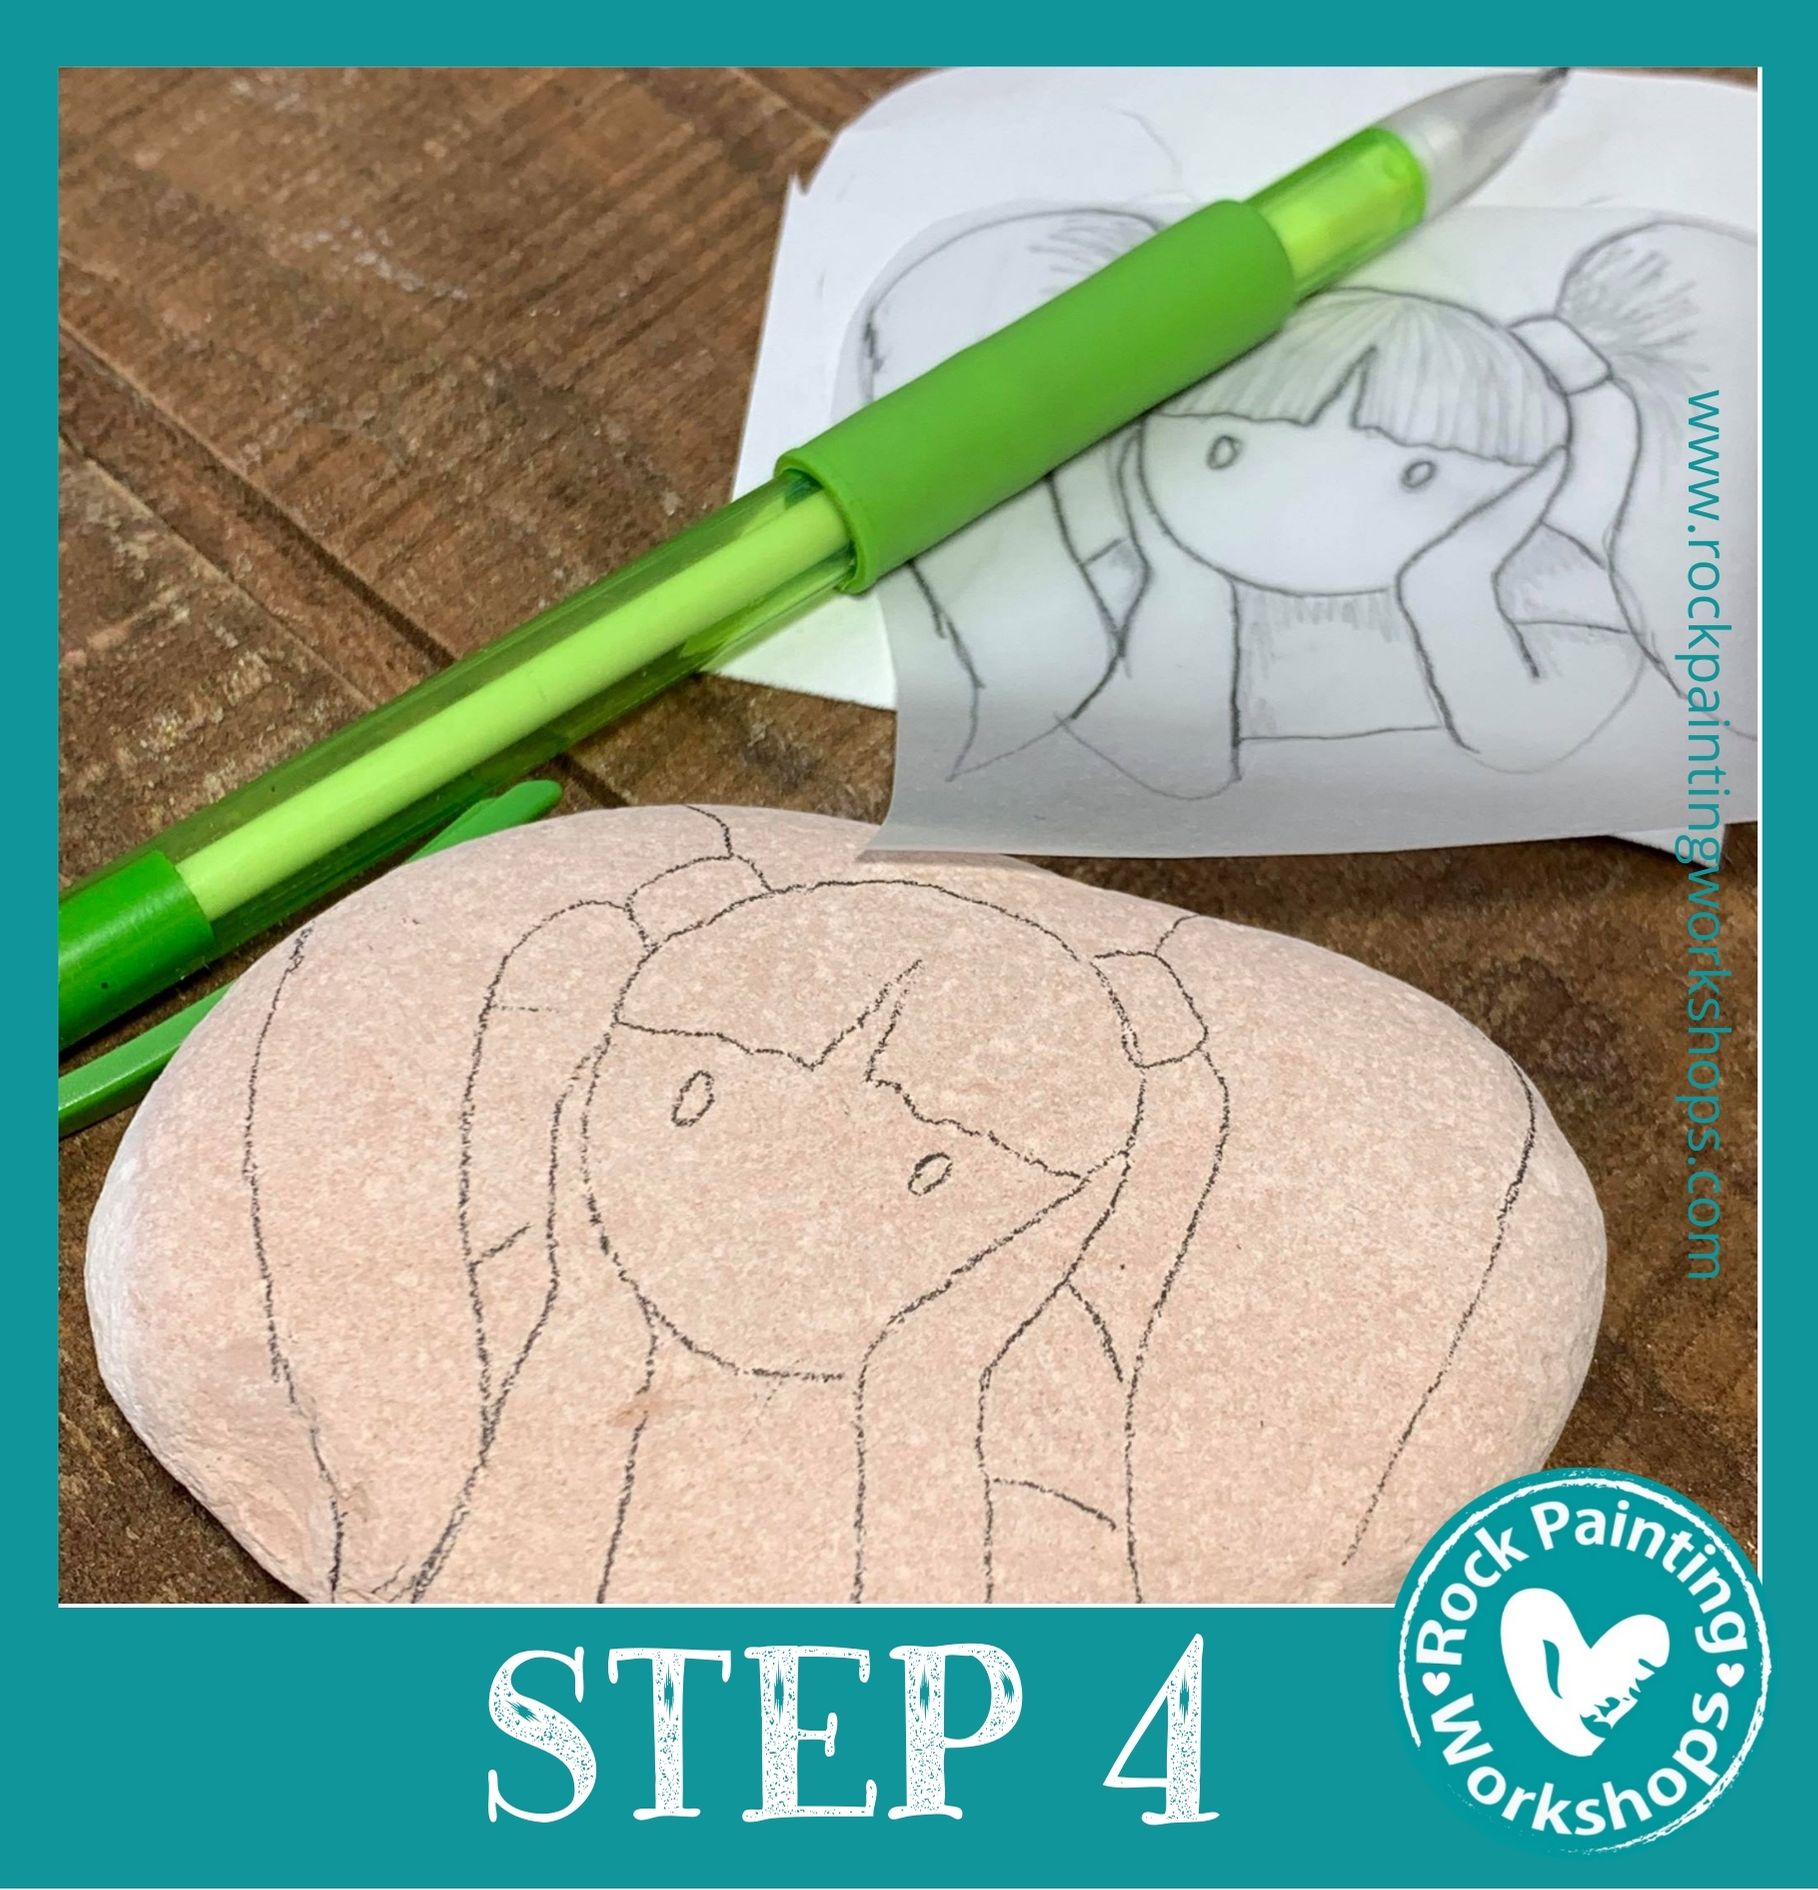
Take the tracing paper image from step 1 and lay it on top of the graphite paper. From the bottom up you have the rock – the graphite paper,tracing paper on top. Trace over the image with your pencil.
The pencil weight from you drawing over the top image pushes through the layers so that the graphite layer leaves the lines on the rock that you traced.
Remember old fashioned invoice books with carbon that made a duplicate copy invoice? This is the same principle.
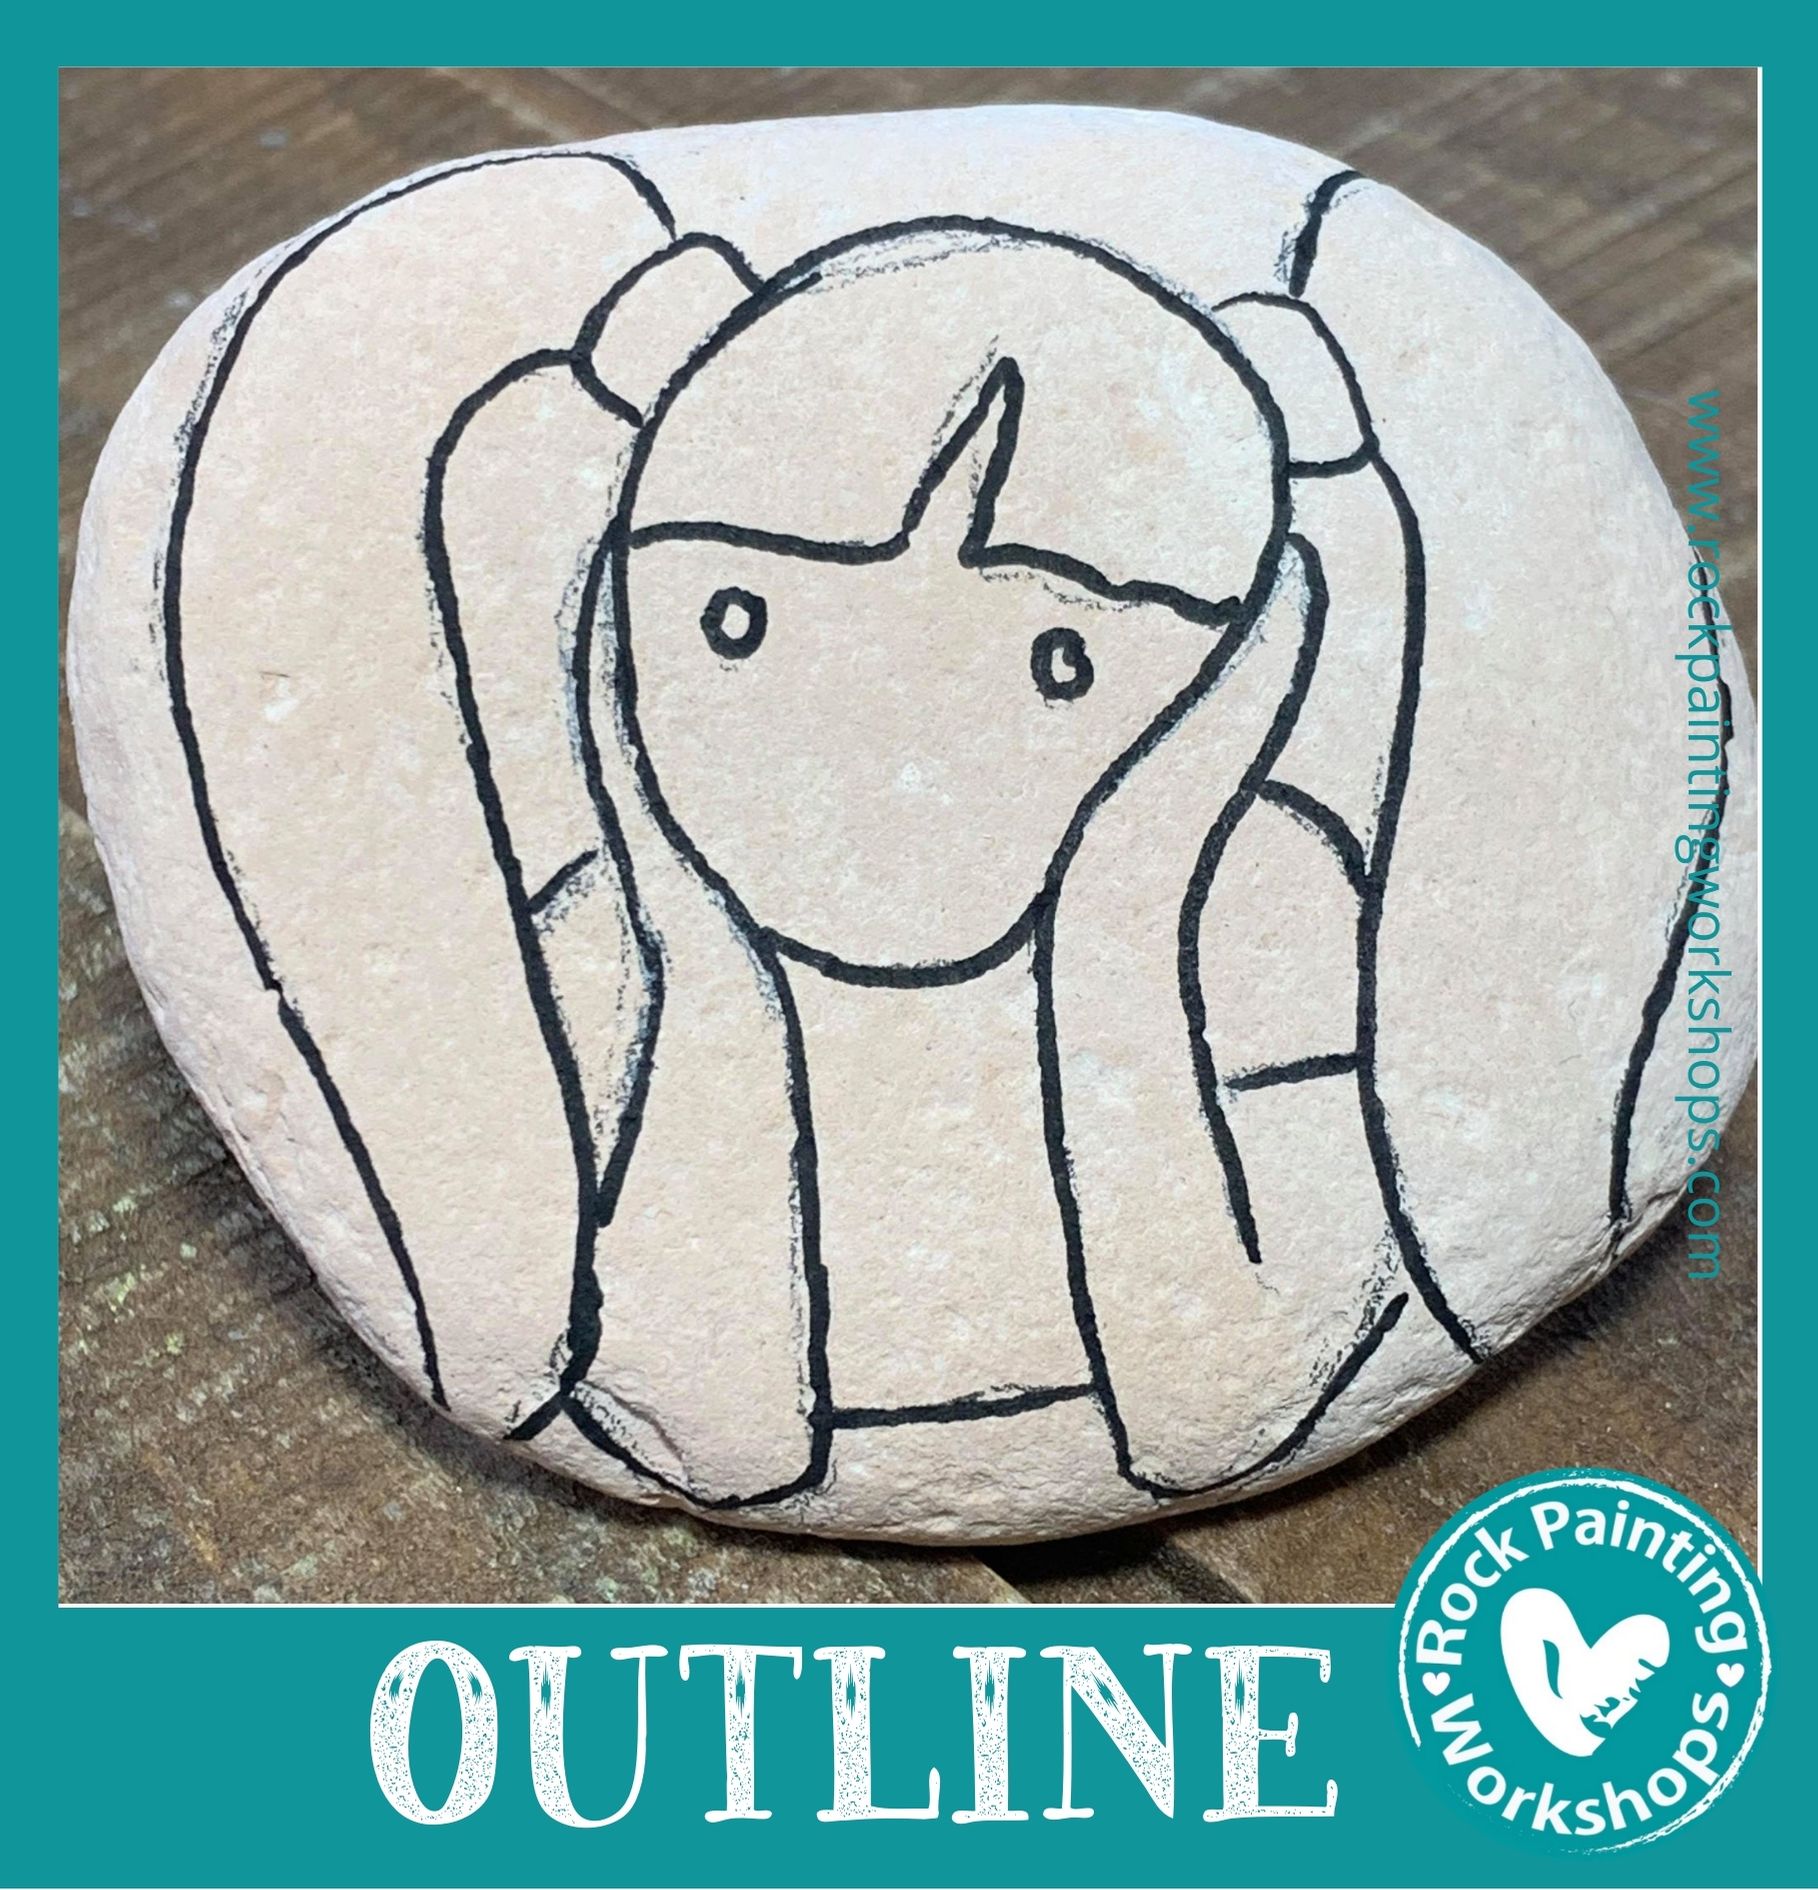
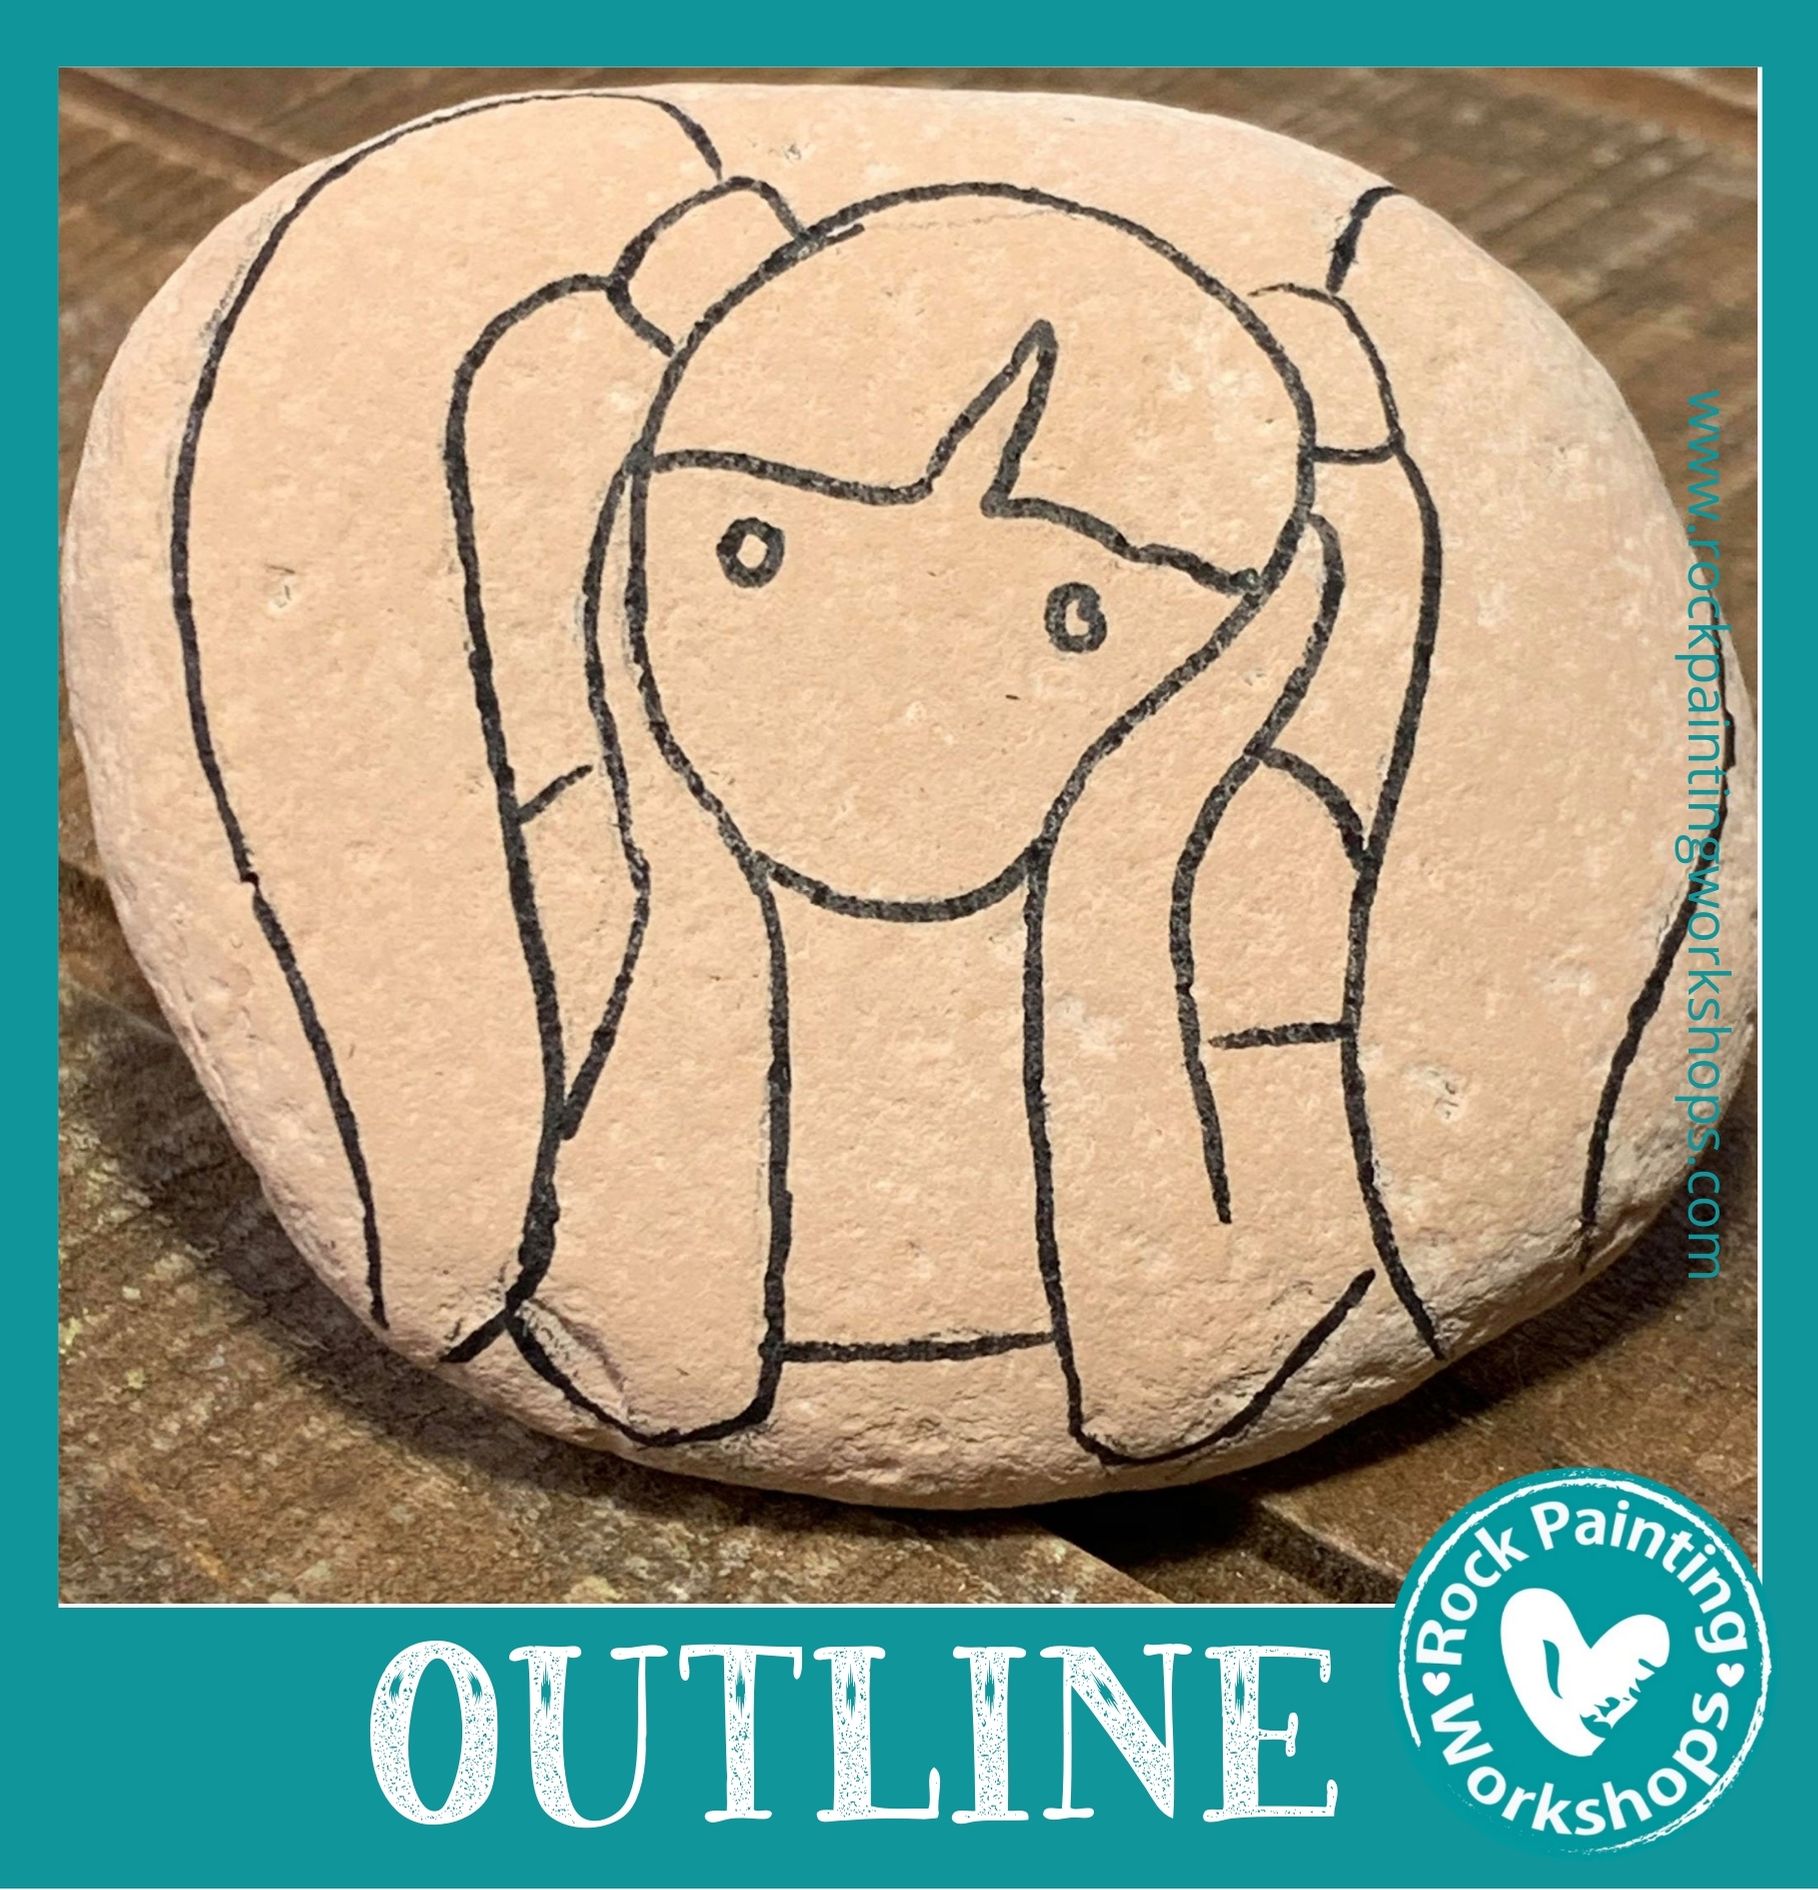
With your Acrylic Paint pen draw a final outline on the rock.
Take your 0.7m fineliner acrylic paint pen and draw over the finished lines you are happy with.
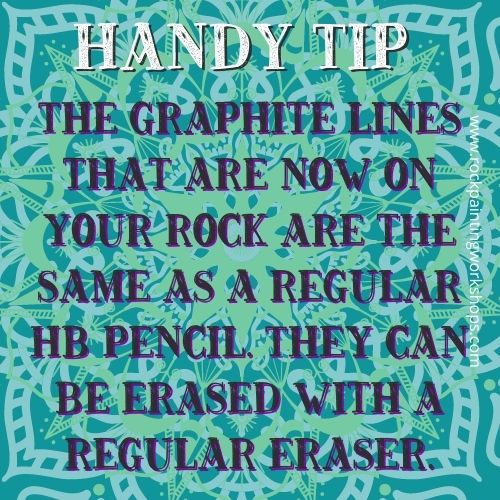
Let the pen dry. Now take your polymer eraser and erase all the pencil. It will look smudgy at first but keep erasing until it is all gone.

When you look at this type of Graphite paper you will see one side is light in colour and the other side is dark gray ( that is the graphite)
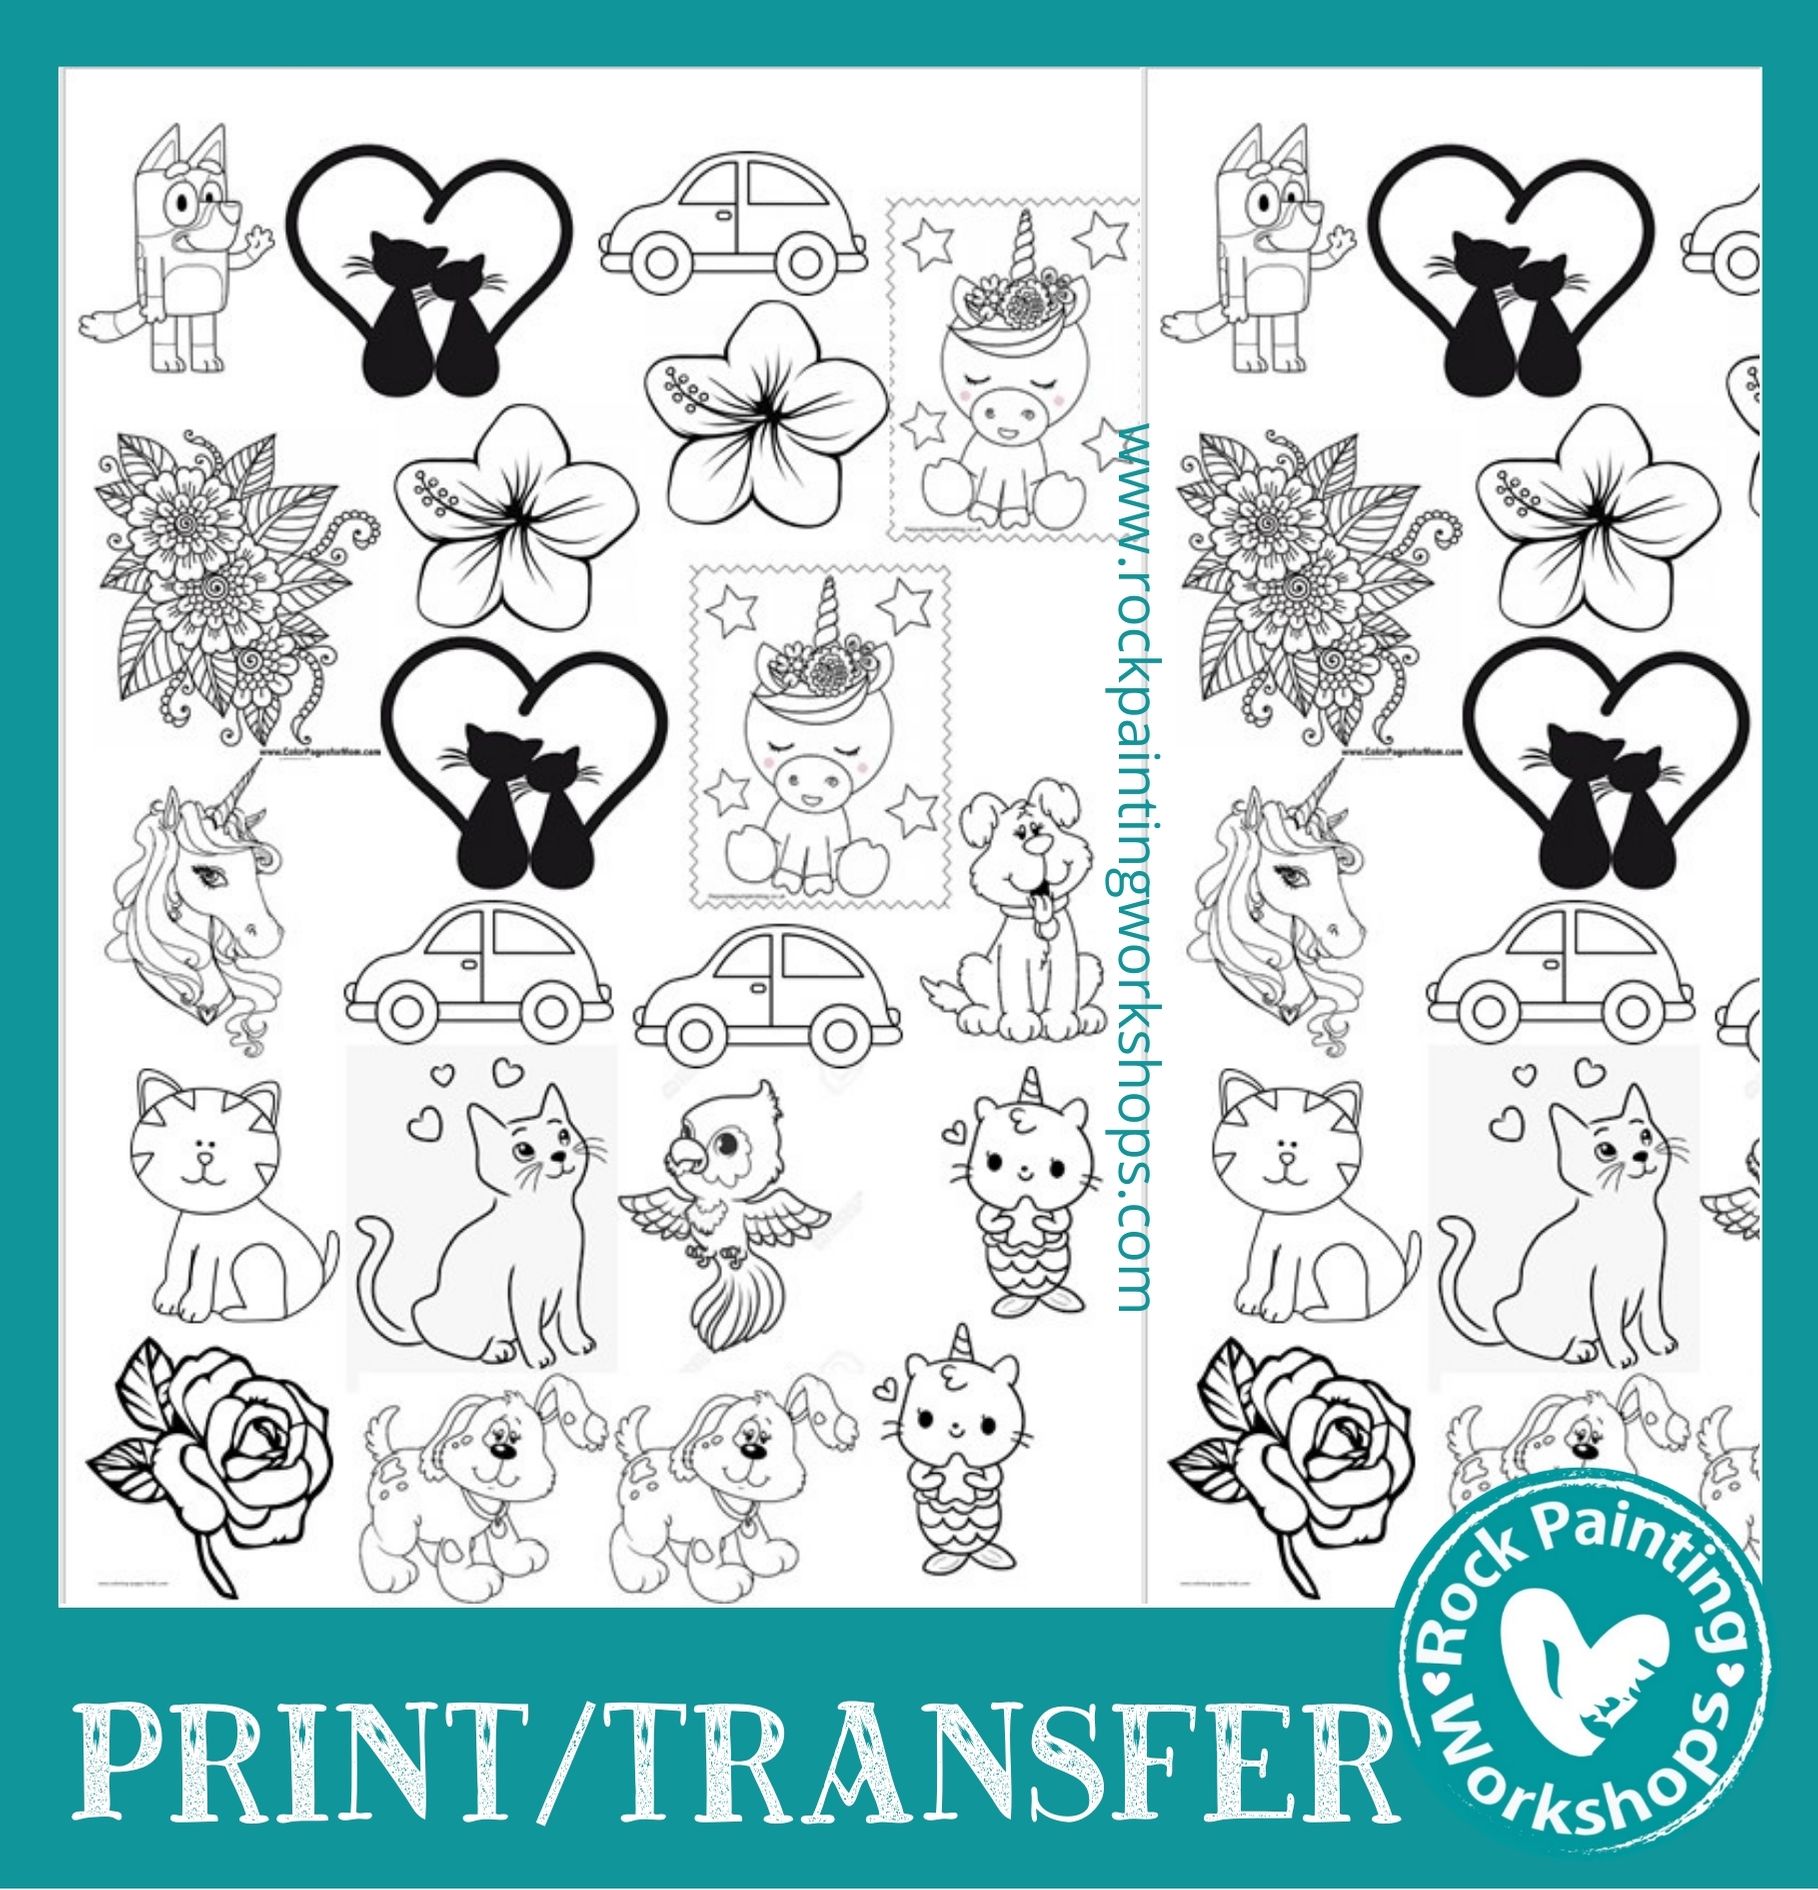
On your computer using whatever program you have – I am using word – you can fill the page with images.
Print this page on your graphite paper, you now have a page of images on the paper with graphite backing.
These are ready for you to trace on to your rocks whenever you like. You can use one image more than once it just gets lighter each use.
Drawing on rocks was easy right?
Lets move on and learn how to fully paint your rock.
Learn step 2 – Colour on Rocks
The lesson is AVAILABLE HERE
Learn how to draw your ideas on a rock so it is ready to paint.
This method works for simple designs right through to your intricate ideas
Find the TUTORIAL HERE
Are you having trouble drawing an image on your rock? Learn this fantastic method to help you.
All you need is an original picture and this tutorial will teach you using the grid method to draw it on your rock.
Find the TUTORIAL HERE

Our Supplies page is HERE to read up on everything you need to paint Rocks.
Learn heaps of different techniques on how to paint rocks – Right HERE
We are adding new tutorials all the time CLICK HERE for heaps of new ideas

