In the rock tutorials that we share we draw the image on the rock first. For lots of reasons…..
The obvious – so you know what you are doing. It is always great to work on a rock and know your spacing and what will fit on the rock
We also have a few different methods for those that are not confident in drawing.
And don’t forget it is only by doing it that you get good at it ! If you say you cant draw – You are right… you can’t – SO just give it a go
Lets chat drawing
on rocks …


SUPPLIES
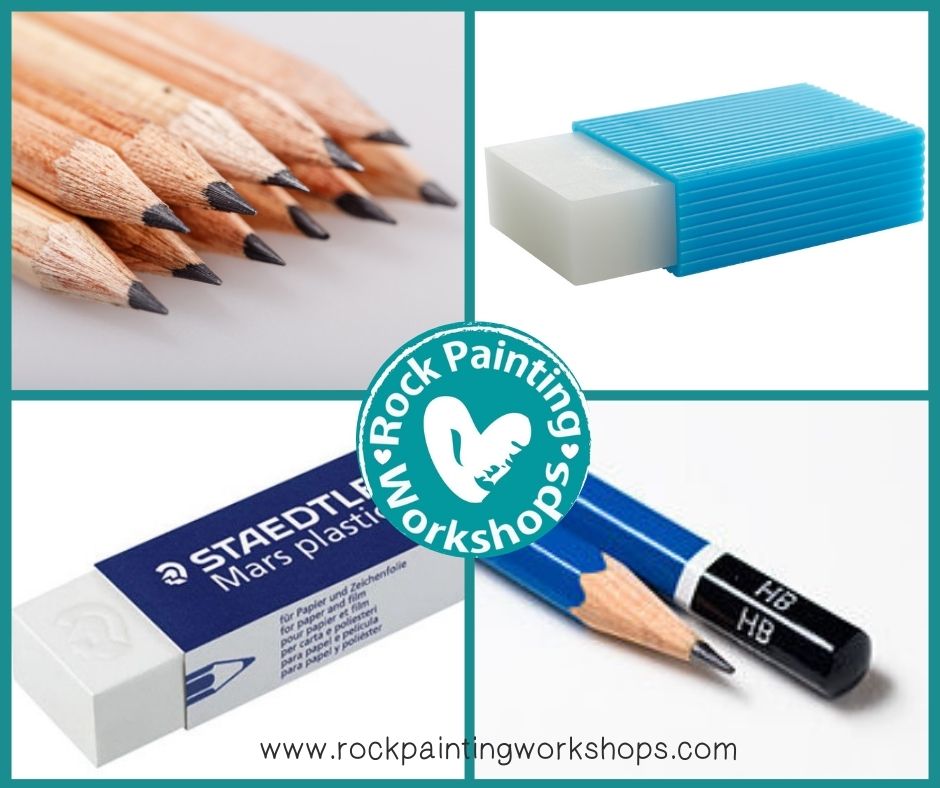
– Pencil
Click here – Australia
USA & other countries
– Polymer Eraser
Click here – Australia
USA & other countries
– 0.7m Paint Pen – available here
Use a regular HB graphite/lead pencil – it has a balance of H for the hardness and B for the black or boldness. A HB pencil is neutral and easy to use on rocks with its balance of qualities.
I use a MECHANICAL PENCIL as it is easy to not have to sharpen and has a fine point at all times .
Any regular HB PENCIL will do, it does not need to be a mechanical one.
A POLYMER ERASER easily and cleanly erase pencil from you rock.
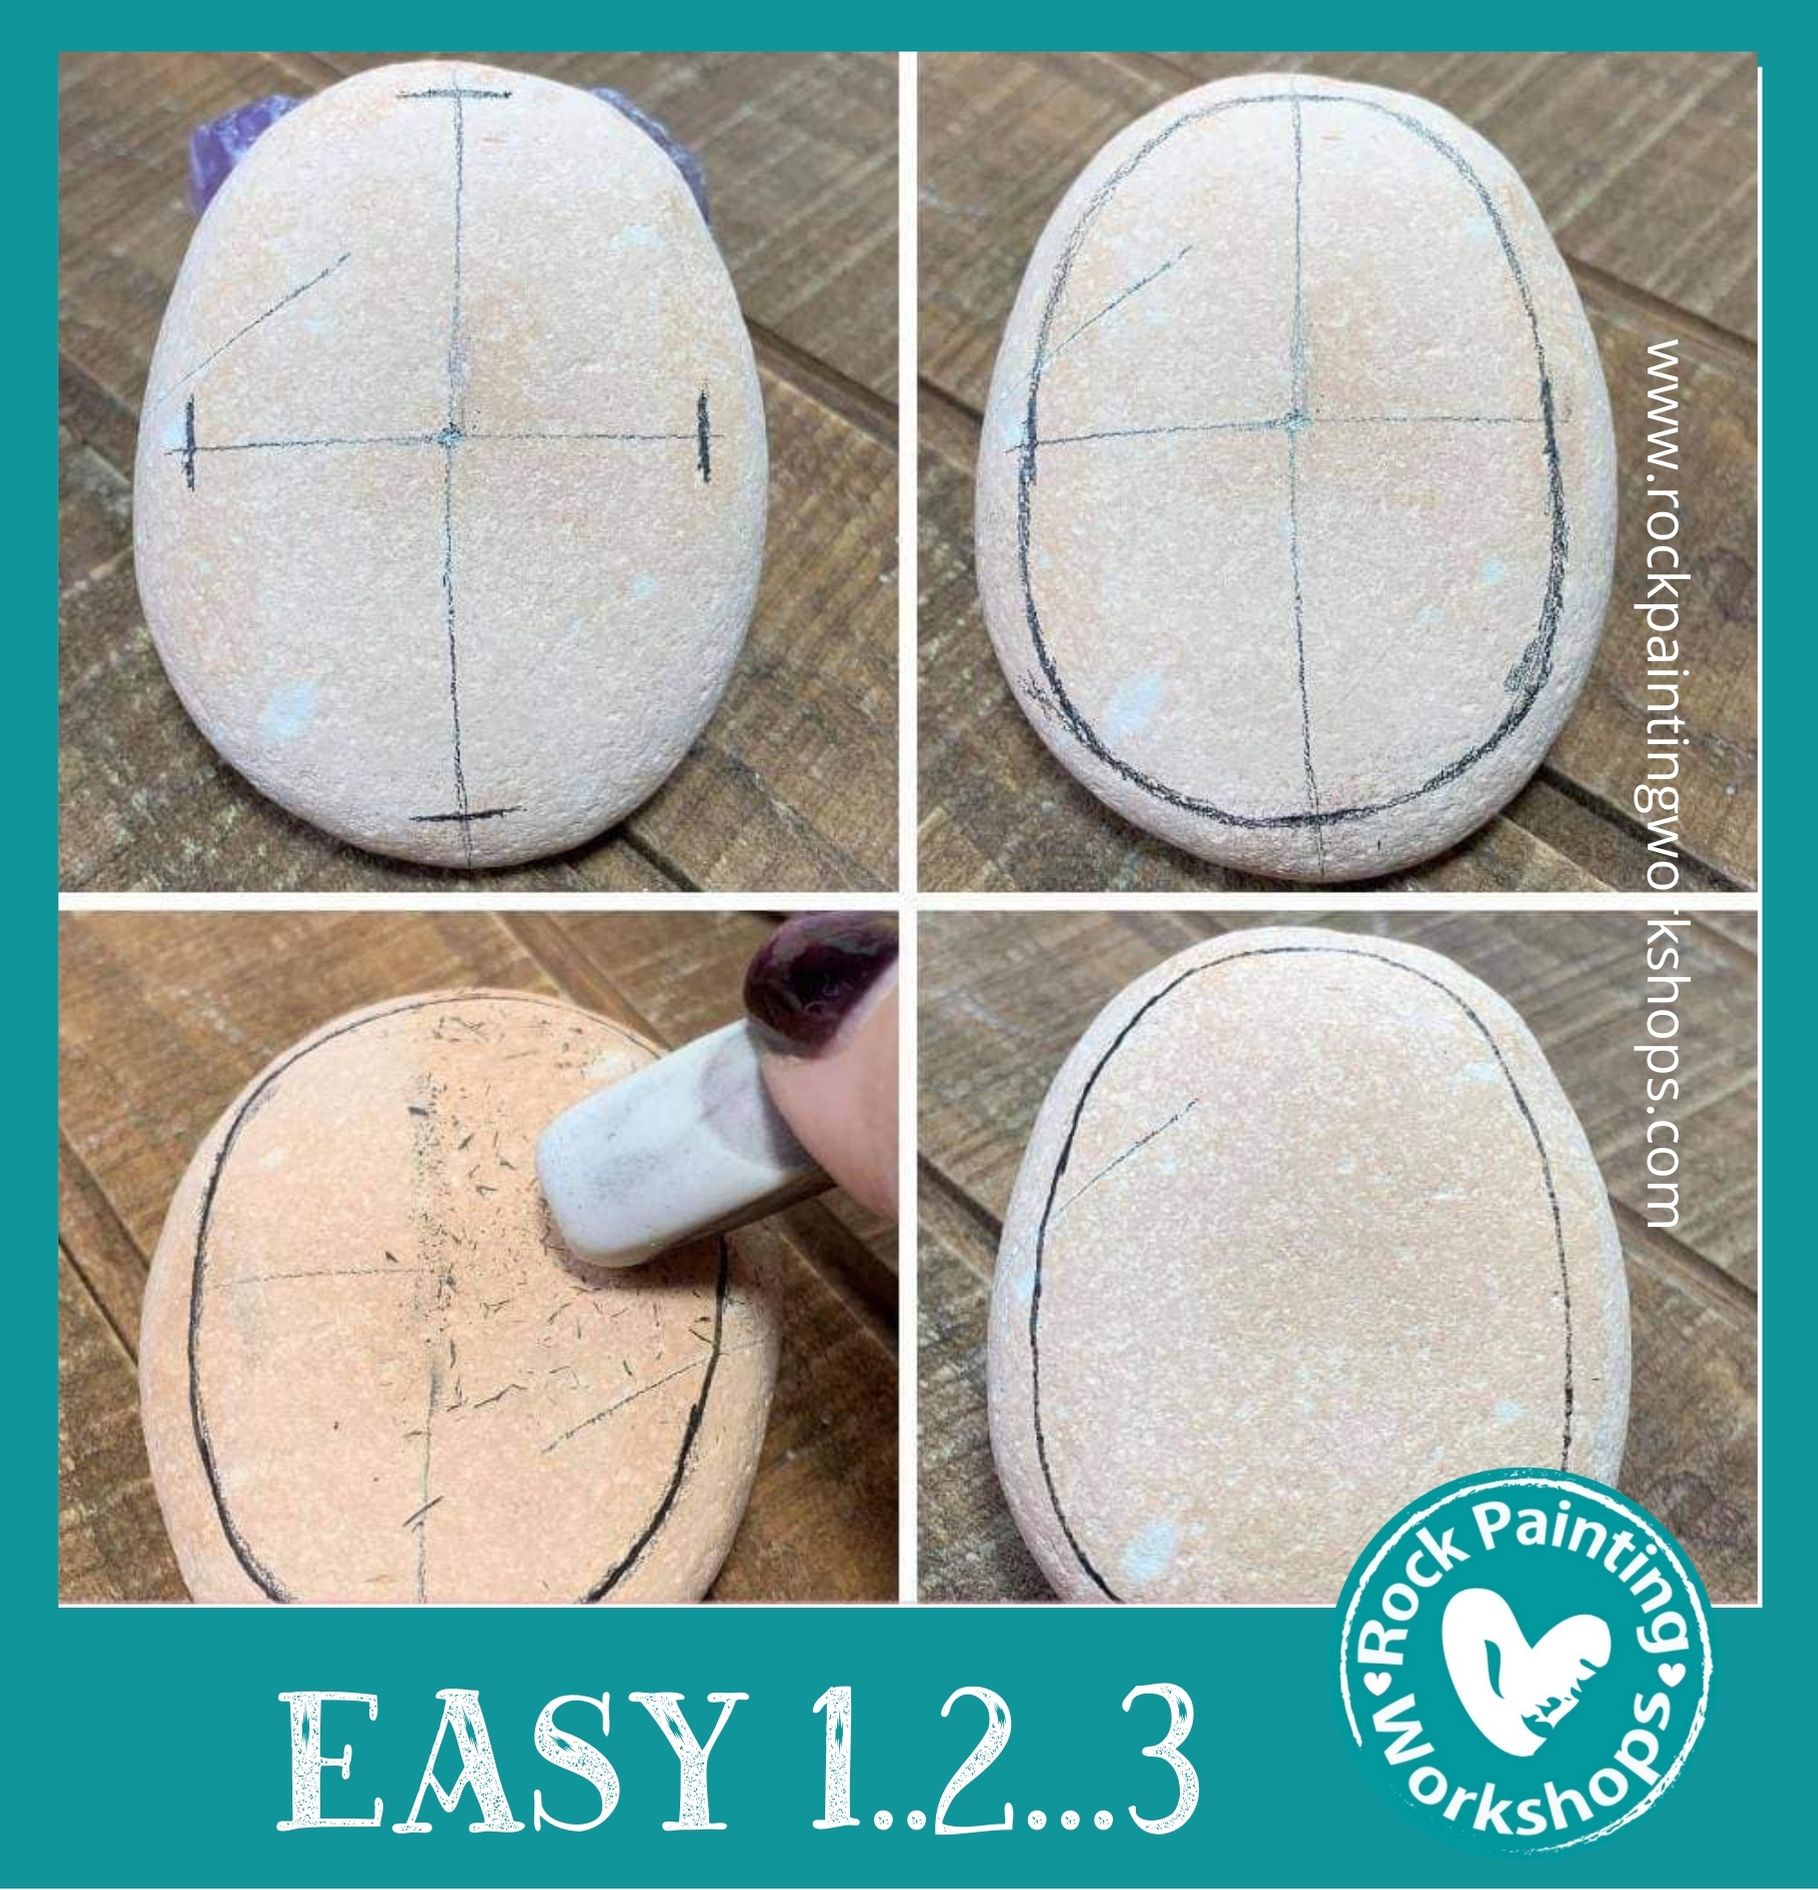
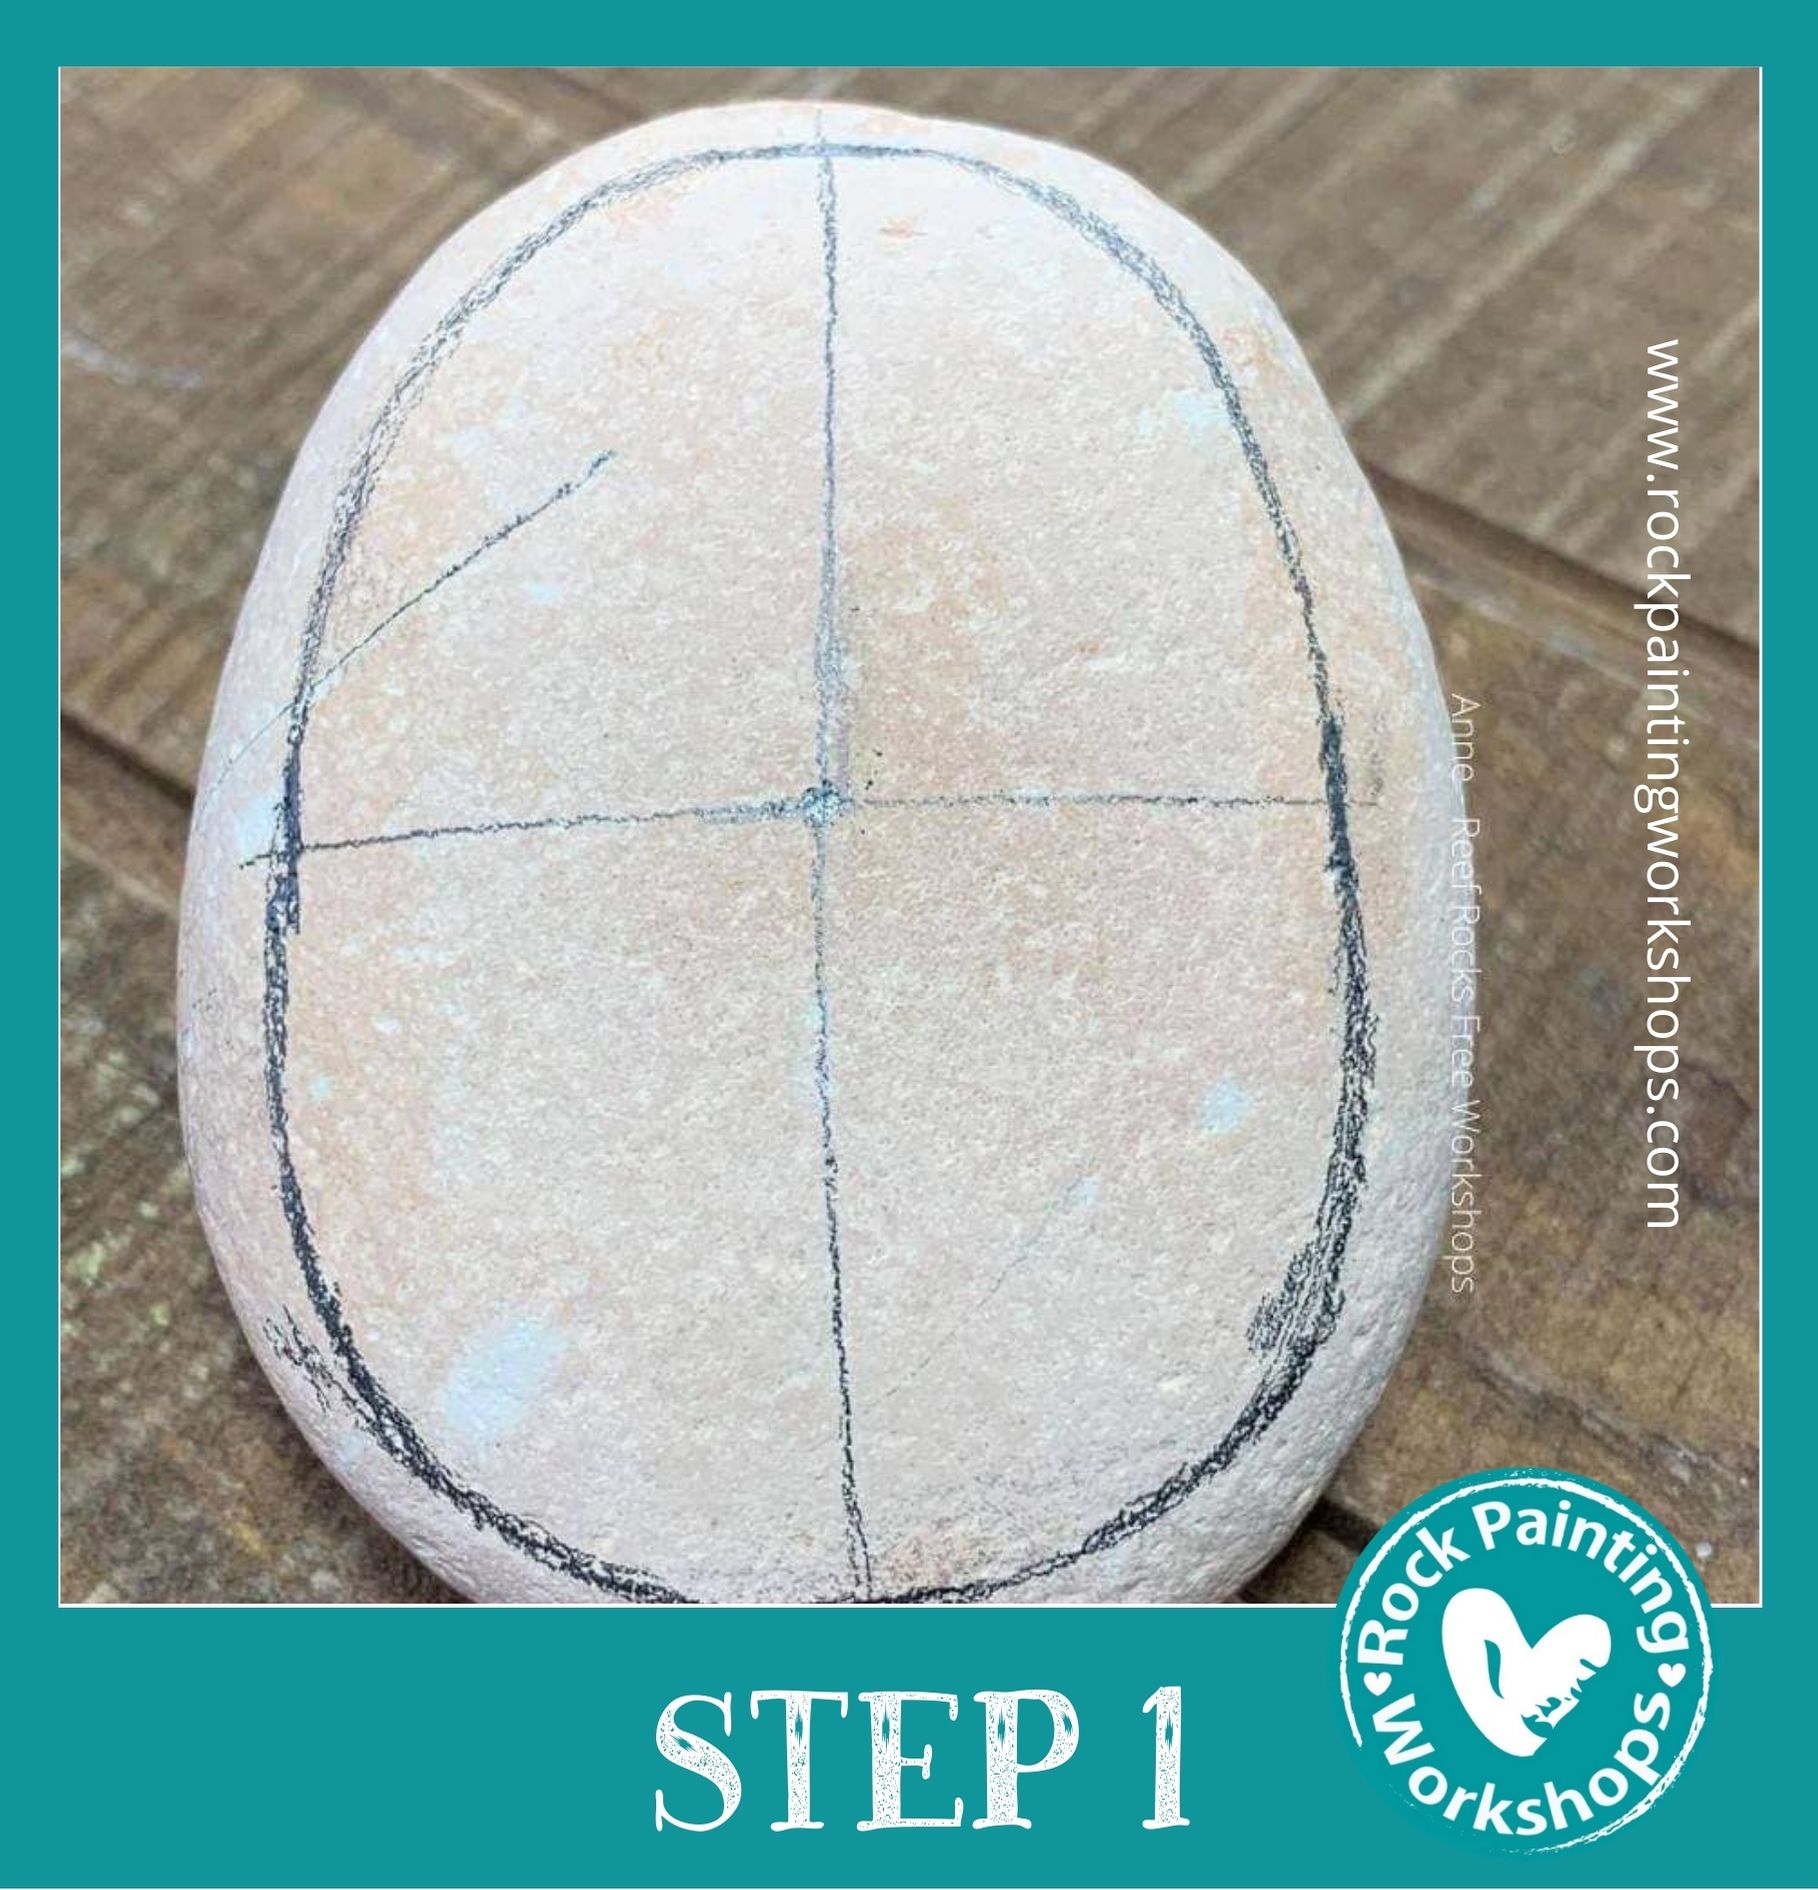
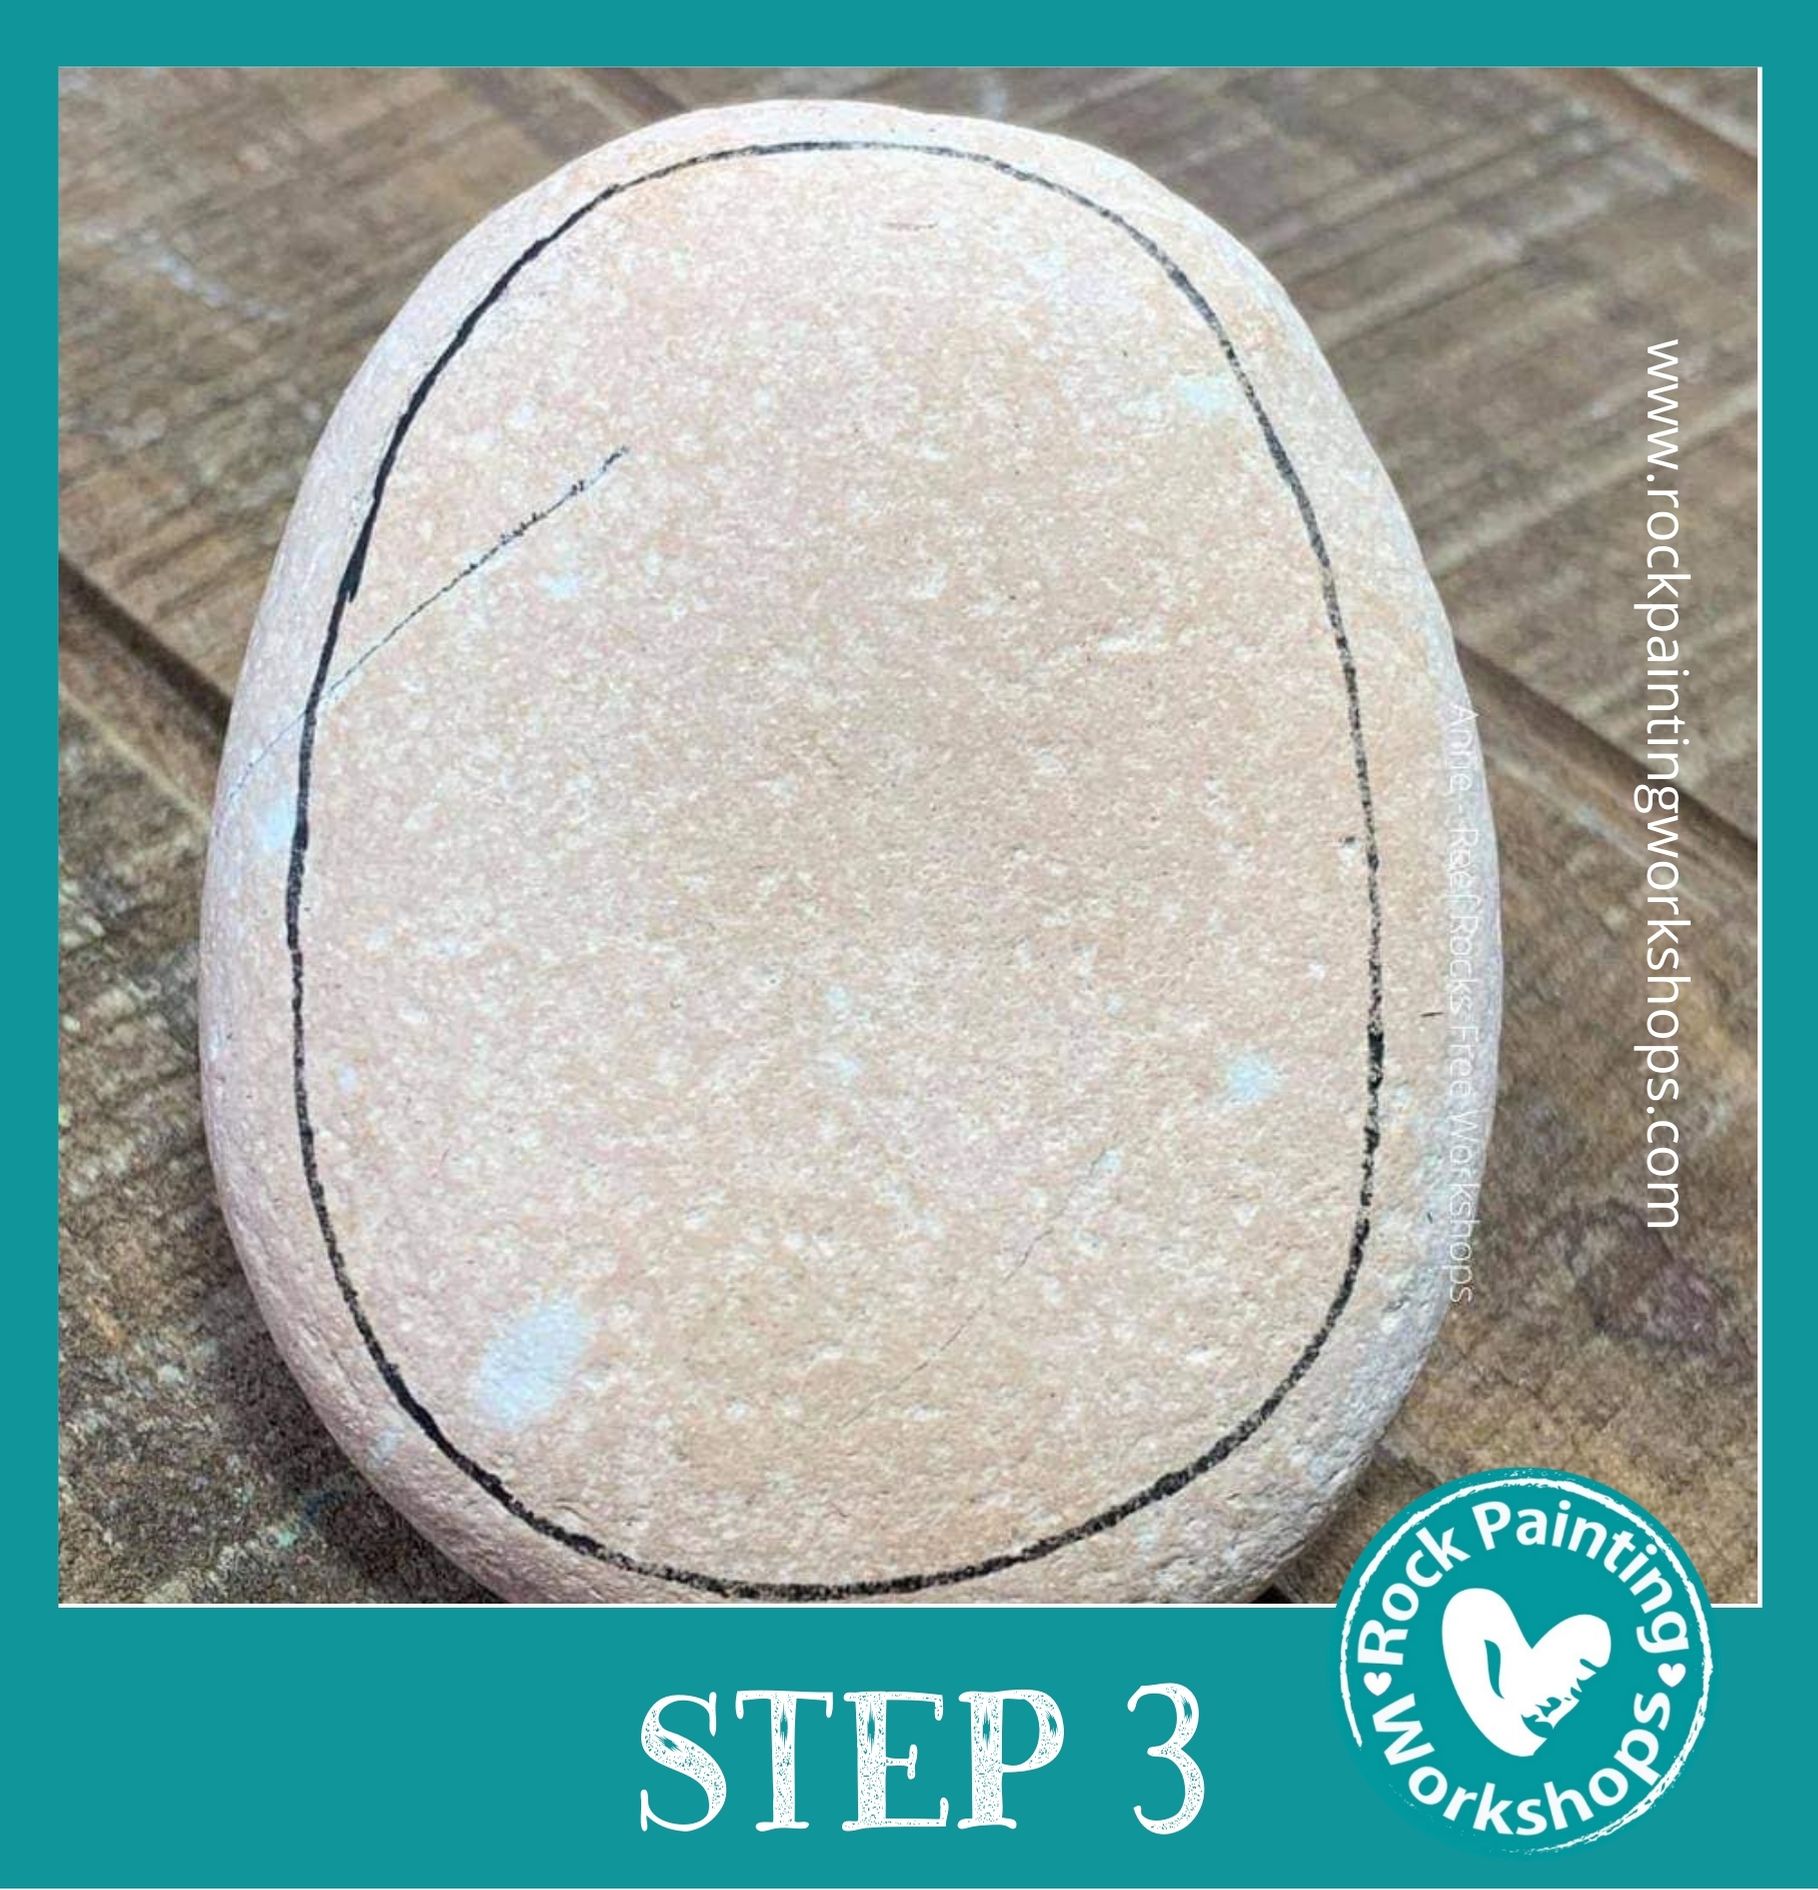
Take your HB pencil and draw your shape on your rock. You can sketch any image you like. This example an oval-
Find the centre and draw a vertical and horizontal line.
Draw a line at N -S – E – W. Then join up your marks with curved lines.
Use a Black extra fineliner Acrylic paint pen size 0.7m, outline your final shape.
*** Let the paint pen DRY it only takes a brief minute .
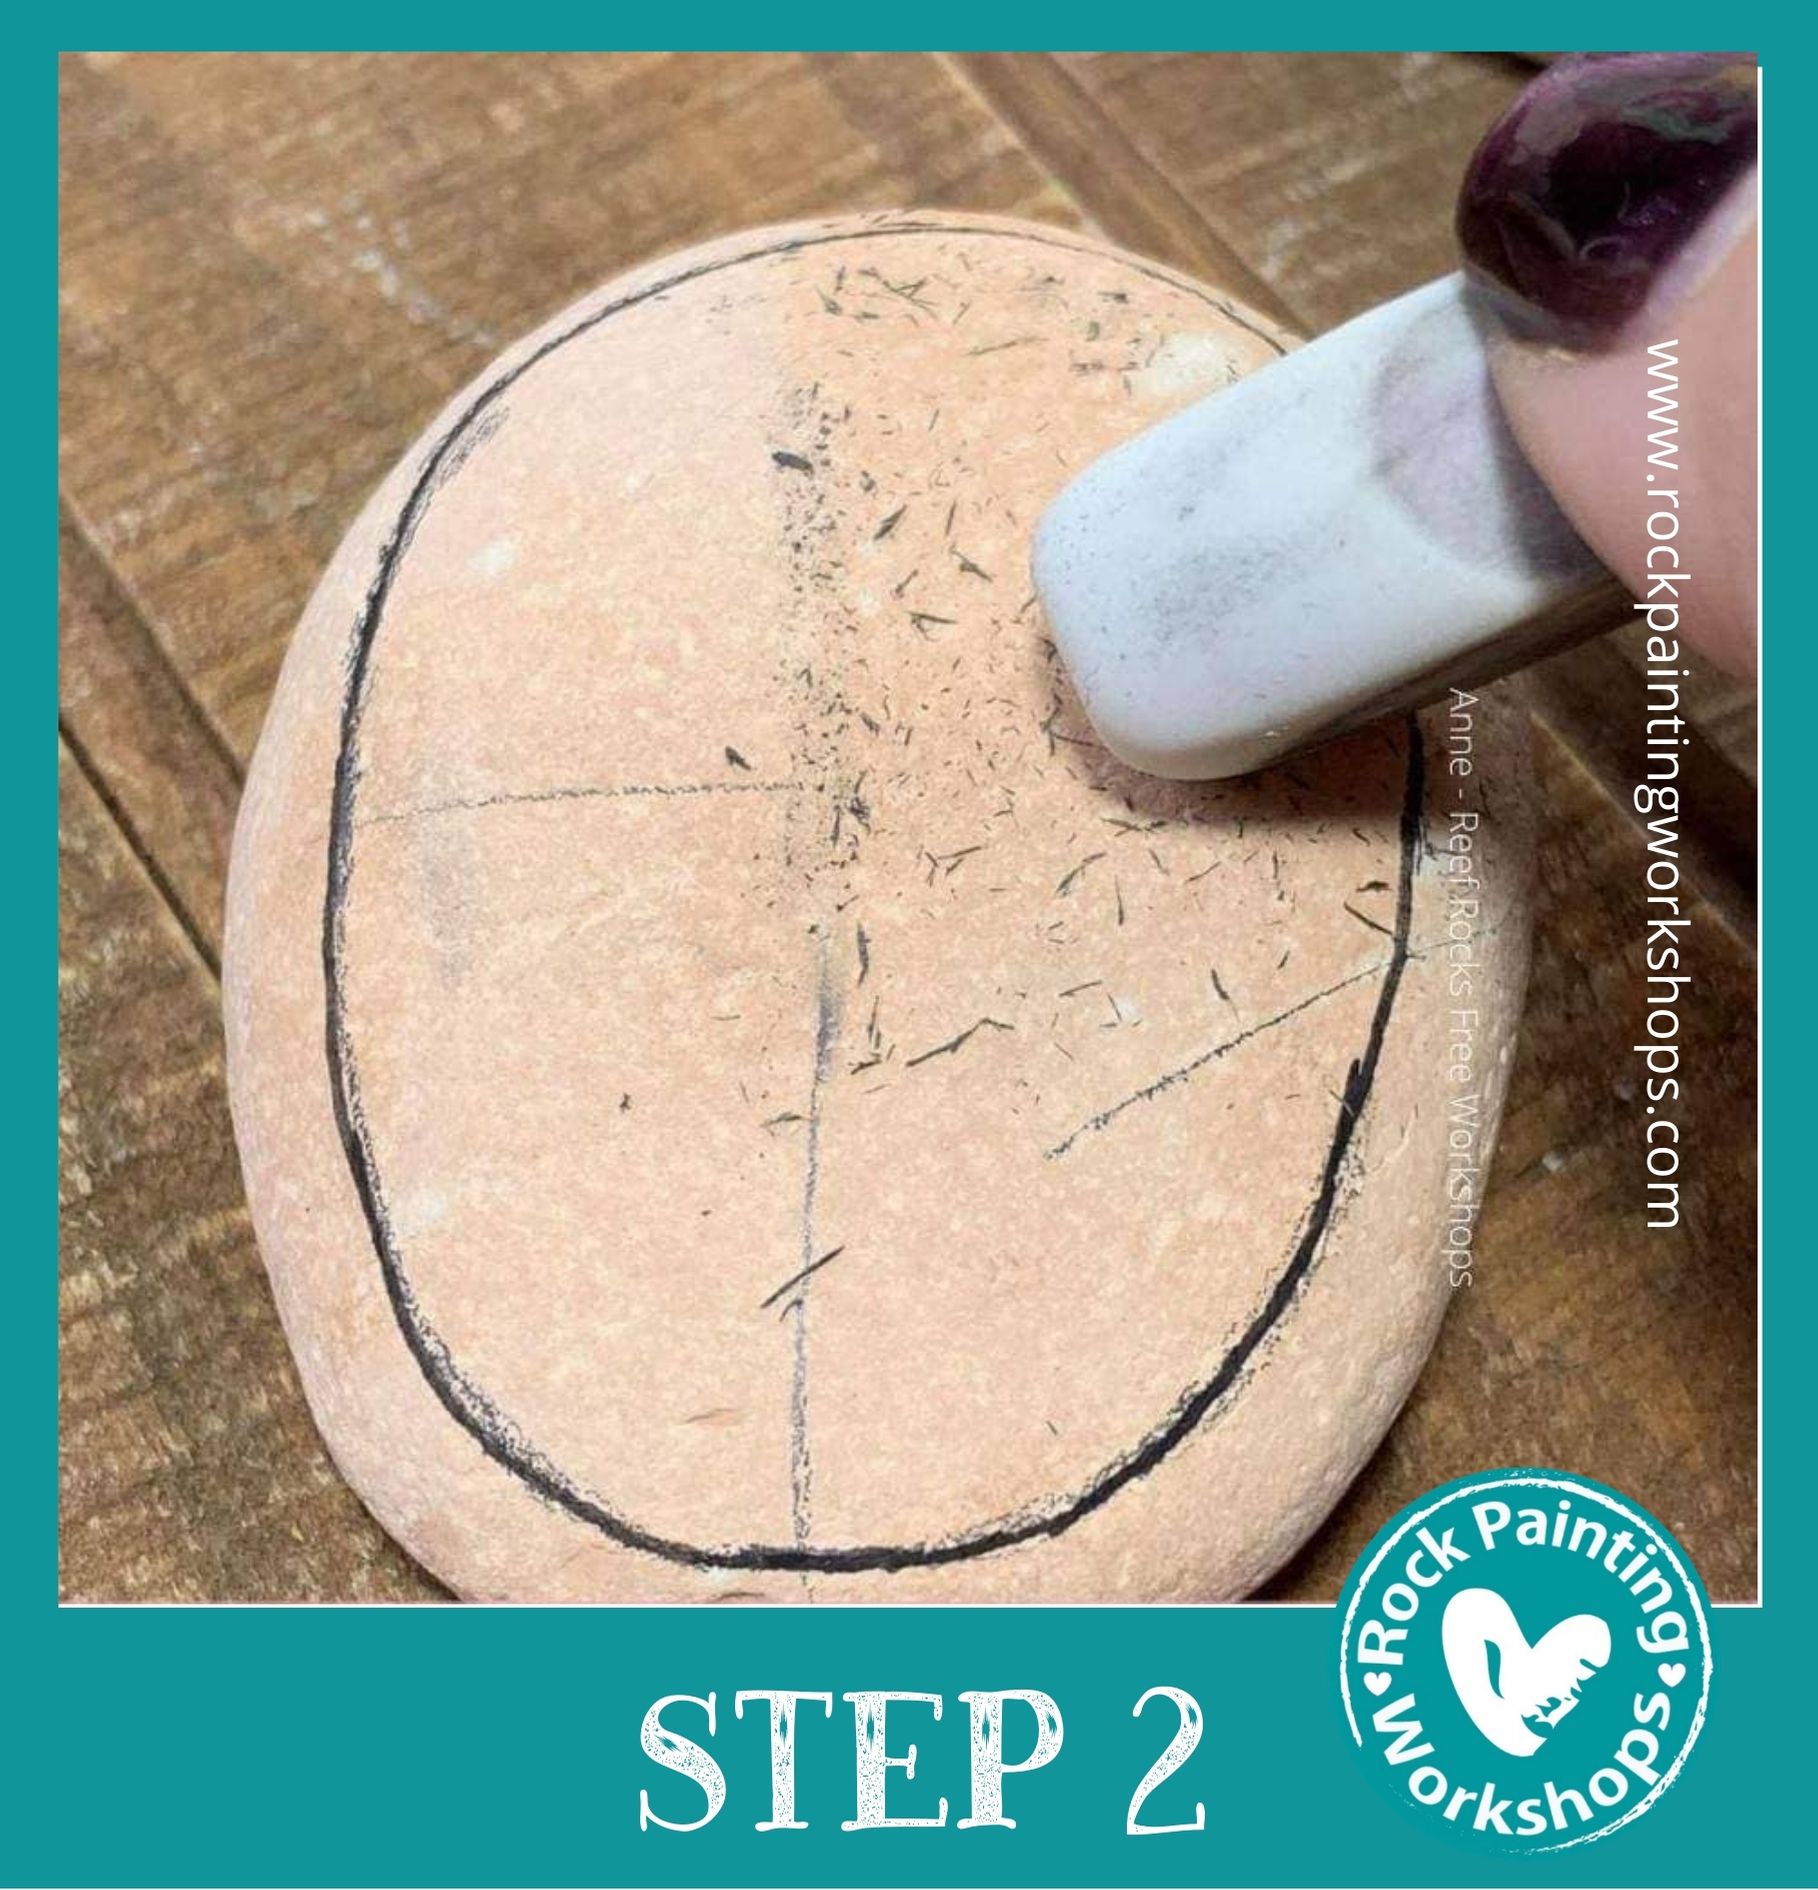
Use a white polymer eraser and erase the graphite pencil.
You are left with the faint line permanent image on your rock.
This is not your final outline it is the beginning base line like you would see in a colour in book.
You will outline at the end of your rock creation.
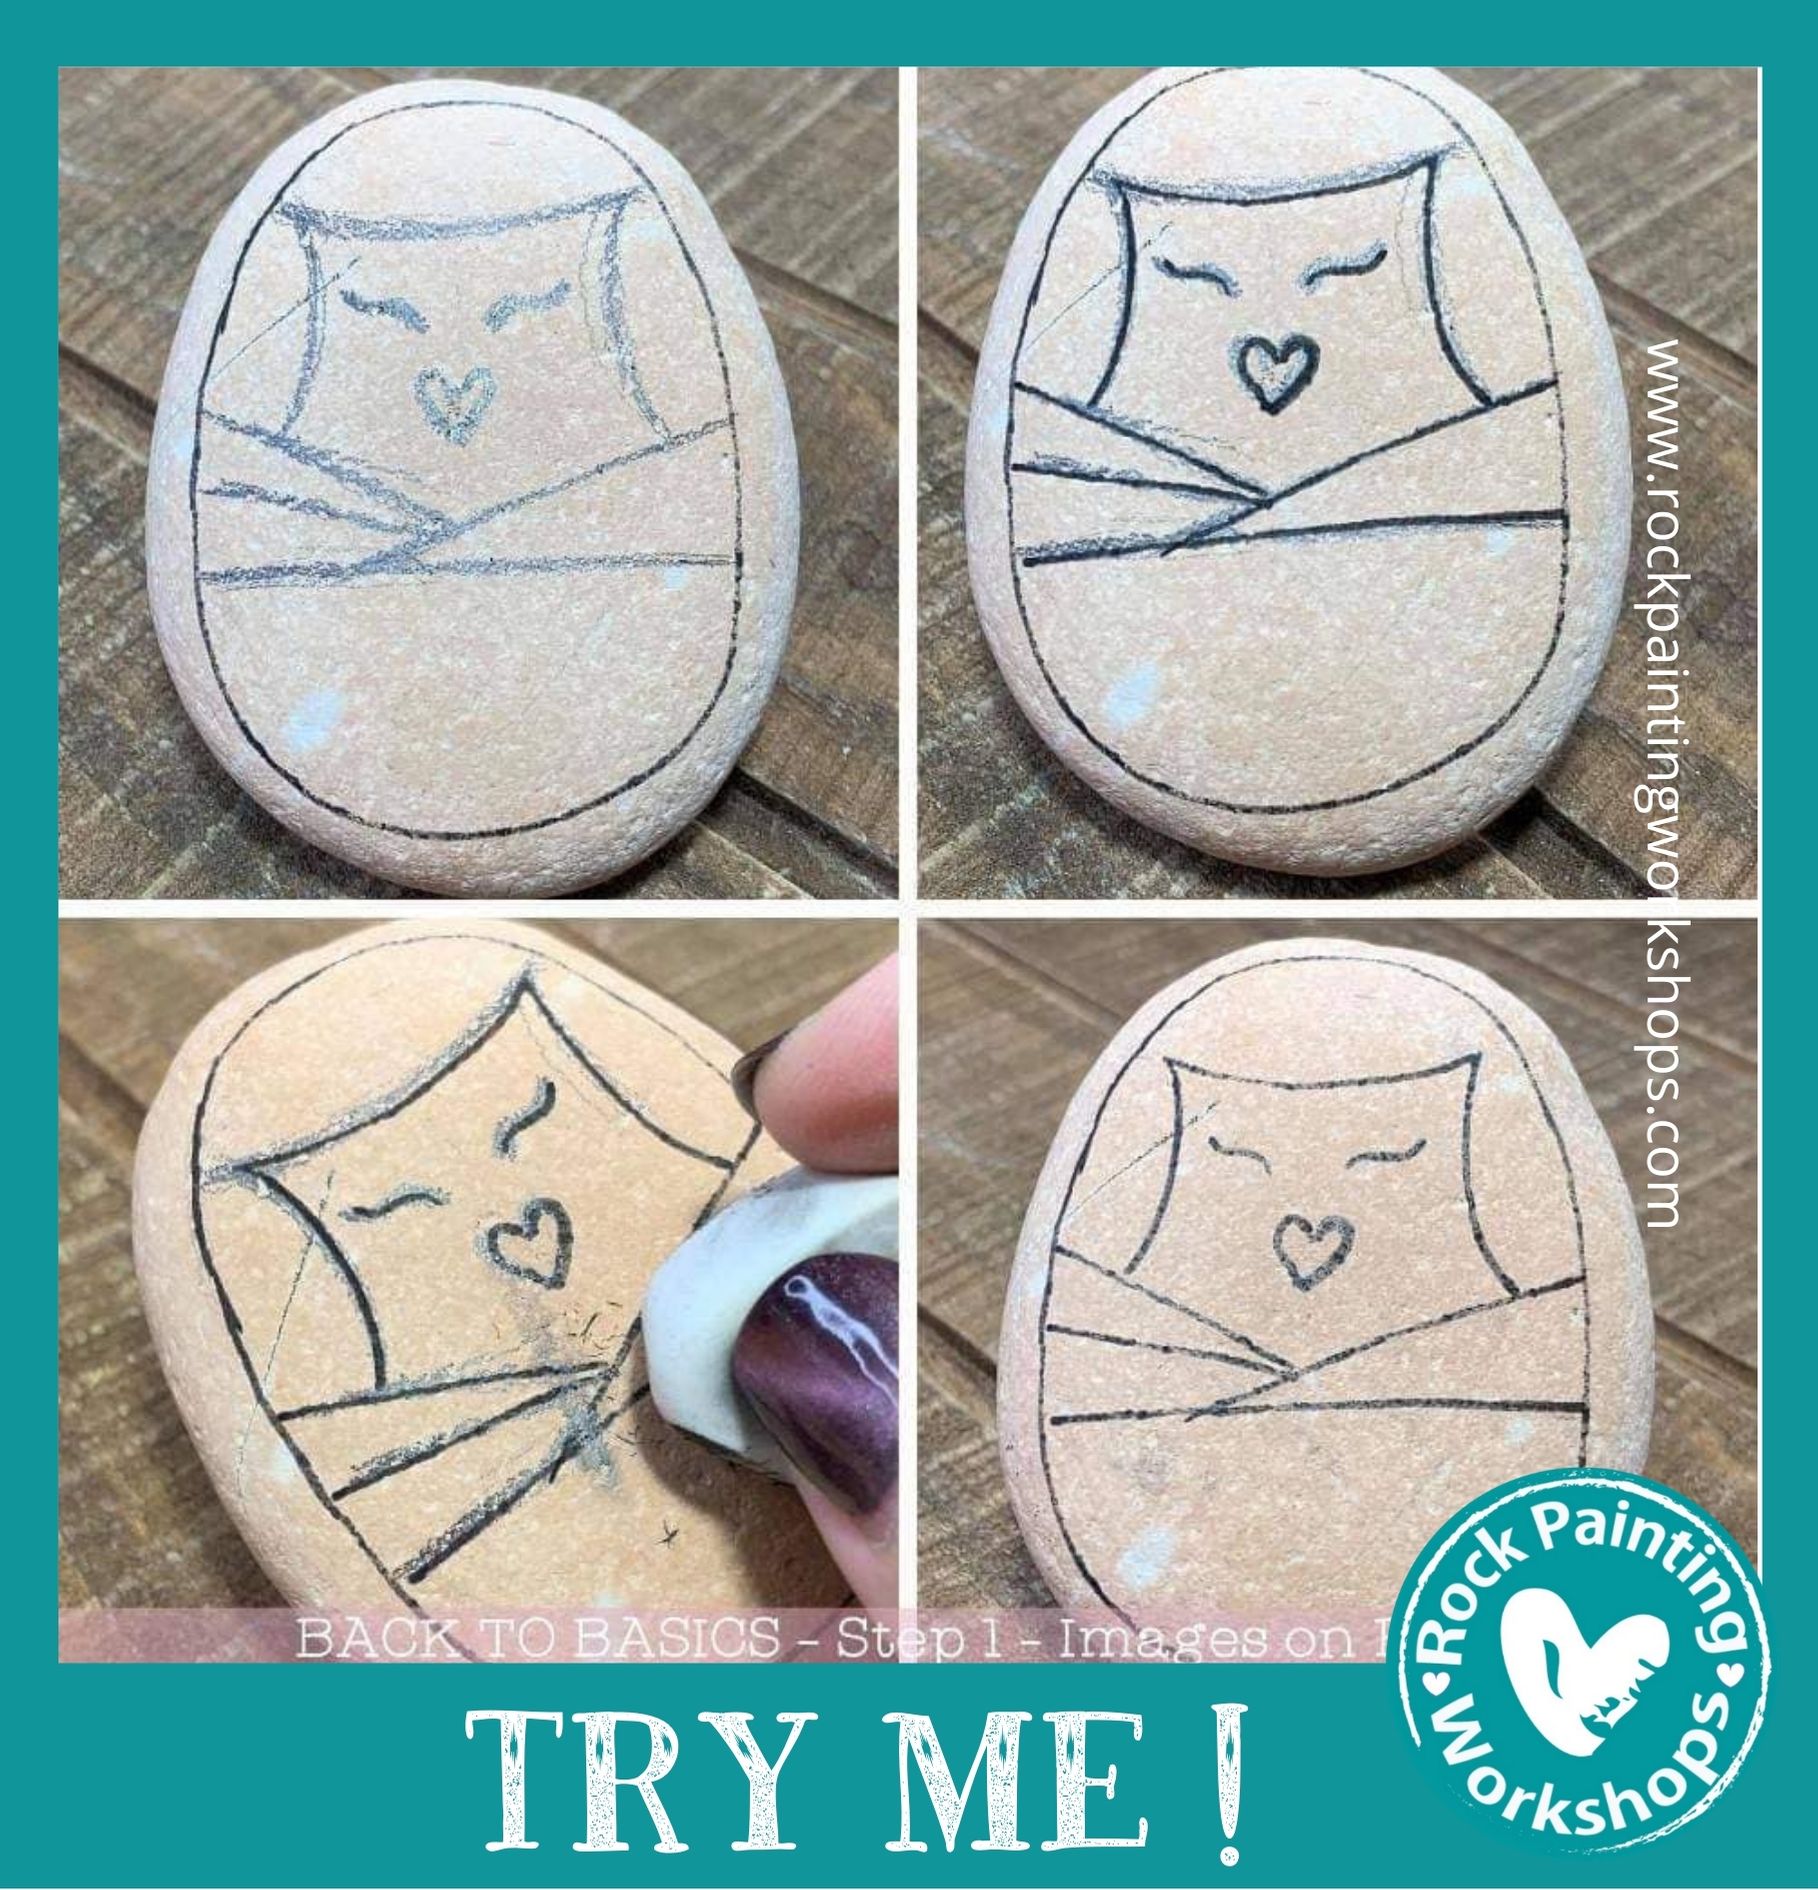
Here is one for you to try ! Remember the steps….
1. In pencil draw your image on the rock
2. Take your 0.7m fineliner paint pen and draw in the final lines you want to keep. Leave the paint pen to dry for a minute or so.
3. Erase the pencil lines, at first it will go a bit smudgy , like the photo- keep going until all the pencil is erased.
4. Your image is now ready to colour
Do you have trouble drawing the image on your rock? Below are two methods to help you with this.
Are you have trouble drawing an image on your rock? Learn this fantastic method to help you.
All you need is an original picture and this tutorial will teach you using the grid method how to draw it on your rock.
Find the TUTORIAL HERE
Learn the method of image transfer. Choose an image the size of your rock or a size that will fit on your rock.
Use our transfer method & you can have the image on your rock in minutes.
Find the TUTORIAL HERE
Drawing on rocks was easy right?
Lets move on and learn how to fully paint your rock.
Learn step 2 – Colour on Rocks
The lesson is AVAILABLE HERE

Our Supplies page is HERE to read up on everything you need to paint Rocks.
Learn heaps of different techniques on how to paint rocks – Right HERE
We are adding new tutorials all the time CLICK HERE for heaps of new ideas

