")
")
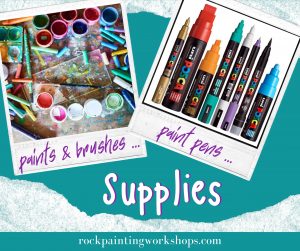
SUPPLIES
– Shallow plastic container & lid –
USA & Other Countries –CLICK
Australia – CLICK HERE
– Chux cloth or (paper towel) –
USA & other Countries – CLICK
Australia – Click Here
– Baking Paper –
USA & other Countries – CLICK
Australia – Click Here
– Water
We live in a hot gorgeous state in Australia…. the downside? our paint can dry up as quick as it hits our palette. We have a solution for that ! Check out how to make your own wet palette and save yourself at least $40 by DIY. More money for paint and pens hahahaha
Lets chat Wet Palettes

")
")
")
A wet Paint Palette/ What is it ? Just the best thing ever to keep your paint moist while you are working with it. You can also mix your colours in it. Where we are from in summer, paints can dry out super fast.
The wet palette keeps the paints super moist for days. You know when you are painting and its 2am you are off to bed but you still have paint on the palette… no problem pop your lid on and leave it for tomorrow, it will stay as fresh as you left it .
It is also the best thing to blend your colours in, you can mix large quantities and not worry about them drying up .
")
")
")
There are a few different items you can use for the base of your wet palette.
This part needs to absorb and hold water.
You can use paper towel, chux or flat sponges.
Trace the base of the container on to the baking paper and your chosen absorbent base.
In this example here we use paper towel .
Cut out the traced shapes.
")
")
Place the absorbent paper into the base of your container. Pour some water onto this layer. Enough to absorb and keep the whole layer wet. If you pour too much water just pour the excess out.
")
Now place the baking paper layer. Place it straight on top of the absorbent layer and pat it down gently. You do not want any pools of water showing on this layer. If it dries in time add more water.
")
In the palette you can directly mix your colours on the paper or just keep your base colours on the paper.
You can keep large mixes of paint fresh in your wet palette- for days.
")
")
If your container seems too deep to dip your brush in with ease, you can turn it upside down. Use the lids as the base.
It does the same job at keeping your paint dry as long as you keep it sealed between use.
")
Drawing on rocks was easy right?
Lets move on and learn how to fully paint your rock.
Learn step 2 – Colour on Rocks
The lesson is AVAILABLE HERE
")
Learn some great sponging techniqes to create backgrounds.
You can can try ombre effects or blend colours together to create a new colour.
Sponging gives you nice thin layers – brilliant on rocks.
Find the TUTORIAL HERE
")
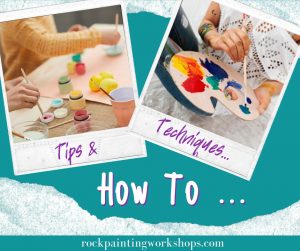
Pop on to this page to learn some techniques, hints & tips about Paintbrushes.
Find the TUTORIAL HERE


Our Supplies page is HERE to read up on everything you need to paint Rocks.
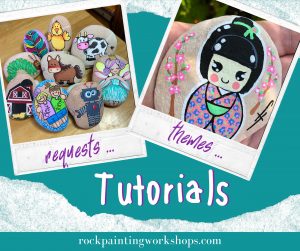
Learn heaps of different techniques on how to paint rocks – Right HERE
We are adding new tutorials all the time CLICK HERE for heaps of new ideas