Below is the great step by Step Photo Tutorial as promised. It is always great to share ideas and ‘How To’ steps with you so we can all create even more Kindness Rocks in the world! We have taken this one step further and hope you will join us – We are contributing Financially to at risk women and children – You can help by clicking above on our online course, it costs $10 to join with ALL proceeds going to charity. In return as a celebrated patron you get exclusive membership to our online classroom with over 55 videos & 13 Ebooks created by us – shared nowhere else. You are amazing and thankyou for your contribution.
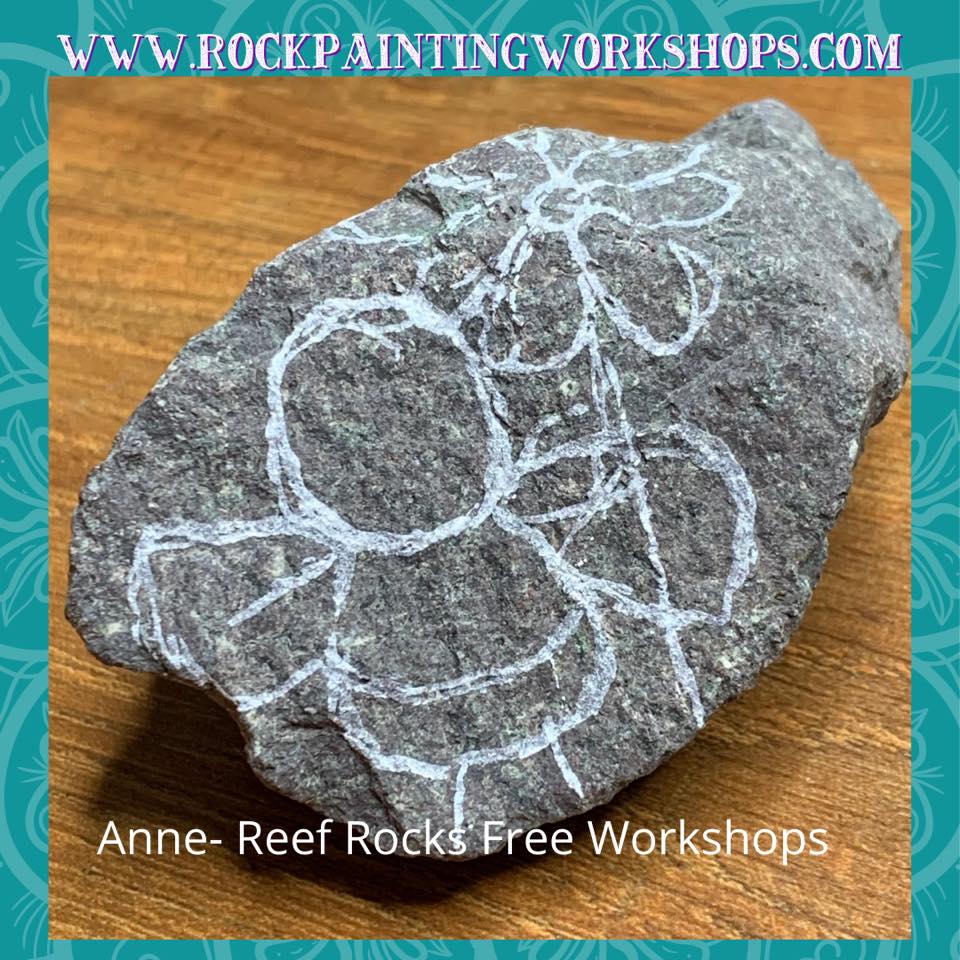
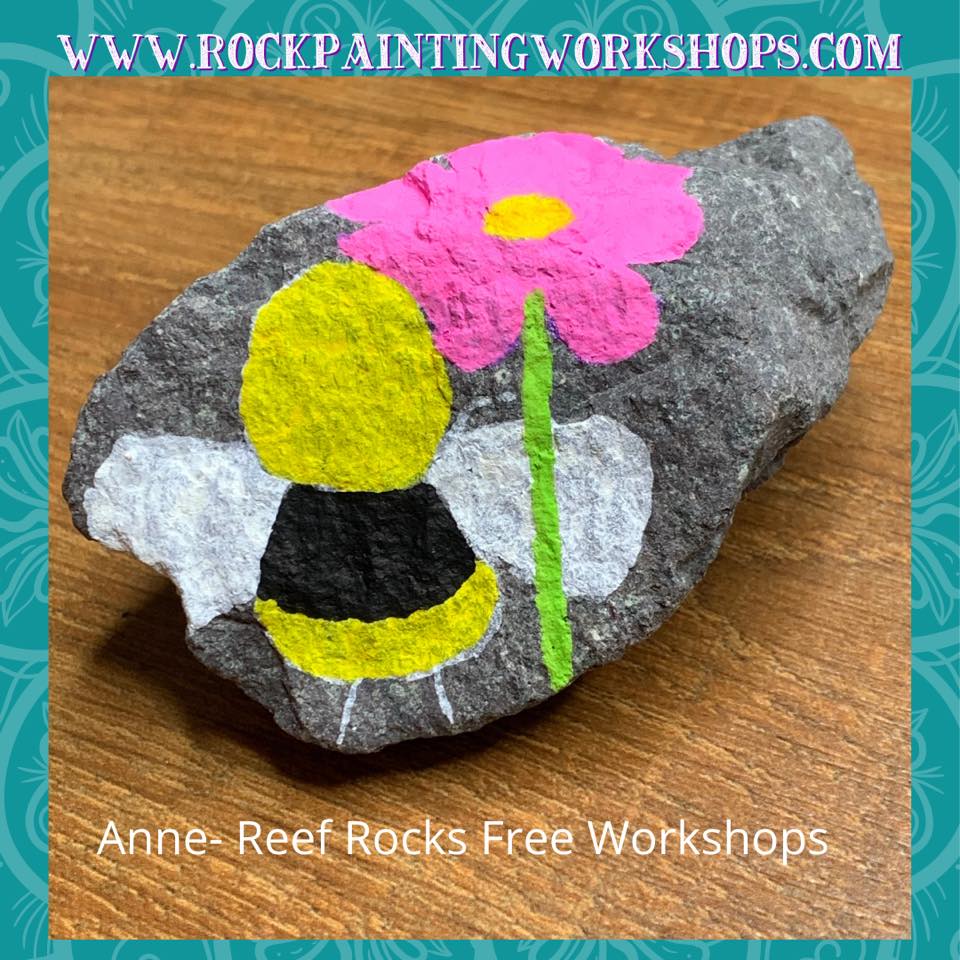
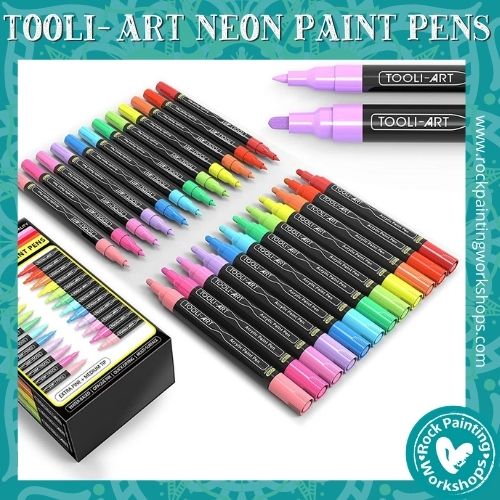
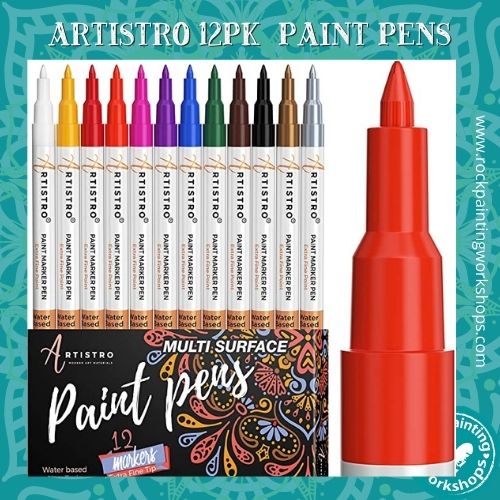
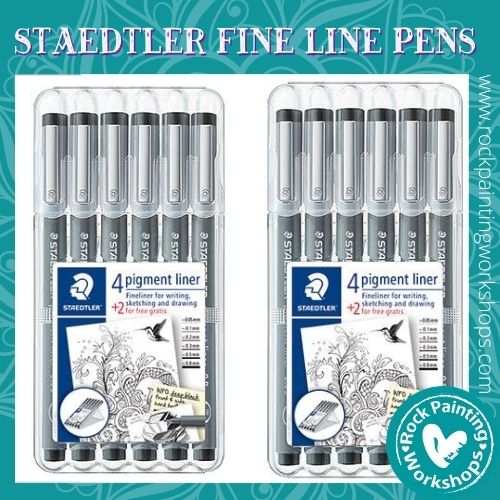
Use a black colour pen and outline the image, Great pens for outlines are Posca 1m, !mr or the 0.7m size in Tooli-Art or Artistro.
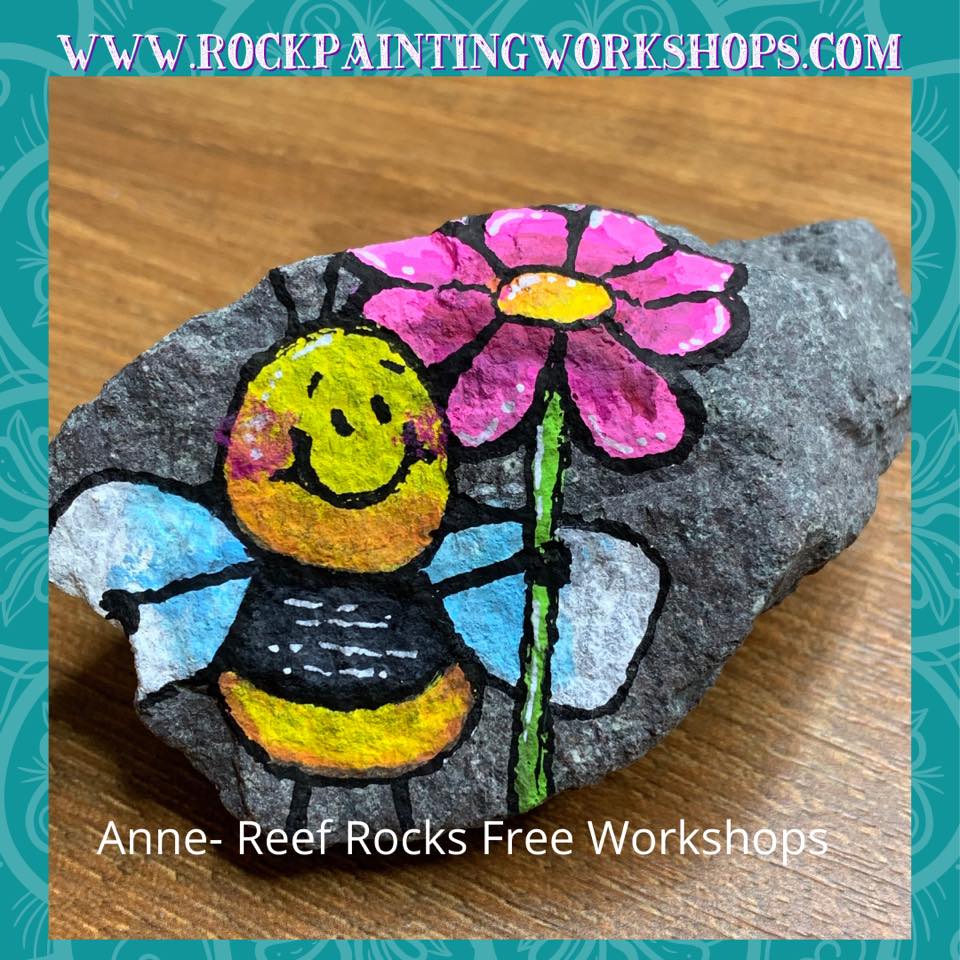
And if you want to add a touch of highlight – pop on a few dots and dashes of white paint .
You can find awesome fine Pens to help you with this here
Draw the design on your rock. Click on the image below to learn how to draw on Rocks
Colour on your rock – I have just painted a nice even layer. You do not want to paint it to thick. The more layers on the rock the more chance it has of peeling off later as the water in the base evaporates. Click on the image below to find out how best to paint on rocks!
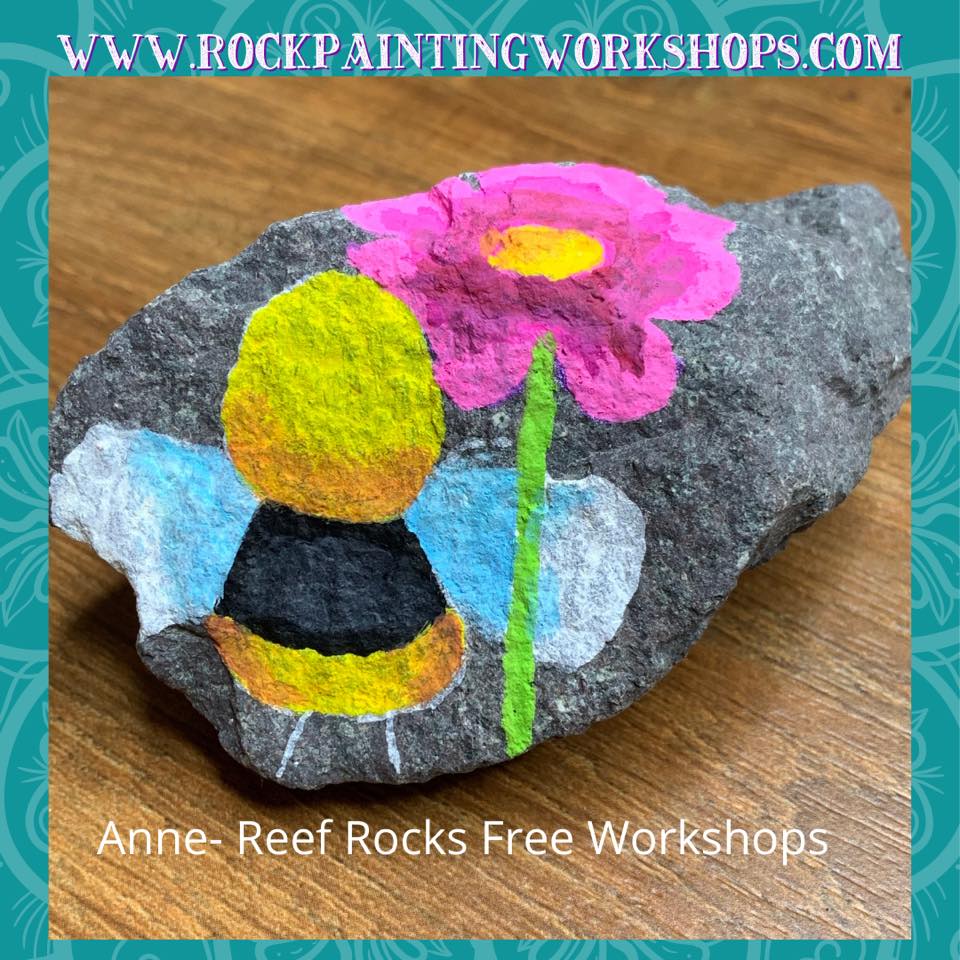
Shading makes all the difference to the end result. Adds depth to the Image.
I use clean water and a size 2 or 4 filbert taklon paintbrush click on the below image to learn the technique – or head to YouTube to watch how I do the shading.

I would love to extend to you an invitation to an exciting new Rock Project I have put together.
This project is an ‘Online course’ about Rock Painting and it is like no other – This is the first and most amazing Rock Painting Course ! Not only will I guide you through the process of creating Kindness Rocks but find out how Kindness Rocks help support at risk Woman and children in Nepal.
What is this course all about? An online Rock Painting Course with 55 Videos, 13 E-Books – and a dedicated forum for questions and answers with myself to help you. JUMP on this link to JOIN US
Have you joined us on Social Media? We would love to hang out with you there, jump on these links & come introduce yourself.
Click on our “Let’s Learn Links” below to learn some great techniques.
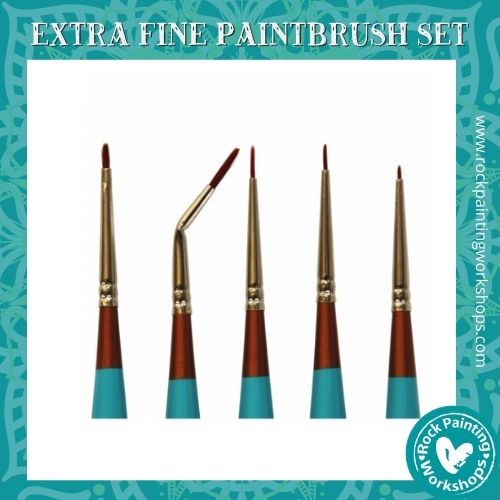
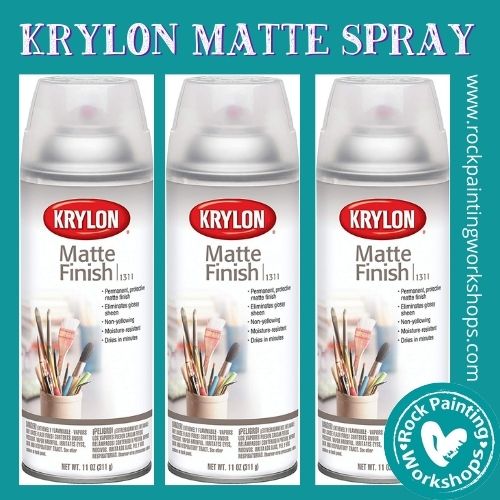
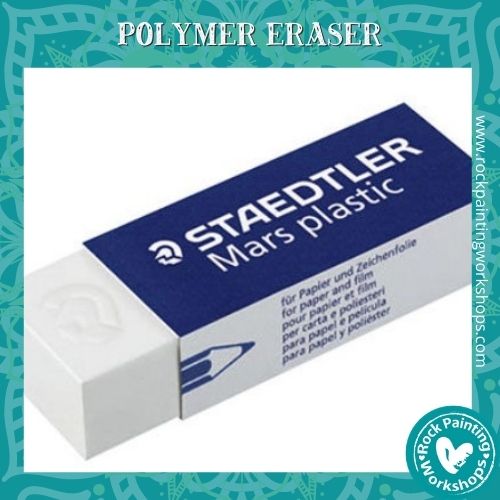
Below are some awesome products we used to create this tutorial and many others. If you need supplies, consider buying through us. The seller pays a small commission (not you) and this contributes to the costs of sharing tutorials. More products can be found here SHOP NOW
