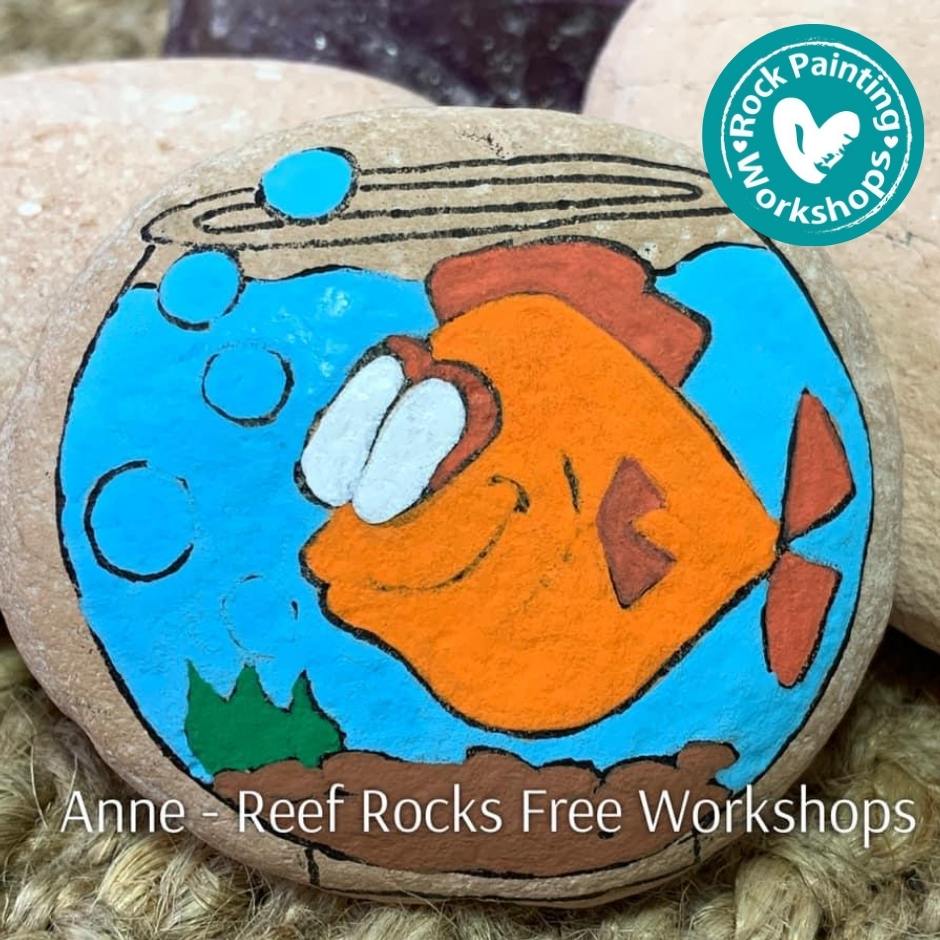
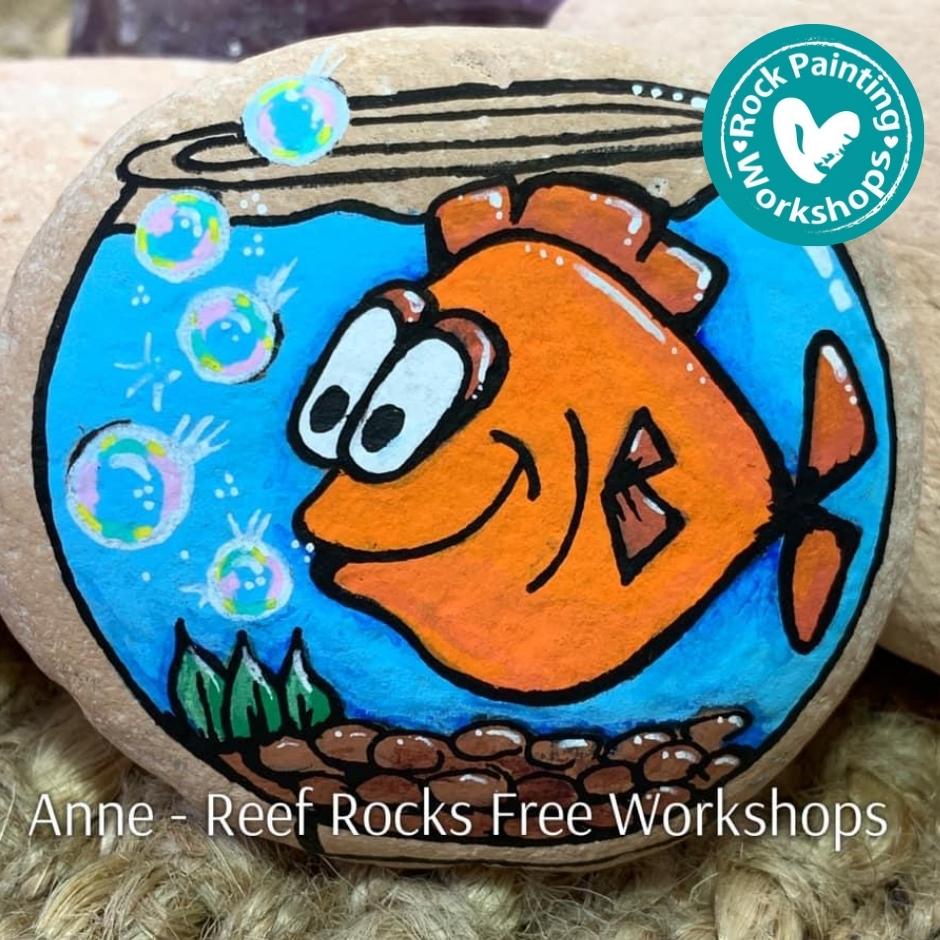
Yesterday bubbles tutorial used on today’s pet goldfish – I like him … and we all know I Looove orange ![]()

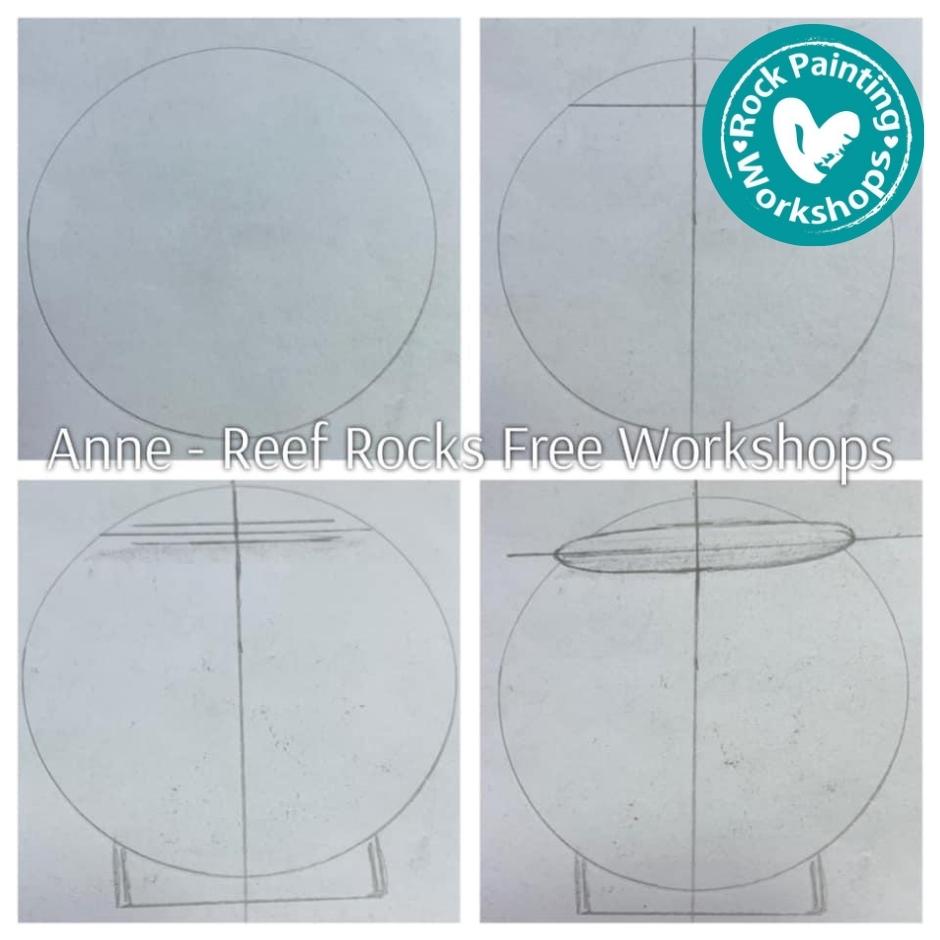
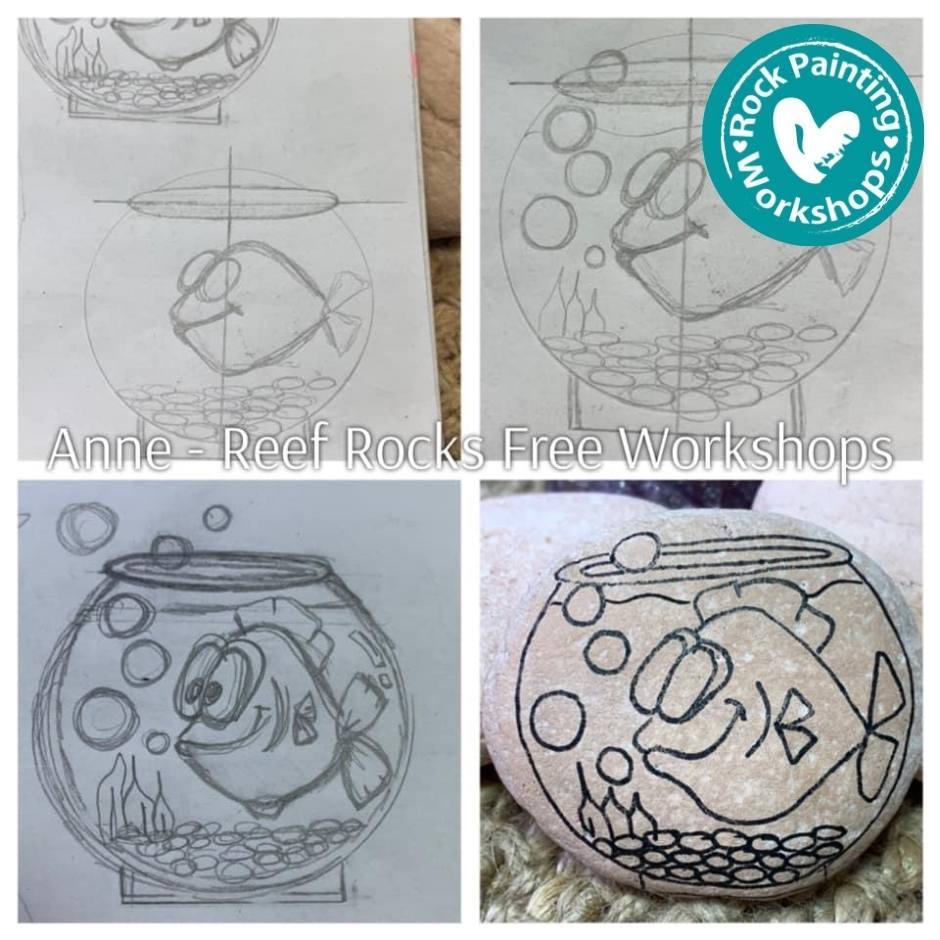
Do you have an ideas journal? It is nothing fancy but a dedicated book to catch all your creative ideas. I also use this to draw my steps in to decided how I am going to execute my ideas to my rocks.
Drawing a vertical line in the middle helps to get a balance to your drawings ….. unless
you’re me I never draw straight hahahahaha.
On your rock draw your design with a HB Pencil, sketch it until you are happy with your design.
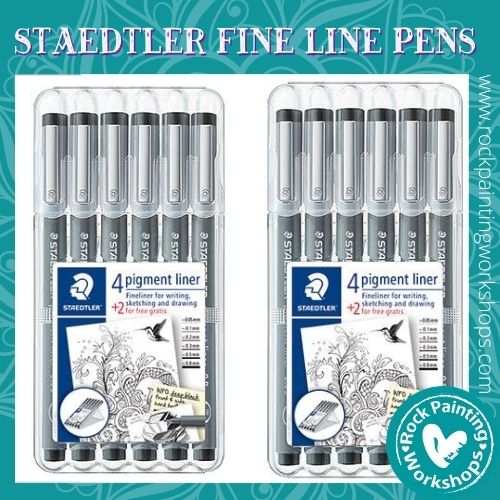
Draw the image on your rocks with a black acrylic paint fineline pen in size 0.7m.
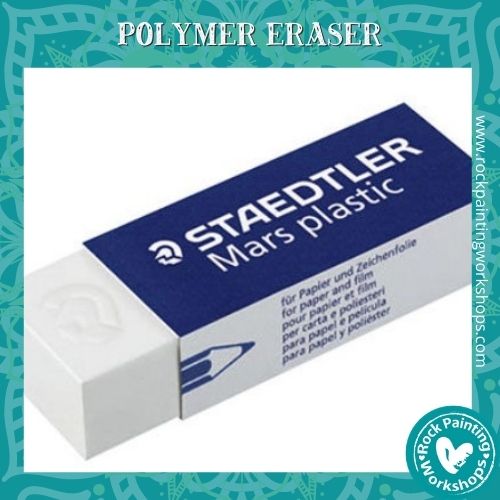
Let the pen dry completely and then erase any pencil lines from your rock. Use a white polymer eraser as it is the easiest one to use on rocks.
Colour in the image using your acrylic paint or acrylic paint pens. Start with one thin layer and let it dry. Add another layer for coverage if it is needed.
#TIP you will always get an even finish building up the layers. This is for Acrylic Paint or Acrylic Paint Pens
Let the previous paint lines dry, now add in some highlights and decorations.
Take your black fineline acrylic paint pen and draw in all the outlines. I like to do thicker black areas to create some cartoon shadow, see the tail and mouth.
Use a white fineline acrylic paint pen and highlight a few places on the rock – this represents light that reflects on your rock.
Have you joined us on Social Media? We would love to hang out with you there, jump on these links & come introduce yourself.
Click on our “Let’s Learn Links” below to learn some great techniques.
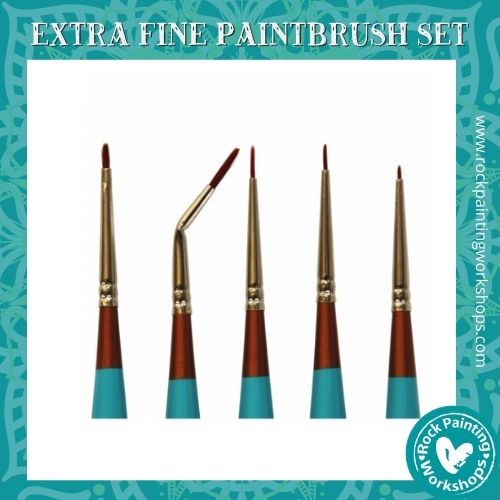
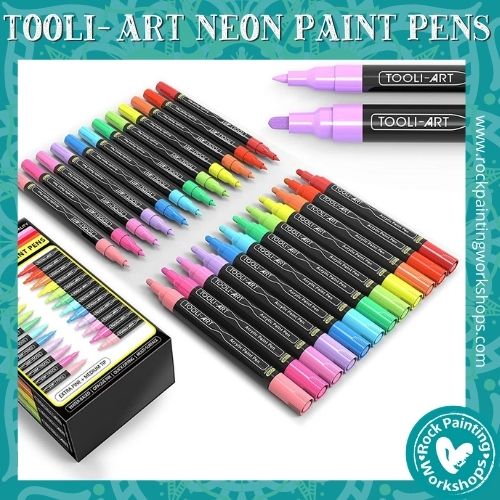
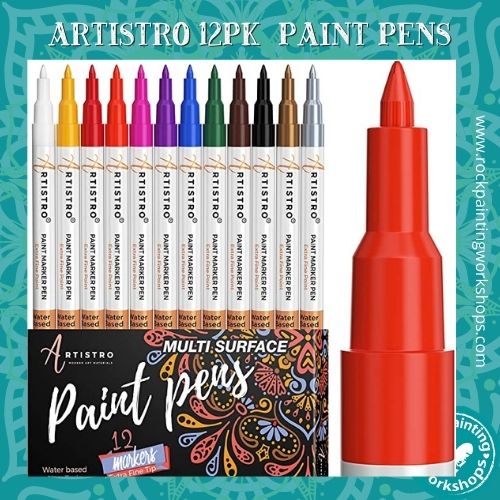
Below are some awesome products we used to create this tutorial and many others. If you need supplies, consider buying through us. The seller pays a small commission (not you) and this contributes to the costs of sharing tutorials. More products can be found here SHOP NOW
