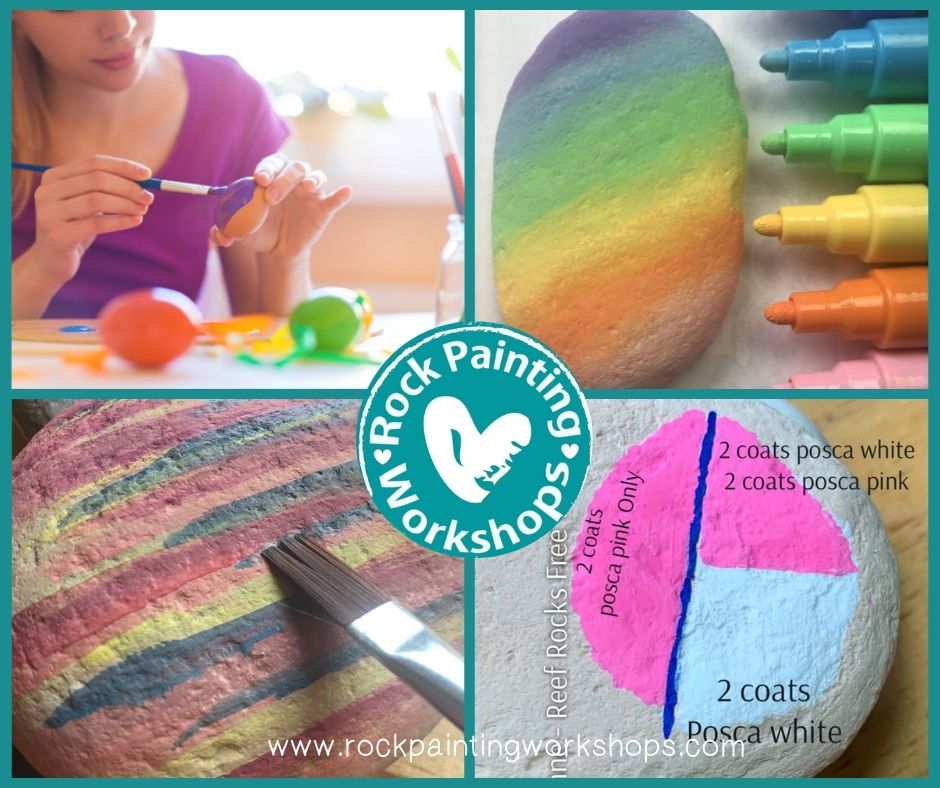
First question… What are you creating, a drop rock or an art rock?
Next question… why do you want a base coat ?
Is it the visual look that you want ? That you want to see the colours of the background to be a part of your design.
Or are you putting down a base coat as you think it needs to be on the rock? You hear it on Social Media that you have to use a base coat, but do you know why? The least amount of layers on a rock you will be hiding is best.
Let’s chat about base coats on rocks ….

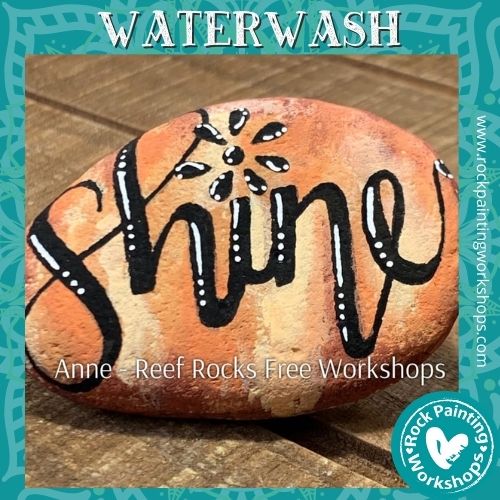
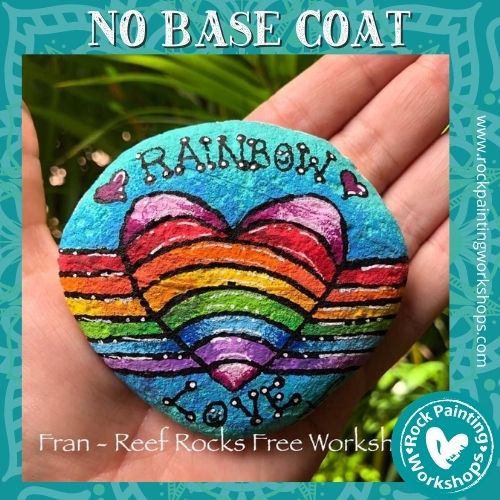
One way of looking at base coats is that they become a part of your background. These rocks here have no special base coat on them, the paint is used straight on the rock creating layers of colour. This is done by a technique we have called our ‘Waterwash’ look.
CLICK on each picture and you will be taken to the tutorials on how to create these rocks with the backgrounds you see.
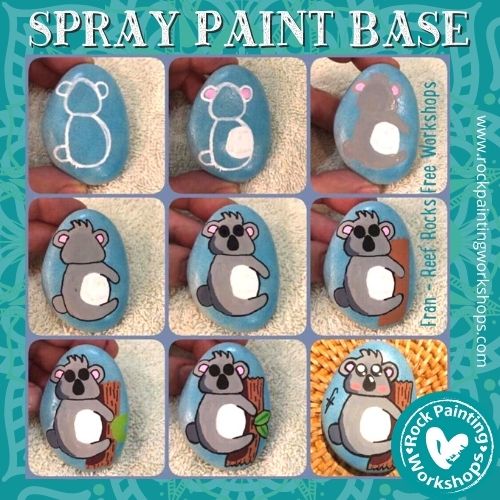
Have you thought about using Spray Paint as a quick base on your rocks? This is a great way to get a lot of rocks created quickly and it is so simple to do.
When the Spray Paint is dry you can use your Acrylic Paint or pens to create the Koala.
Hey just thought we better check in and make sure you are seeing all our tutorials? This Koala is just one of thousands that we share for FREE – check out our FACEBOOK GROUP HERE and get a new one each day.
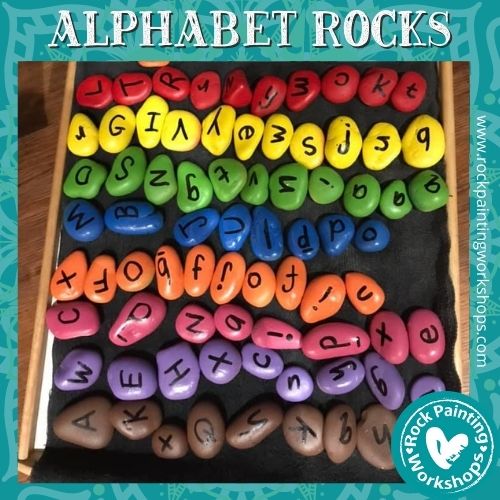
This is a great idea that Melody shared with our
FACEBOOK GROUP
She sprayed her rocks all different colours. When they were dry she used her Black Posca Pen 3M and wrote alphabet letters on them. She did a few sets for her daughter’s kinder class.
HERE are the spray paints she used and also the POSCA PENS can be found HERE
Many people paint their rock white to ‘brighten’ up the colours they put on top . Good quality paint would not need you to do this. Acrylic paint is pigment based and meant to be opaque and layerable. Some great brands have fluid acrylic paints and these are translucent but most people are just choosing the wrong paints. If you use the same brand of paint pens as us and are not getting the opaque finish you see, please check out this PAGE HERE to troubleshoot why.
So should you paint a base?
Your goal when creating a drop rock is to paint the least amount of layers you can from start to sealing. The more layers on the rock the more chance there is of it chipping when bumped and paint coming off. It will always be jostled about – this rock is on the move hiding and being found in your community.
Do you use a white as your base ? How come ? And what are you using? Is it compatible to the rock… to your paint or pens?
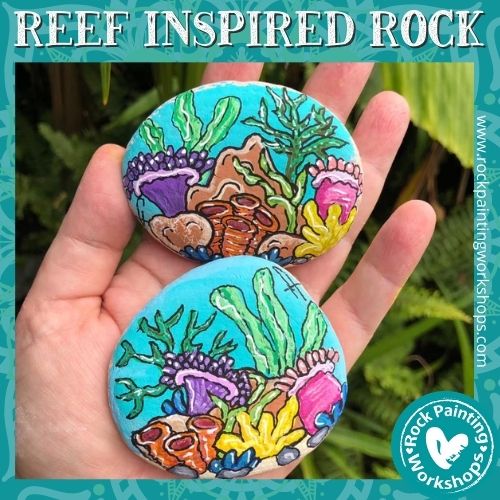
The outcome you get will depend on what you are painting with and the quality . This Reef on a rock has NO base and is so bright & fun.
• If you are using acrylic paint and it is has low coverage after a few layers of painting, it is a brand that is low or has poor quality pigment in it . PAINT INFO HERE
• Posca paint pens are pigment based acrylic paint as are Tooliart and Artistro these are the 3 international brands of acrylic paint pens we use and recommend, they have great pigment as shown here
Pens are AVAILABLE HERE
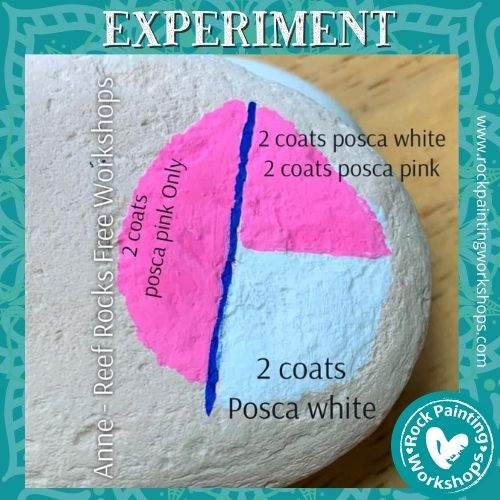
The pink in this picture is exactly the same from left and right. One has a white paint base the other does not. They show the exact same outcome, this shows the white is an unwanted layer.
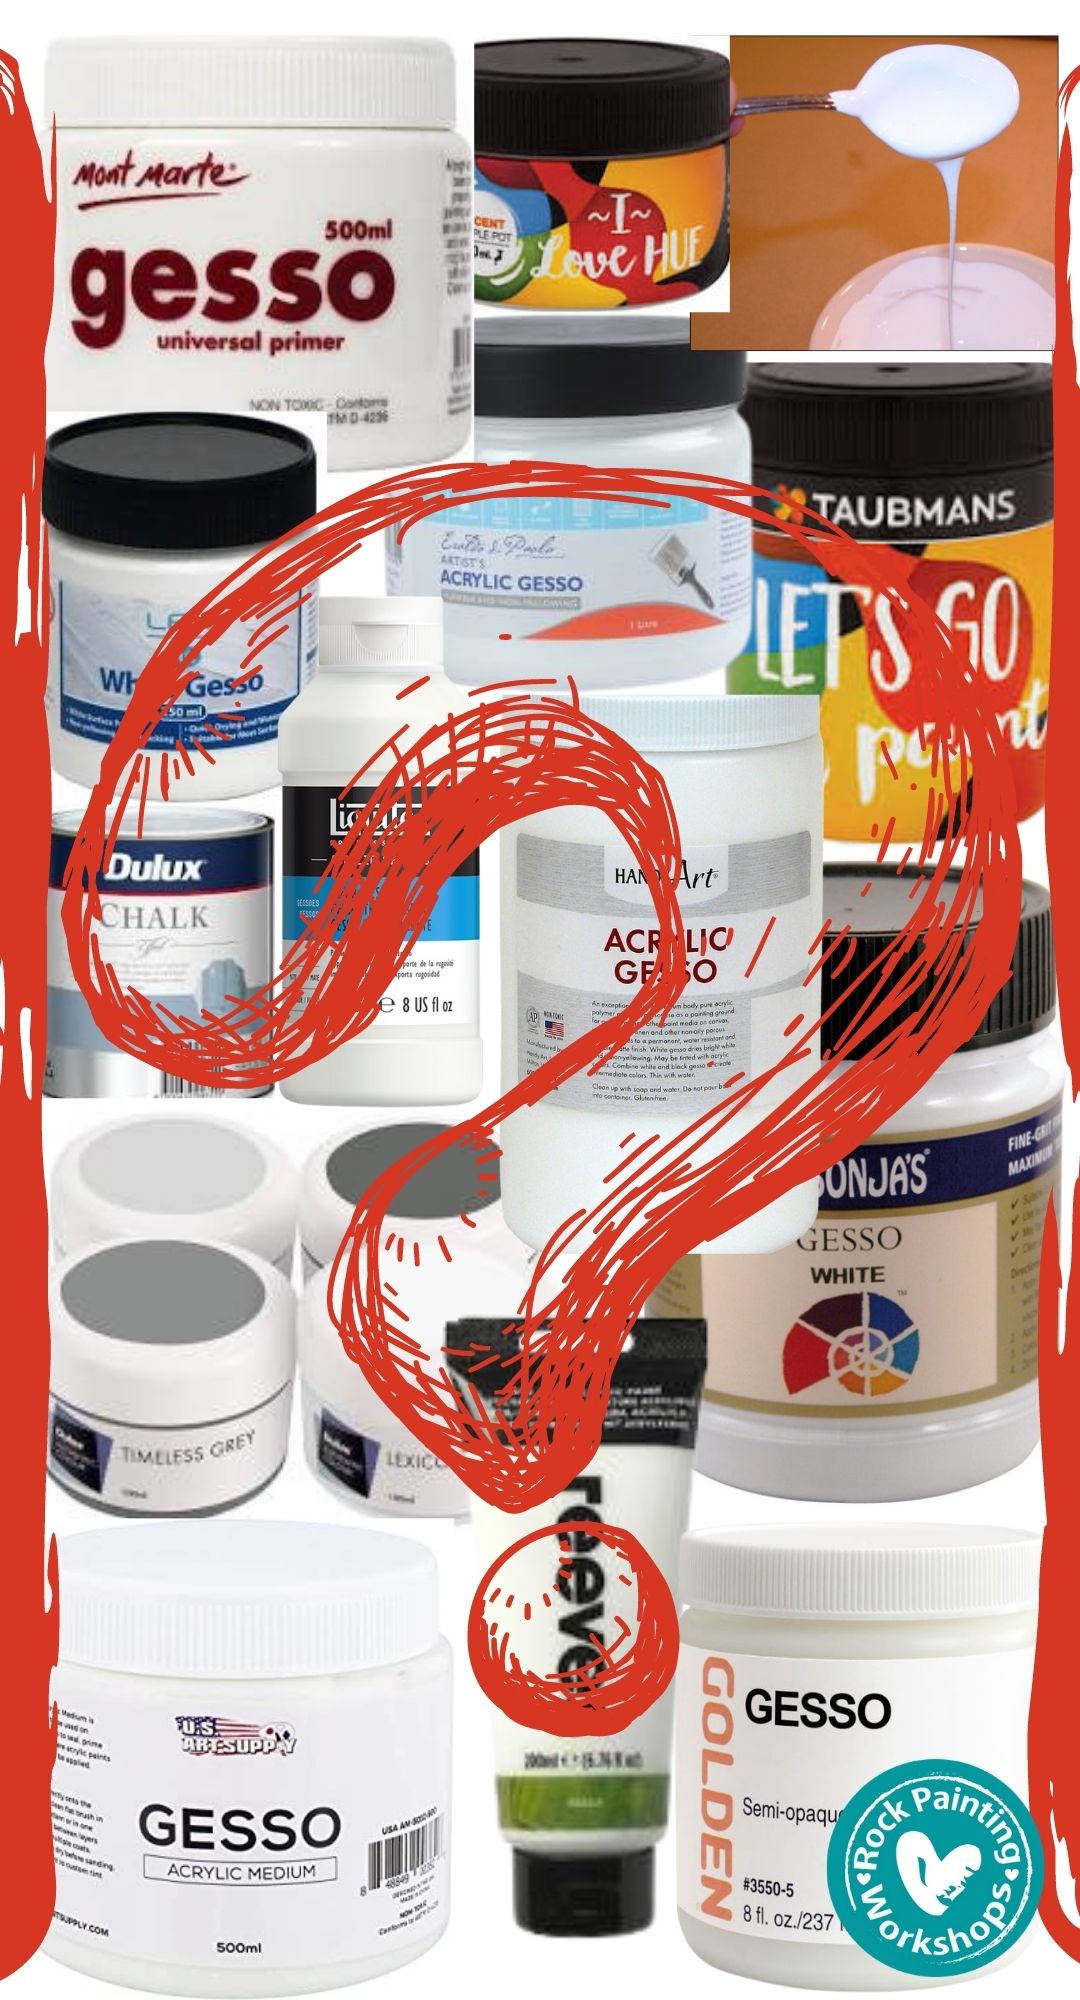
It is not wrong to paint a base but why do it if it is not needed? Rocks are not canvas so some products do not work as they would on a canvas. There are some products that are just not suitable and do not have a relationship with acrylic paint or acrylic paint pens. Yet everyone seems to use them because another person told them to… but never said why.
One person may say ‘Use Gesso’ – a gritty base layer used on canvas to get the paint to grip to the canvas. But acrylic paint already grips to rocks without gesso ( gesso is acrylic paint with grit in it). Gesso is also not a ‘brand’ so you have 100’s of different ones – and some are awful, thick and cheap and just create an unnecessary layer.
Some people use a bulk tin of house paint, griplock or a cheap brand of acrylic craft paint etc This is a layer that just may not be all that compatible to the top colour you will be applying – Why add another product or brand into the equation if it is not needed? Understand why you are using something and if it is not needed for any purpose – skip the unwanted layer. It becomes another layer that you have to figure out if it is compatible with acrylic paints or pens, sealer, sun, rain……
– Fact.
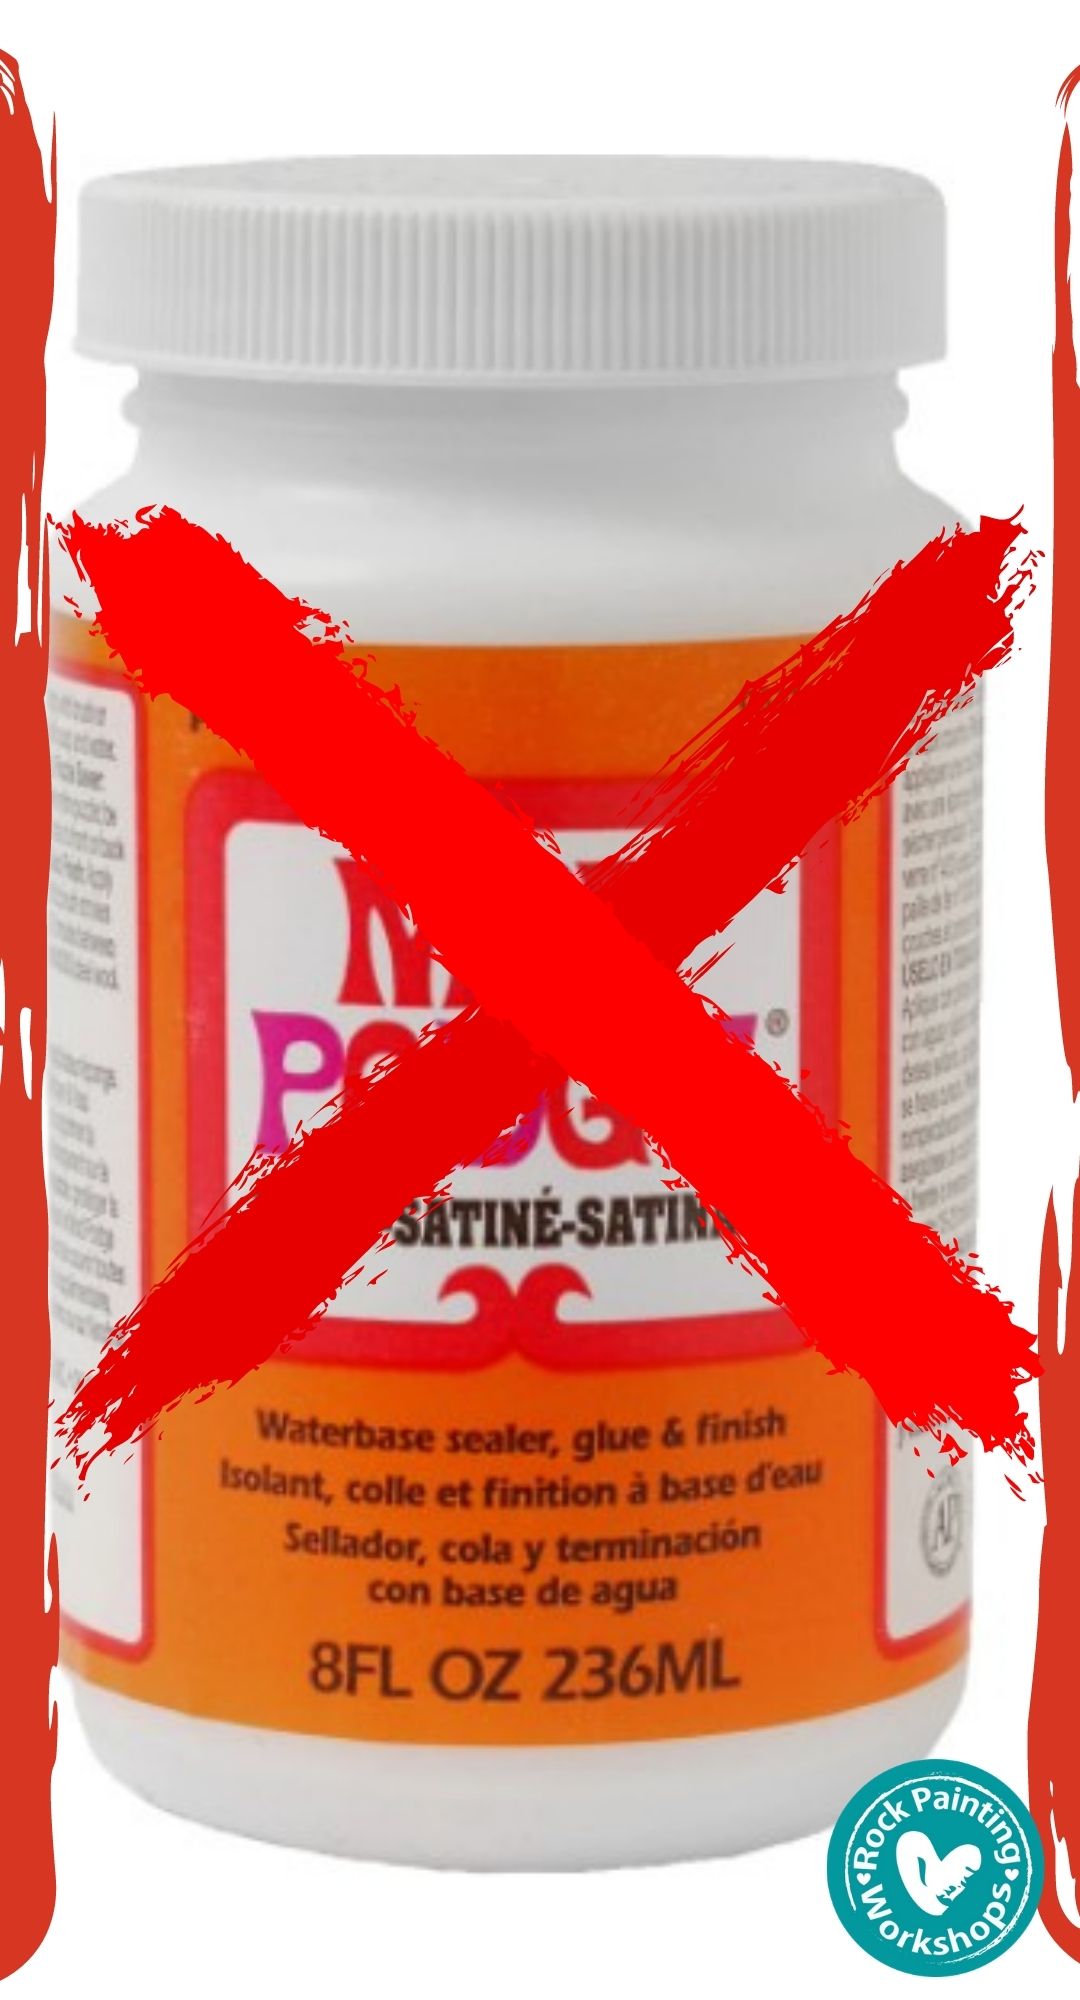
The most interesting choice of all is hearing people apply a layer of Mod Podge to start the rock! Why? Well I have not quite figured out any real answer when I ask anyone that does this – but some say to create a layer on the rock to protect your paints pen tips. Some say they just do it because someone that paints nice rocks told them to. OK, so the reality is this in many cases – You need to use less pressure on the pen if you are ruining the tips.
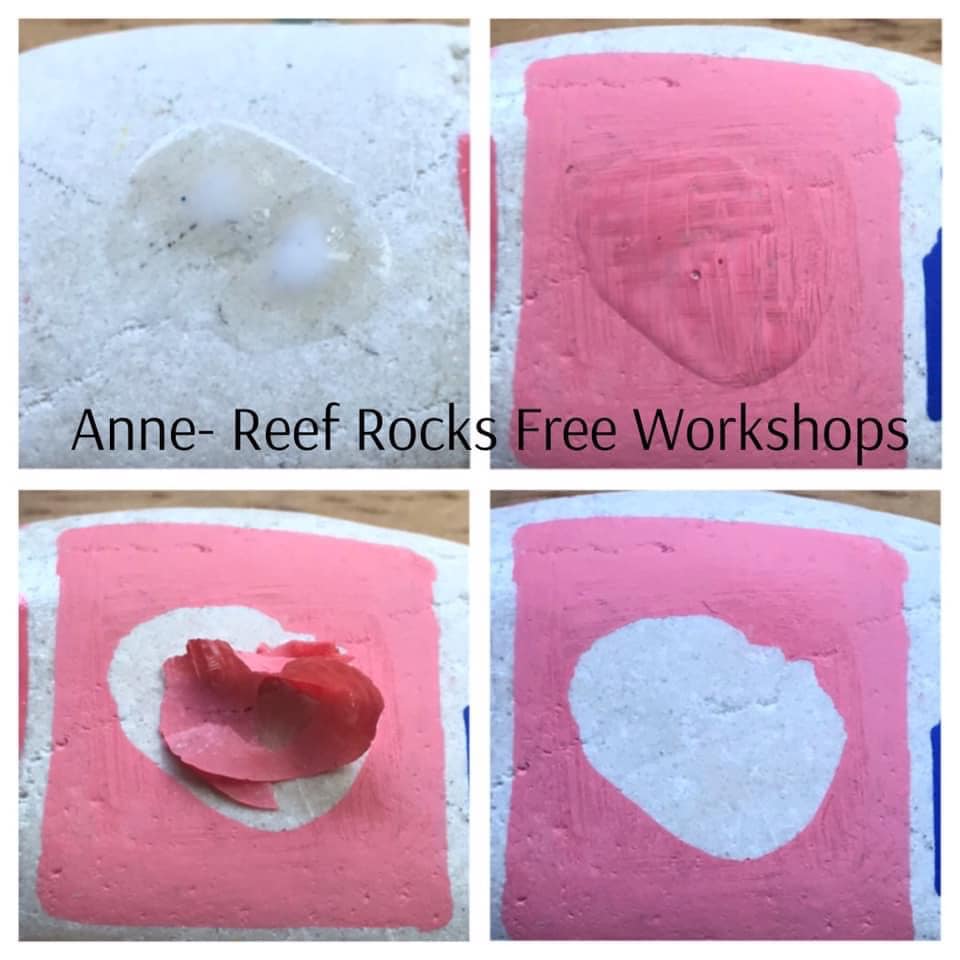
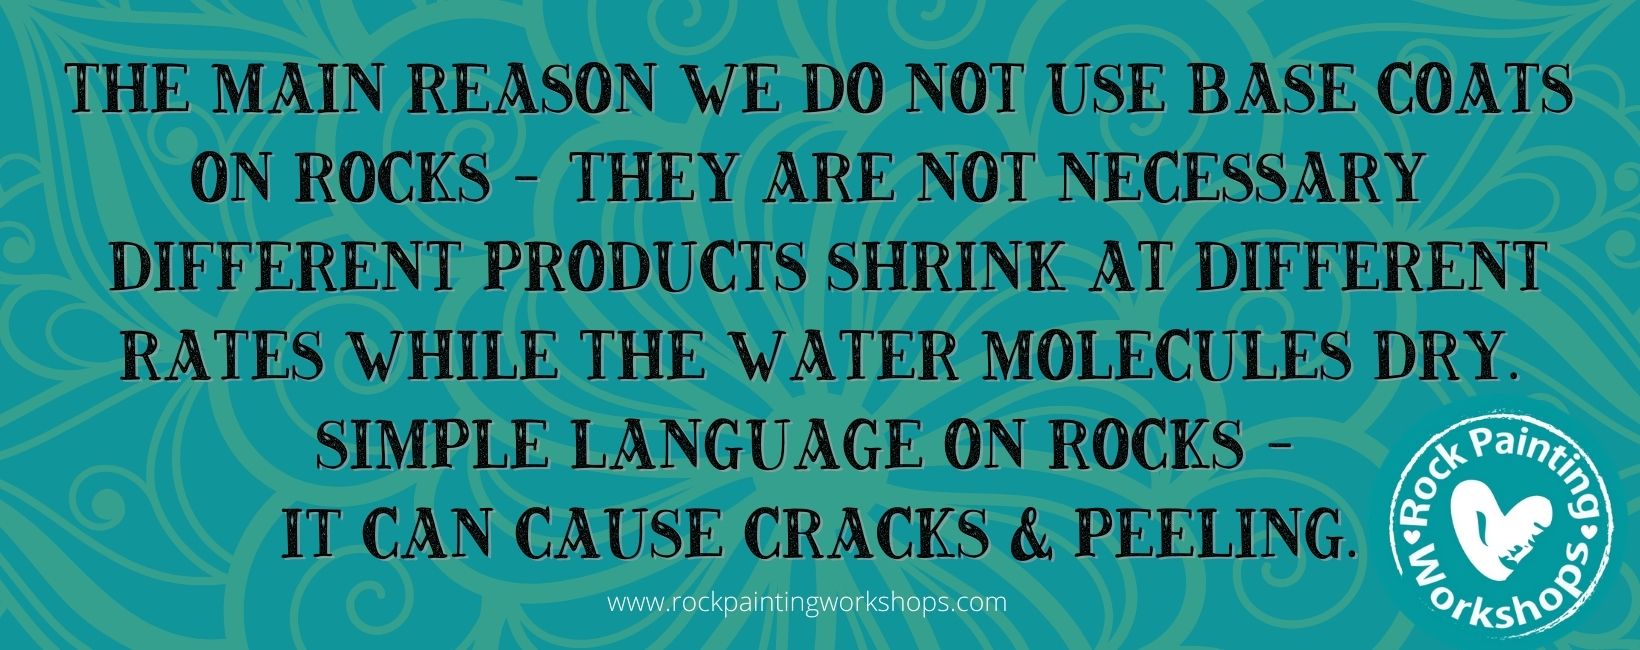
Mod Podge is a water based product and the water evaporates over time – It is not meant to be used as a base – Fact. Acrylic paint is polymer based and is NOT compatible on top of Mod Podge. As the two products do what they do while drying, the final water molecules dry out of the product and it can cause cracks and peeling as they are drying with different outcomes as they are different products. . The rocks will look great on your desk and in the early stages of drying, but if you knew your rocks would be cracked and peeled in a months time would it bother you ? If you really think it is something you want to do as you wish to base but keep natural rock colour. Use a Paint medium instead -it is compatible with Acrylic Paint
Here is information on PAINT MEDIUM -CLICK HERE
Over time Mod Podge loses it’s stickiness as it evaporates – it hardens, it is not UV resistant and can yellow in time.
We have tested and shared many rocks now and know that letting your first layer of paint have the relationship with the rock is best. Depending on how porous the rock is will depend how even the first layer is but adding a second layer balances that out. And we don’t worry about if base coats are compatible long term. Below are rocks with no base coats and coloured with Posca Pens – click on each photo if you would like the tutorial.
We also understand there are reasons FOR painting a base coat on a rock. Sometimes the rock is quite pitted and needs some smoothness for pens to flow well. Maybe you rock is so super smooth the paint is struggling to grip so Gesso may help – The trick is to know why you are applying a base, if it is for these reasons just mentioned – try a washed down version or a light thin layer is all you need.
To learn more about the Acrylic Paint Pens we use on rocks with no base coats
CLICK HERE
It is very important to seal rocks that will be put outside or used as drop rocks for hiding in your community
CLICK HERE for sealer information
Acrylic Paint is also great on rocks and we share information on that HERE

Our Supplies page is HERE to read up on everything you need to paint Rocks.
Learn heaps of different techniques on how to paint rocks – Right HERE
We are adding new tutorials all the time CLICK HERE for heaps of new ideas

