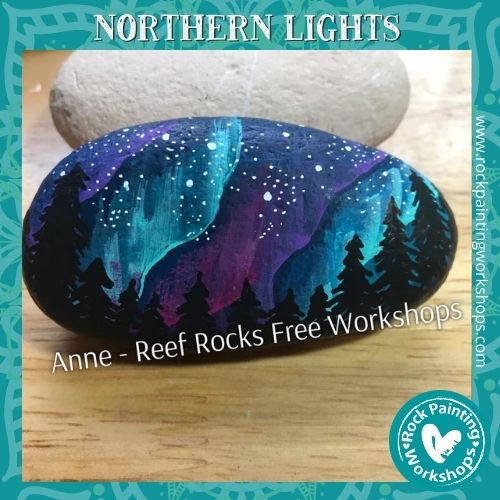
And not a single photo I took can show this rocks true beauty ![]()
But I’ll step you through how I created it ![]() I’ve added text to each photo
I’ve added text to each photo
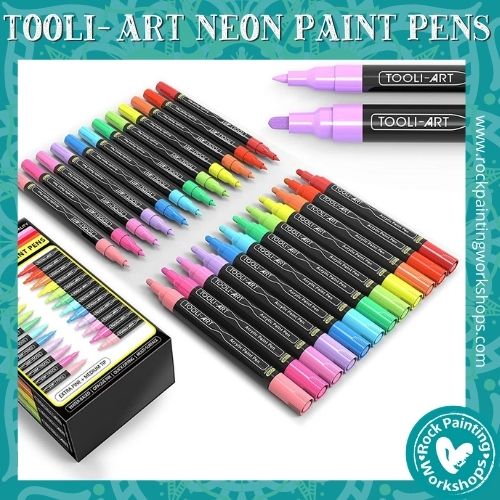
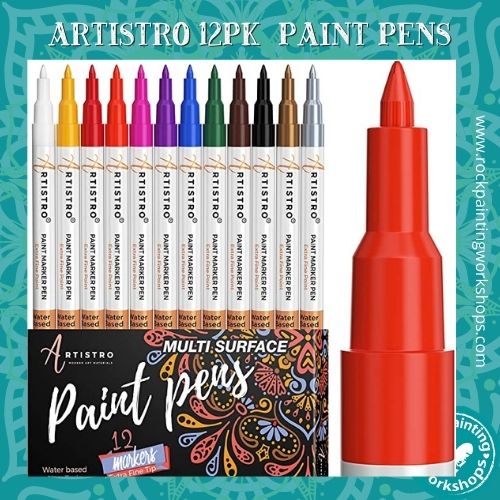
With this rock you want to use acrylic paint or as I have Acrylic Paint pens
AVAILABLE HERE
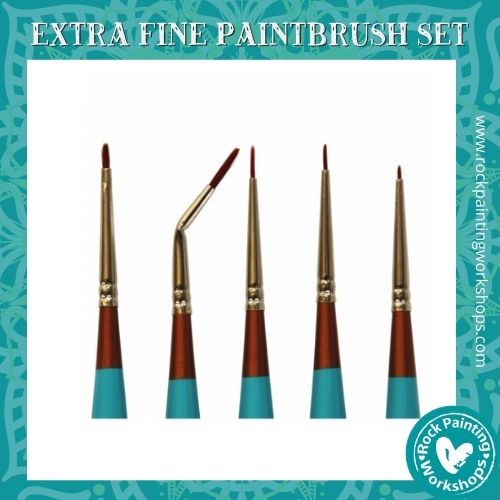
You will also need a small fineline paintbrush, these are the ones I use
CHECK THEM OUT HERE
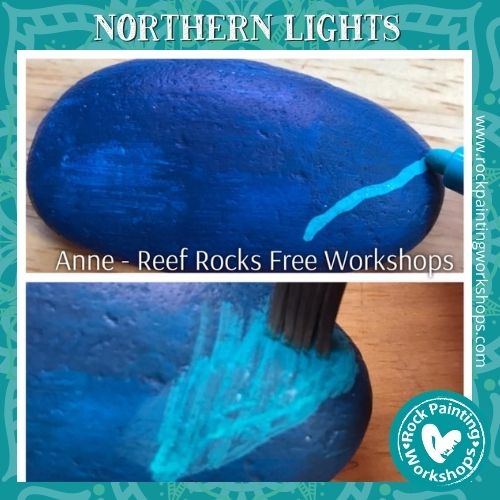
I coloured in (none too neatly) the rock with a Posca Navy pen. Let this dry, I then took Posca Aqua Green and drew a wobbly line aiming upwards but off to the right. While the paint is still wet I took my flat wide damp brush and started brushing upwards. This creates the lights.
This photo the rock is facing the right direction and I was flicking the paint up.
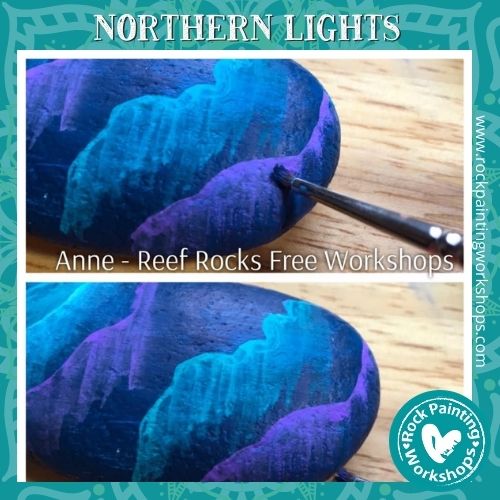
I kept repeating the previous step but leaving some of the dark background showing.
I used Posca Violet and the same technique. EXCEPT I moved my brush on to it’s side that gave me more of a spread line while I brushed up. This picture I turned the rock upside down so it was closer to me and dragged the paint down – dragging down became easier for me.
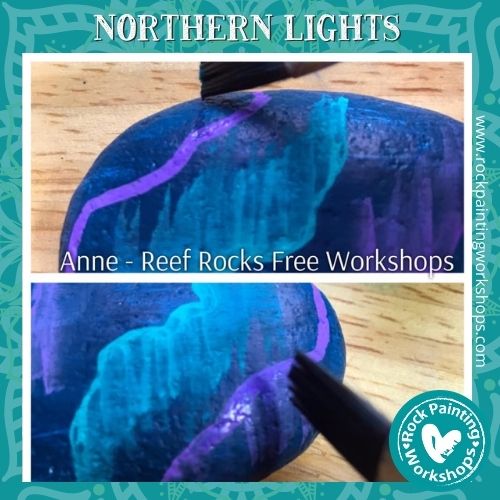
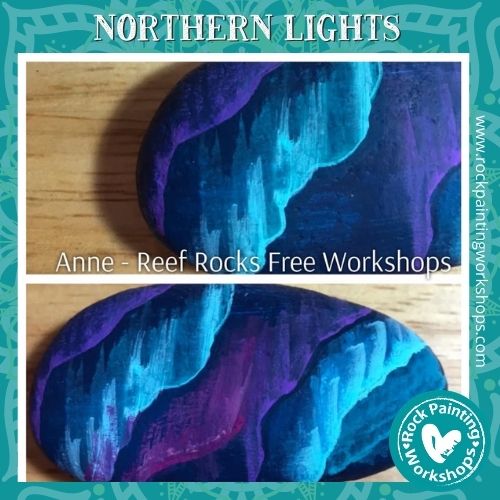
When you drag the colour – you decide if that is up or dragging it down. Just engage with half of the wet paint line, do not drag all of the paint down, you want to leave some solid.
In the next pic, Pink made sense here so I used Posca Fuschia and added some lights in with fuschia and the same technique.
Here I took my aqua green 1m and drew a fine line along the aqua line, to make the light line there more defined. To the right of the purple, just before the aqua I drew a line of navy to again add back some more of the natural dark sky colour. The dark beside the light makes it pop.
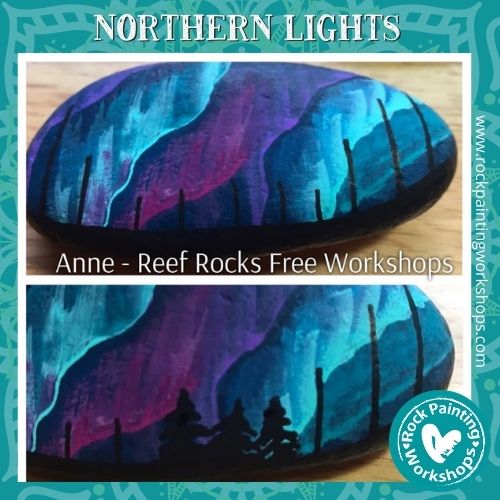
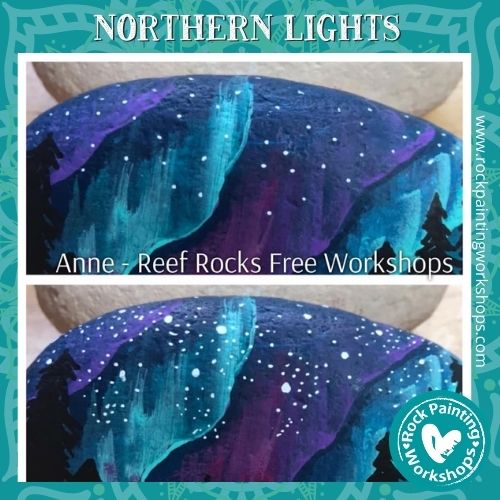
When the paint is all dry I coloured in a bottom curve for the ground with my Posca Black – I then drew the tree trunks in. Using my Posca 1m I added the foliage to the trees. Advanced settings.
The stars ![]() what’s northern lights without stars! 1. I just dotted my 1m white Posca around the top 1/3rd of the rock
what’s northern lights without stars! 1. I just dotted my 1m white Posca around the top 1/3rd of the rock
2. I went back and added some random bigger circles 3. I lightly took my 1m and lightly touched in some clusters of tiny stars. Advanced settings.
Have you joined us on Social Media? We would love to hang out with you there, jump on these links & come introduce yourself.
Click on our “Let’s Learn Links” below to learn some great techniques.
Below are some awesome products we used to create this tutorial and many others. If you need supplies, consider buying through us. The seller pays a small commission (not you) and this contributes to the costs of sharing tutorials. More products can be found here SHOP NOW
