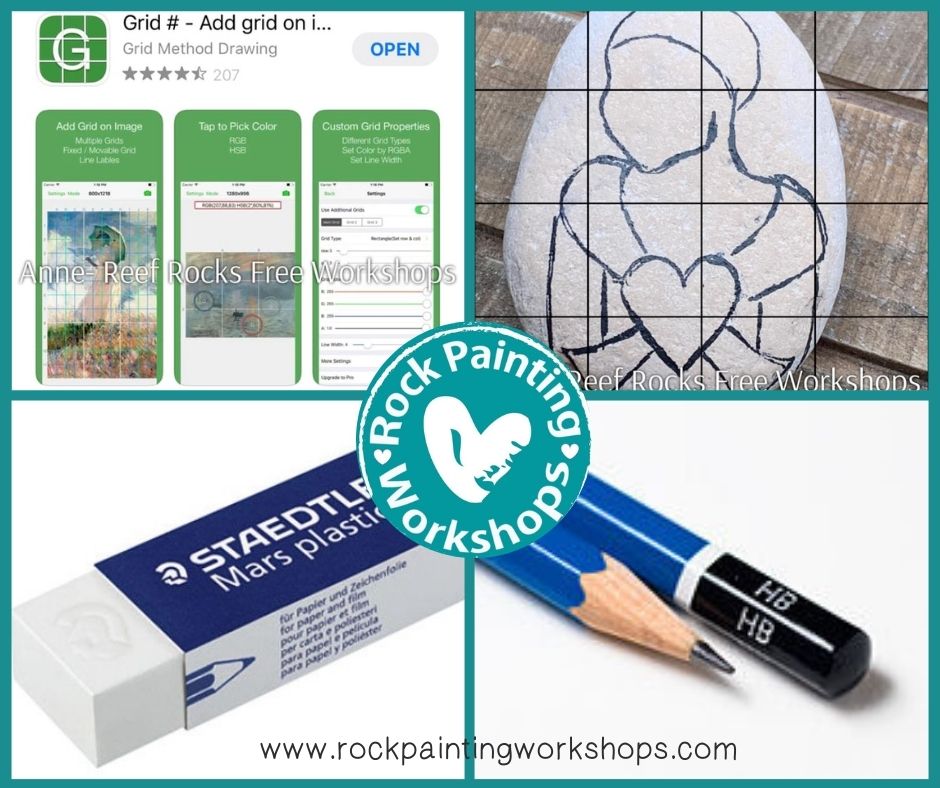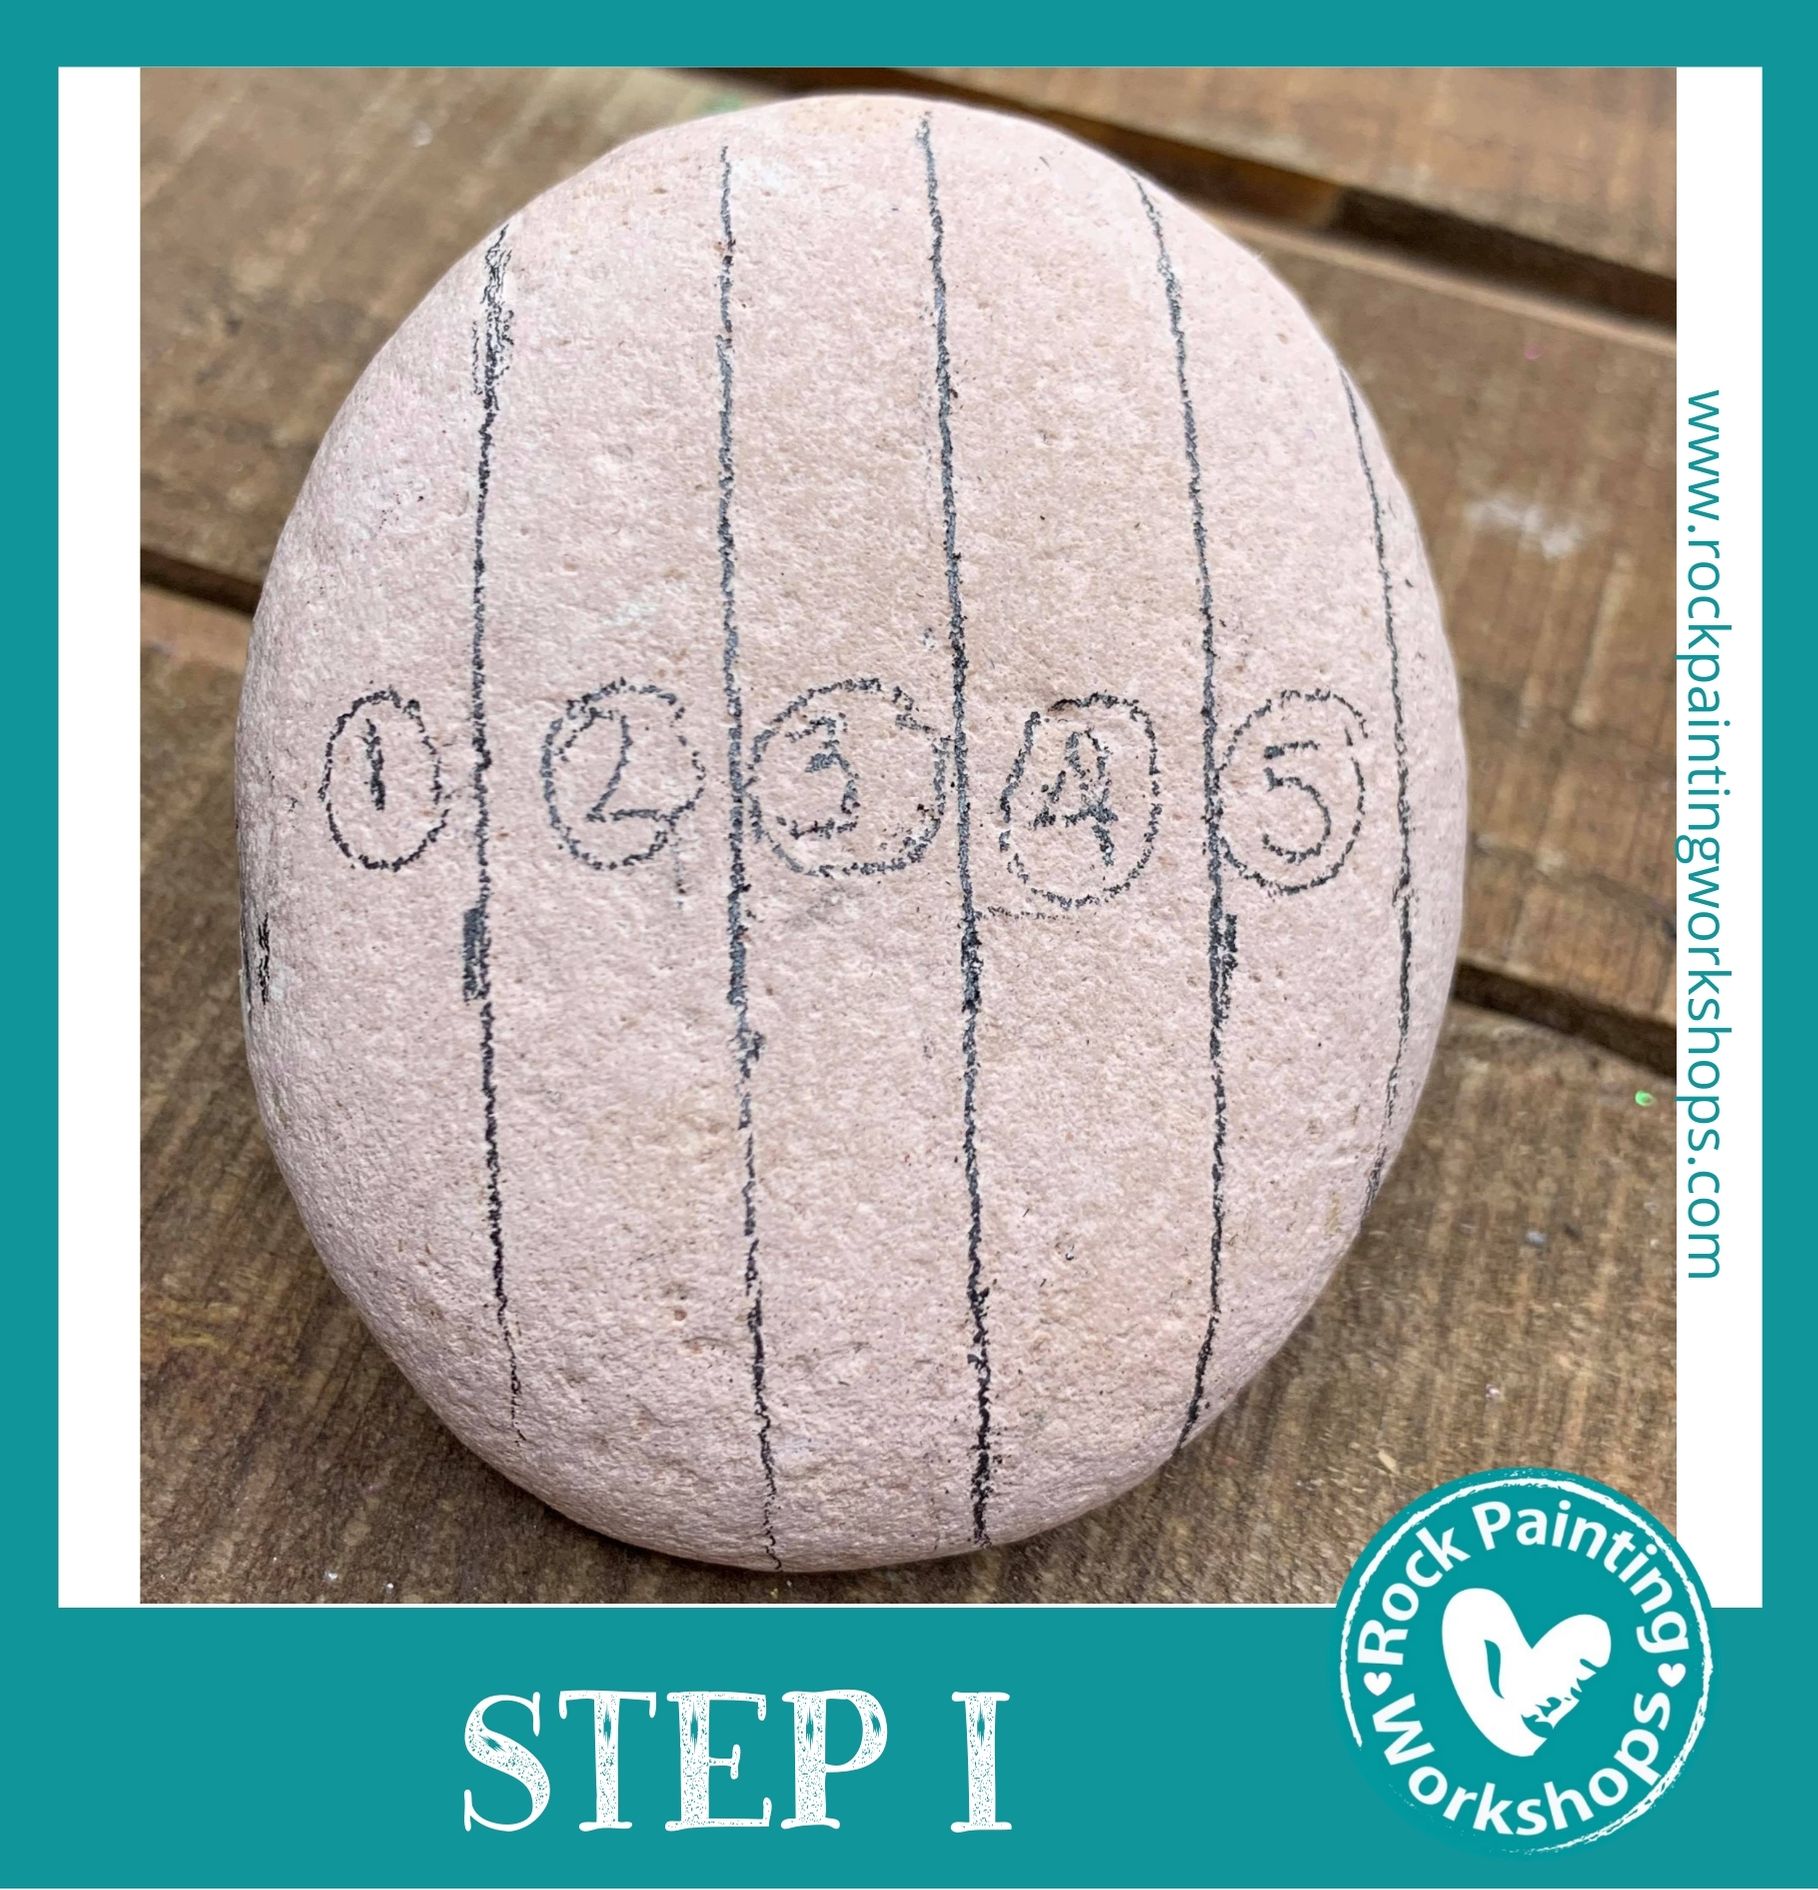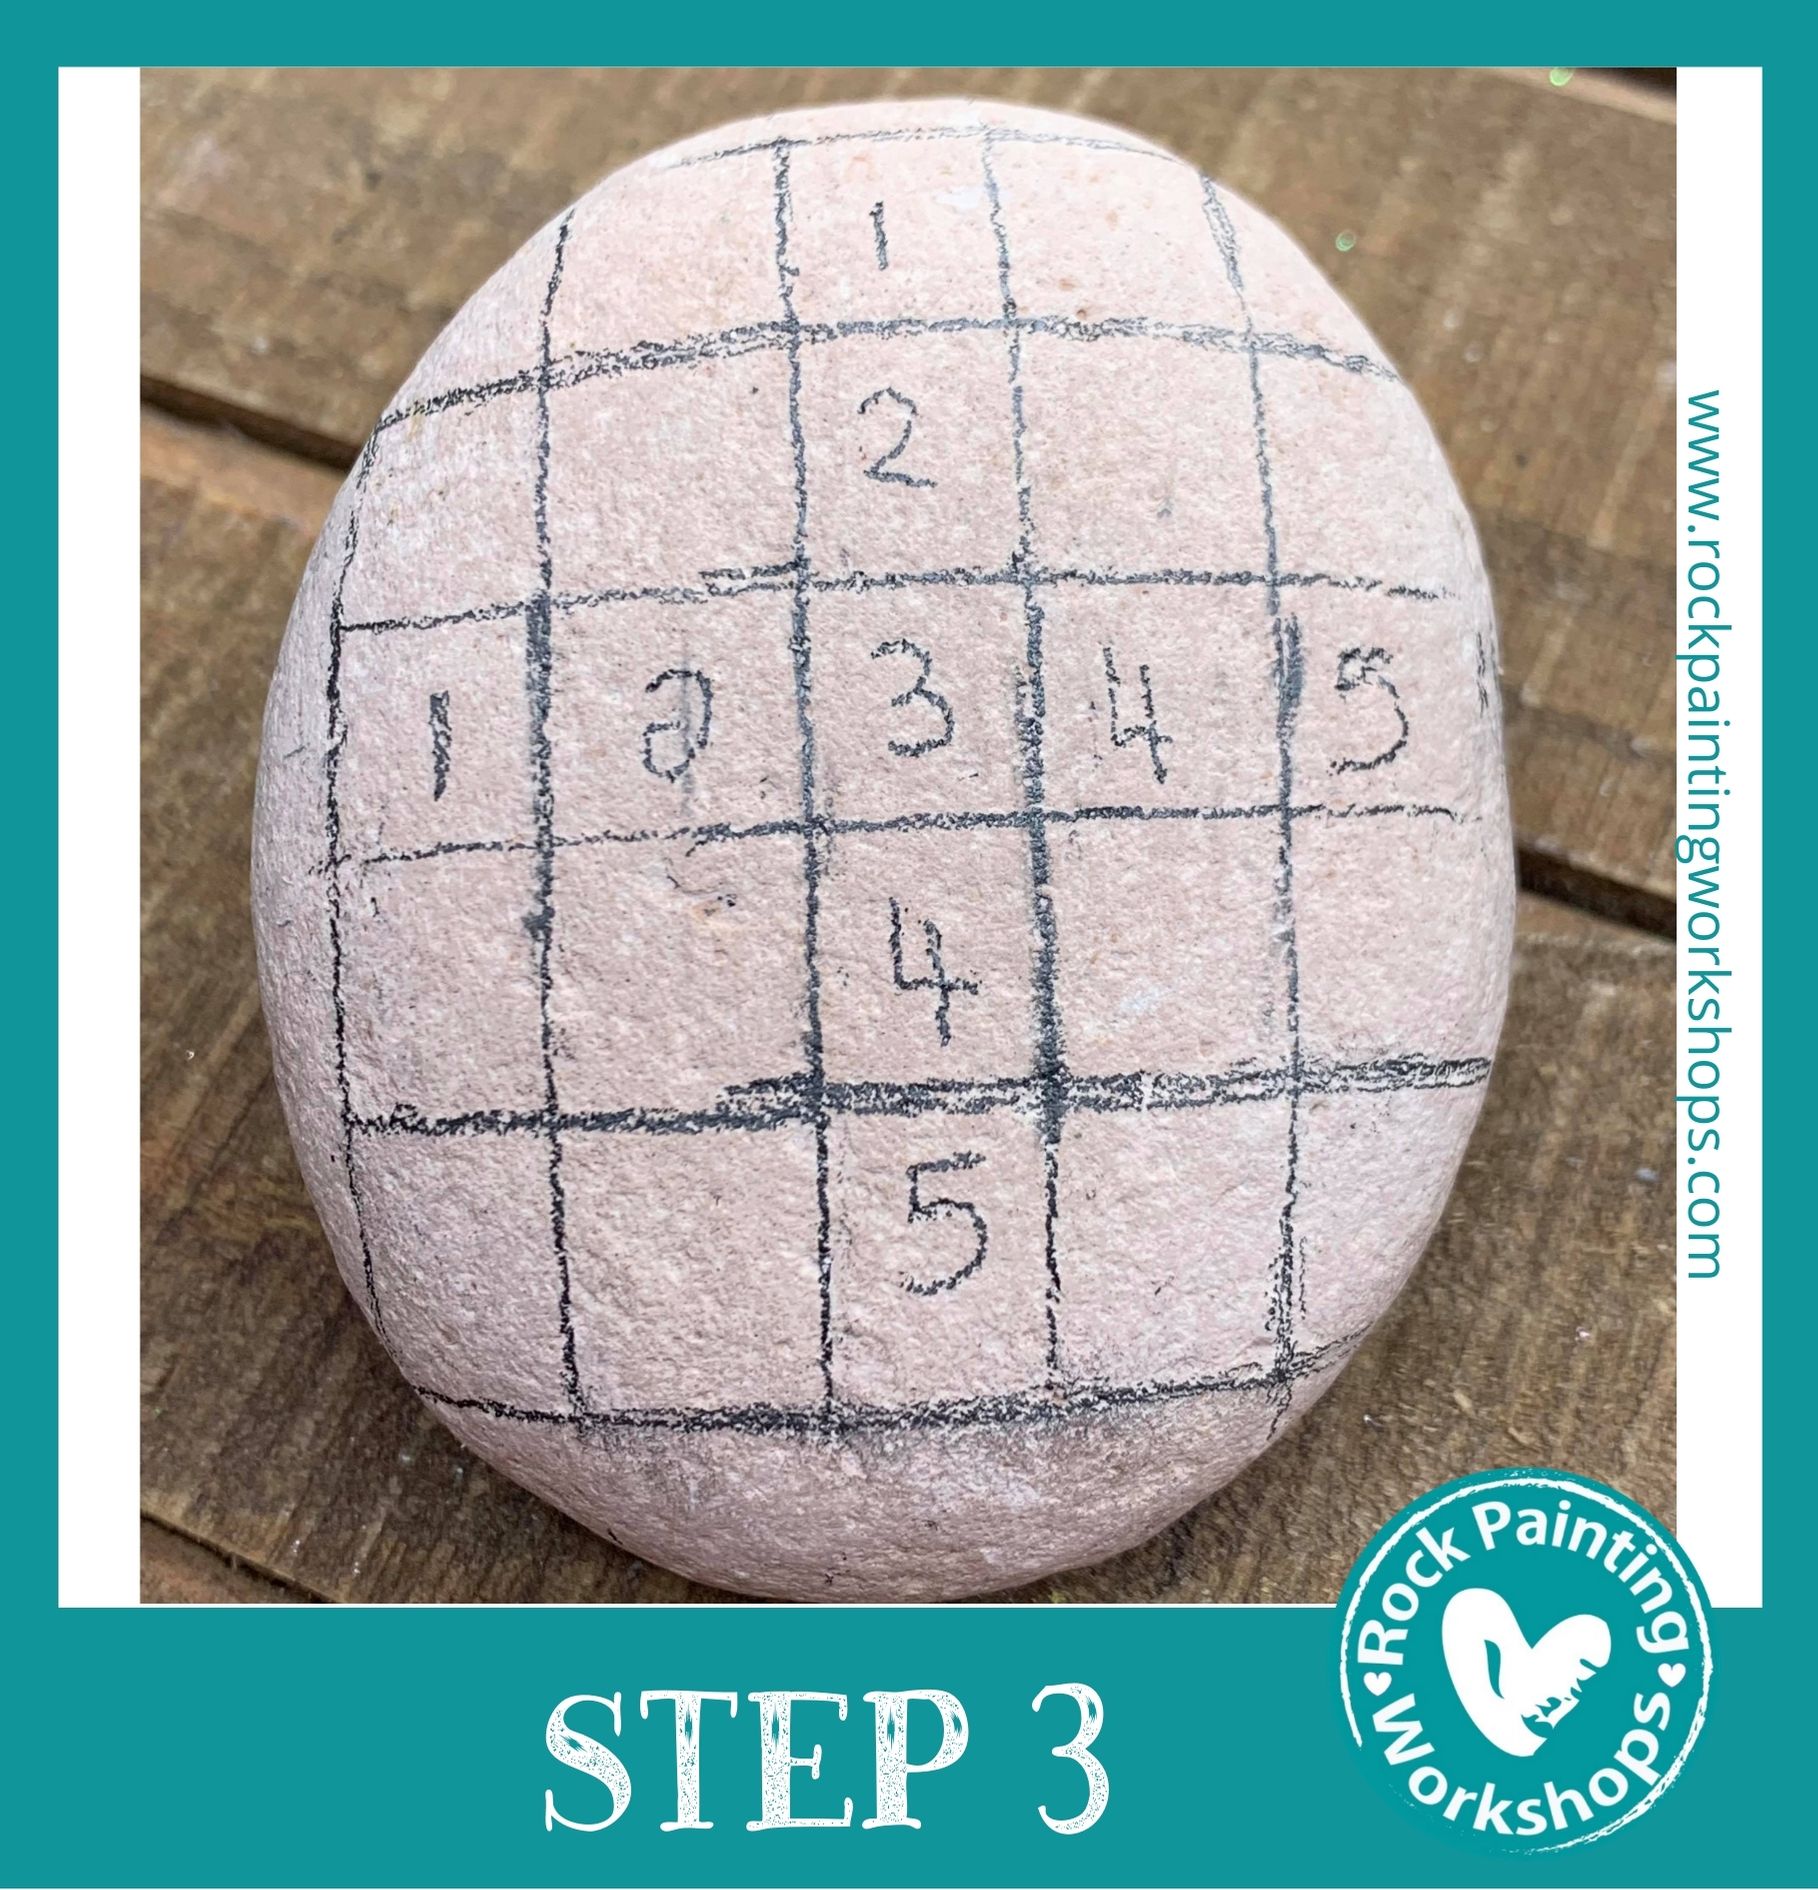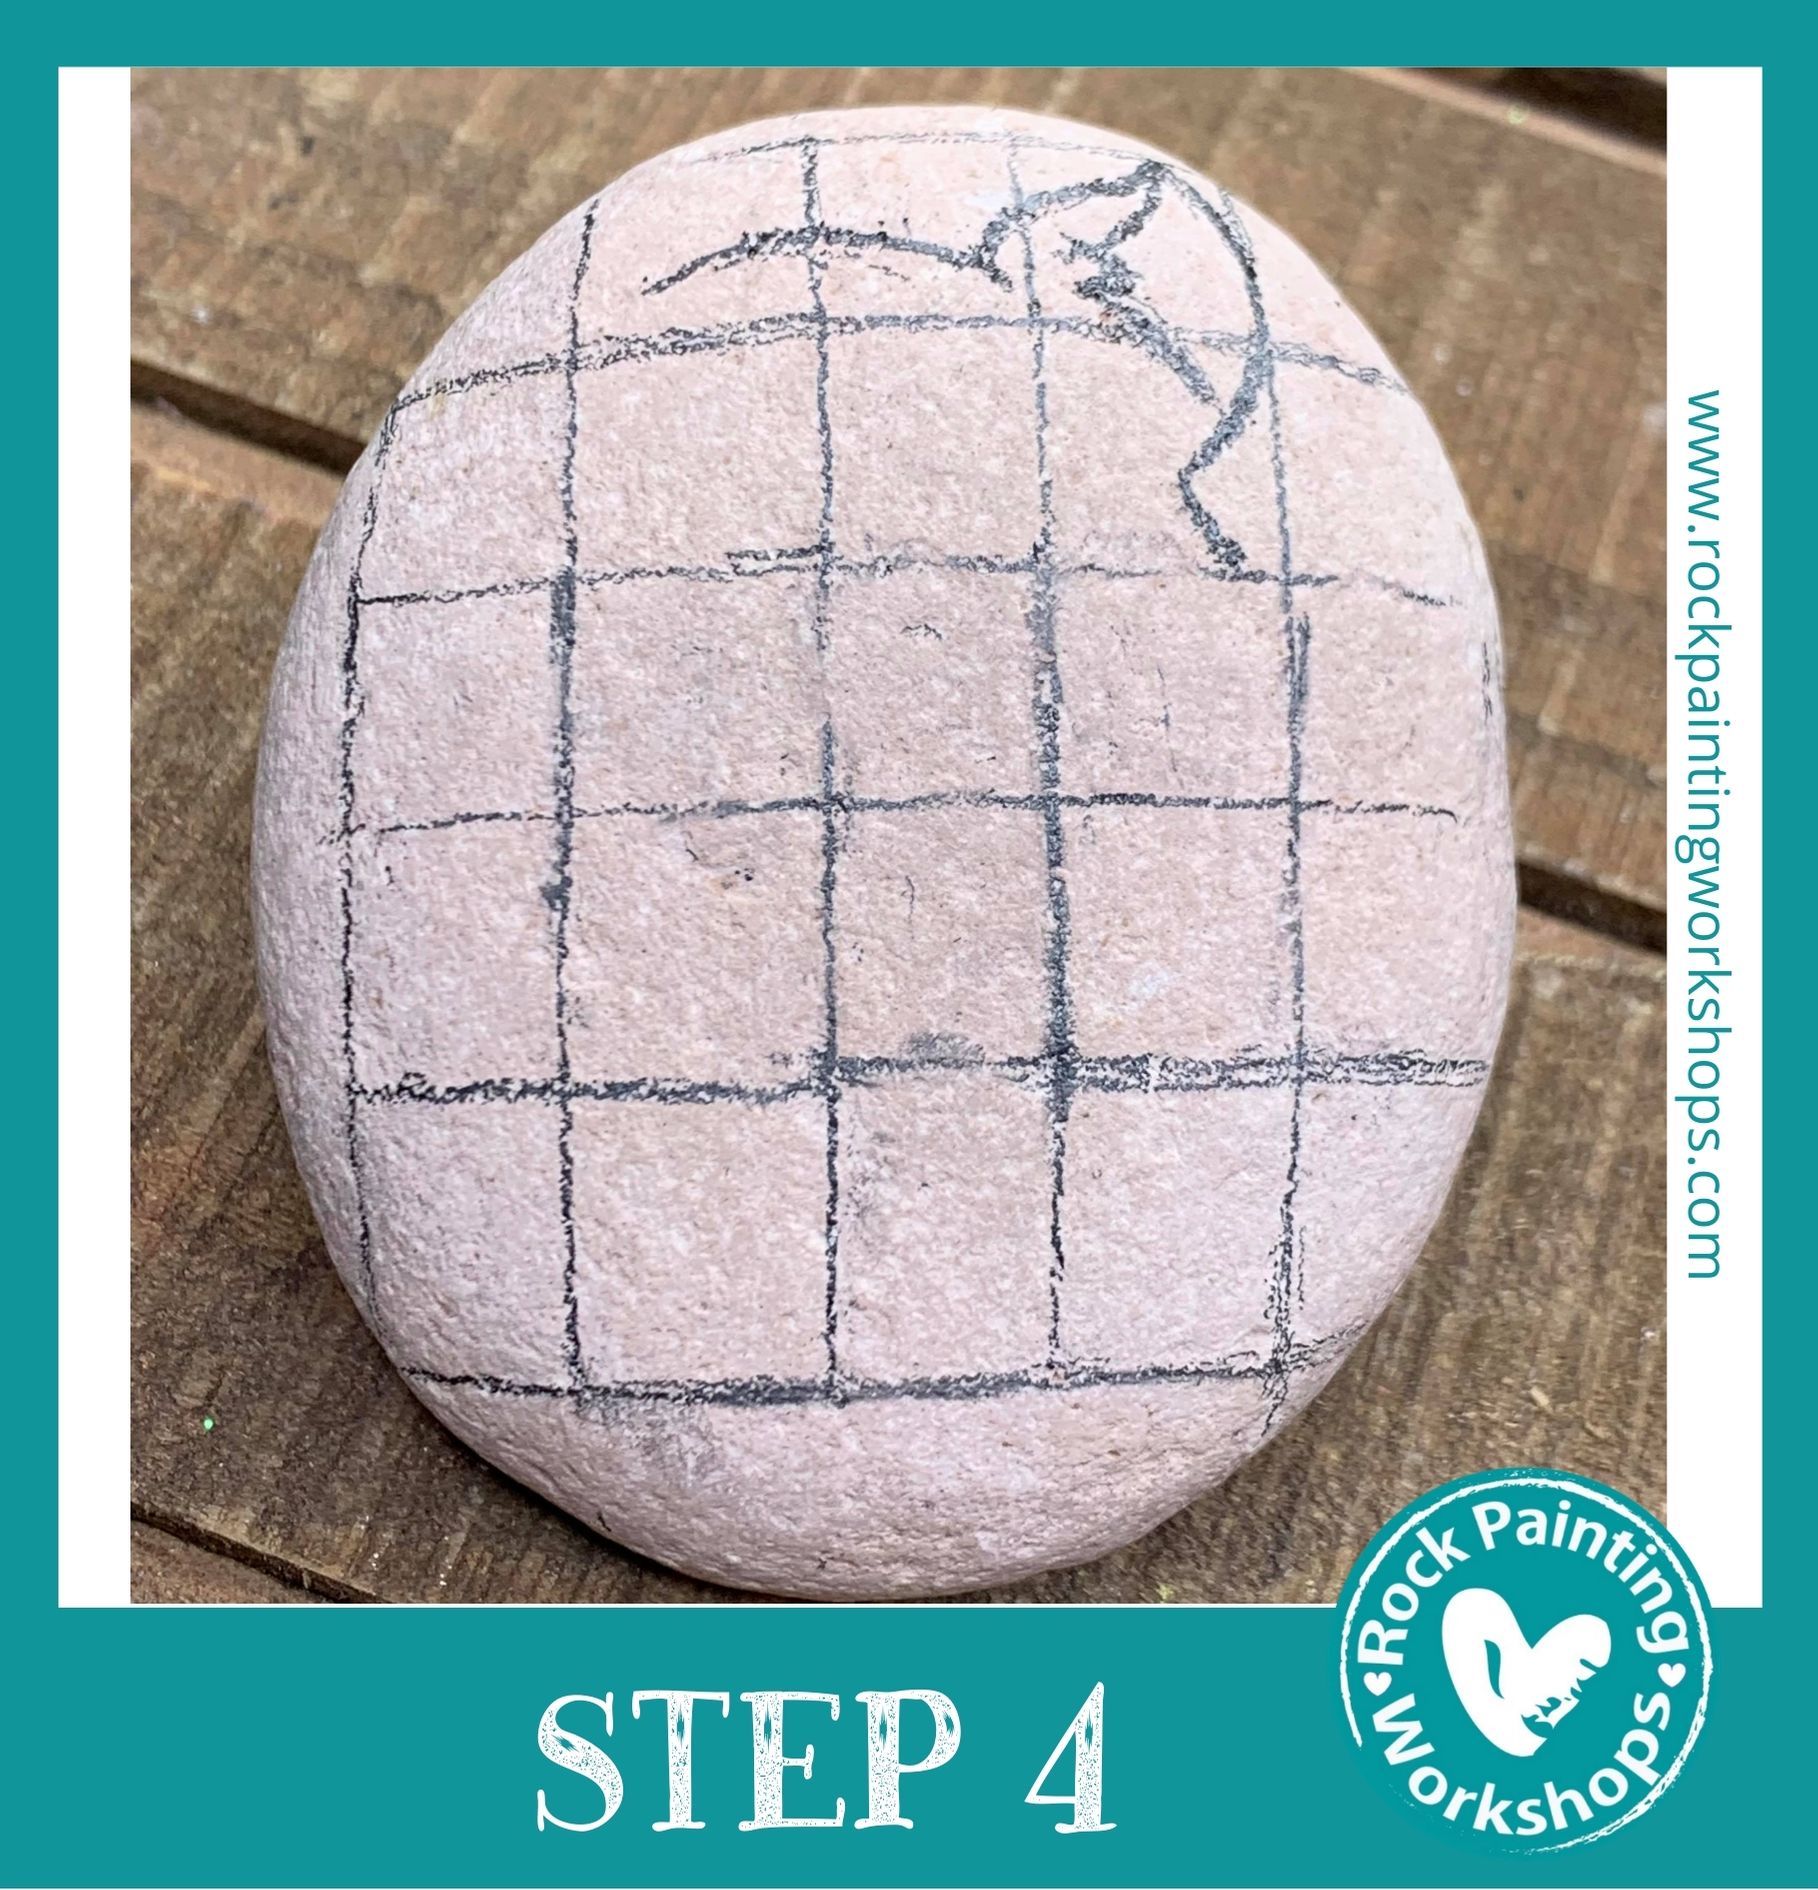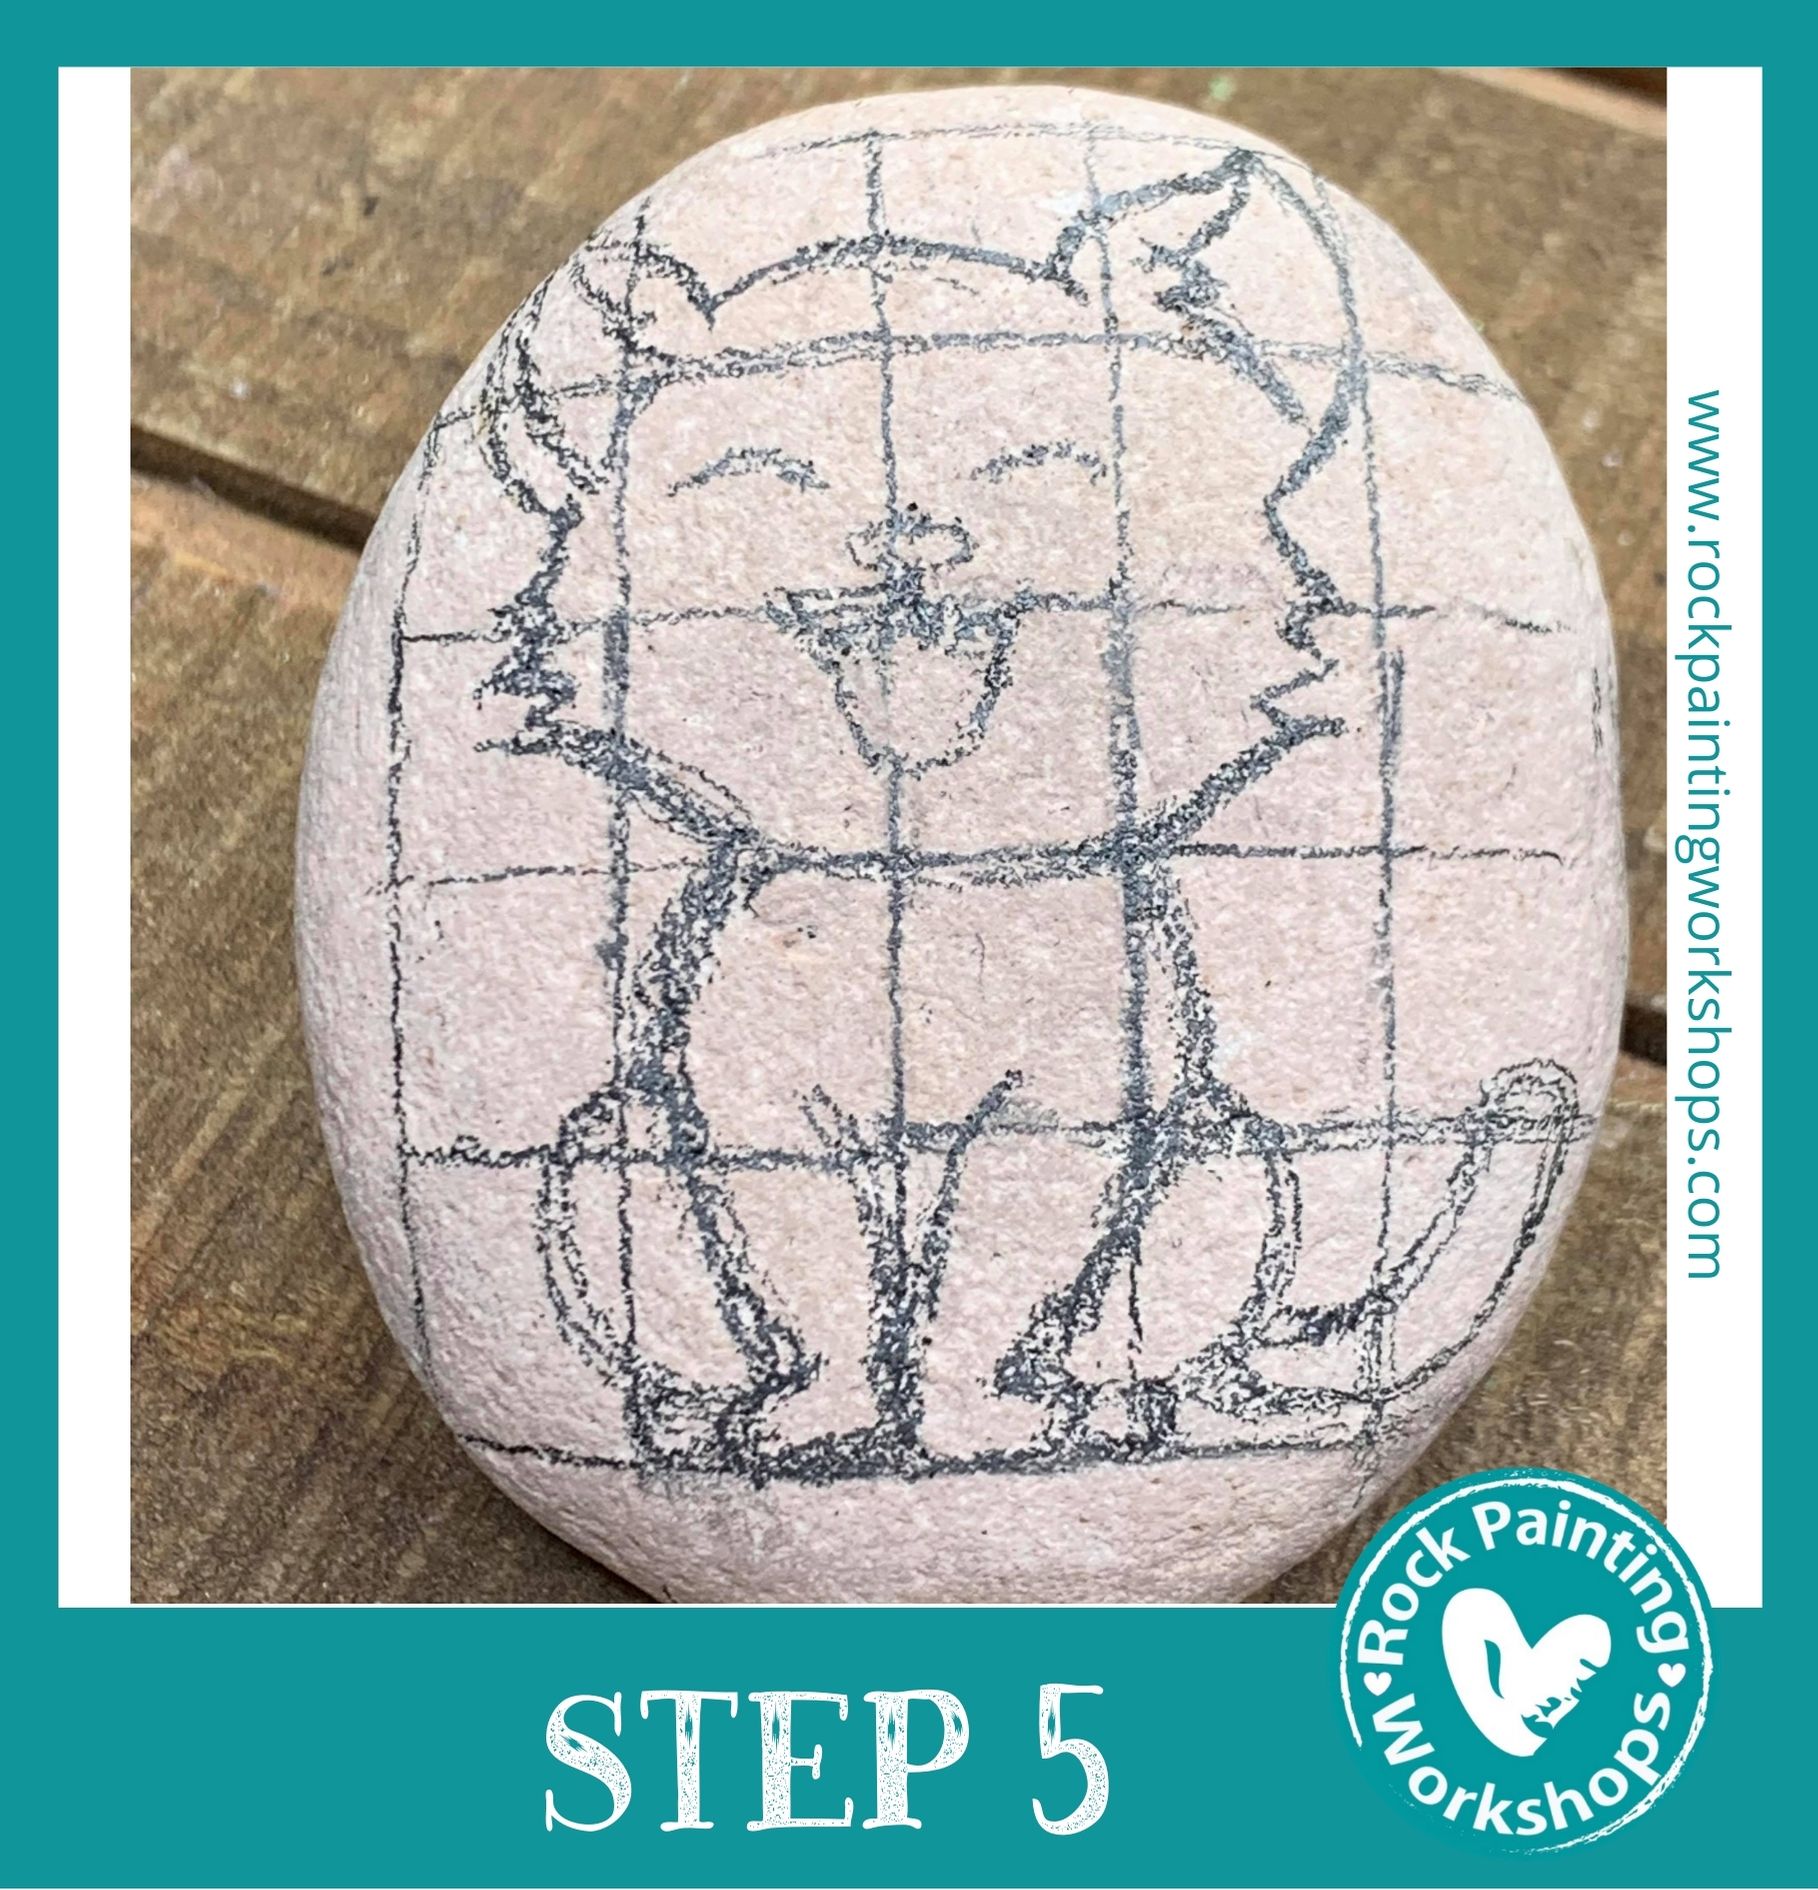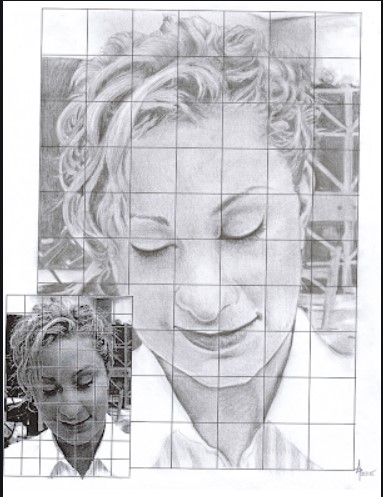
The Grid Method is a way of transferring your image on to a rock. You do not need an image the same size as your rock. You will need the following
SUPPLIES
– Rock
– Image
– Pencil
Click here – Australia
USA & other countries
– Eraser
Click here – Australia
USA & other countries
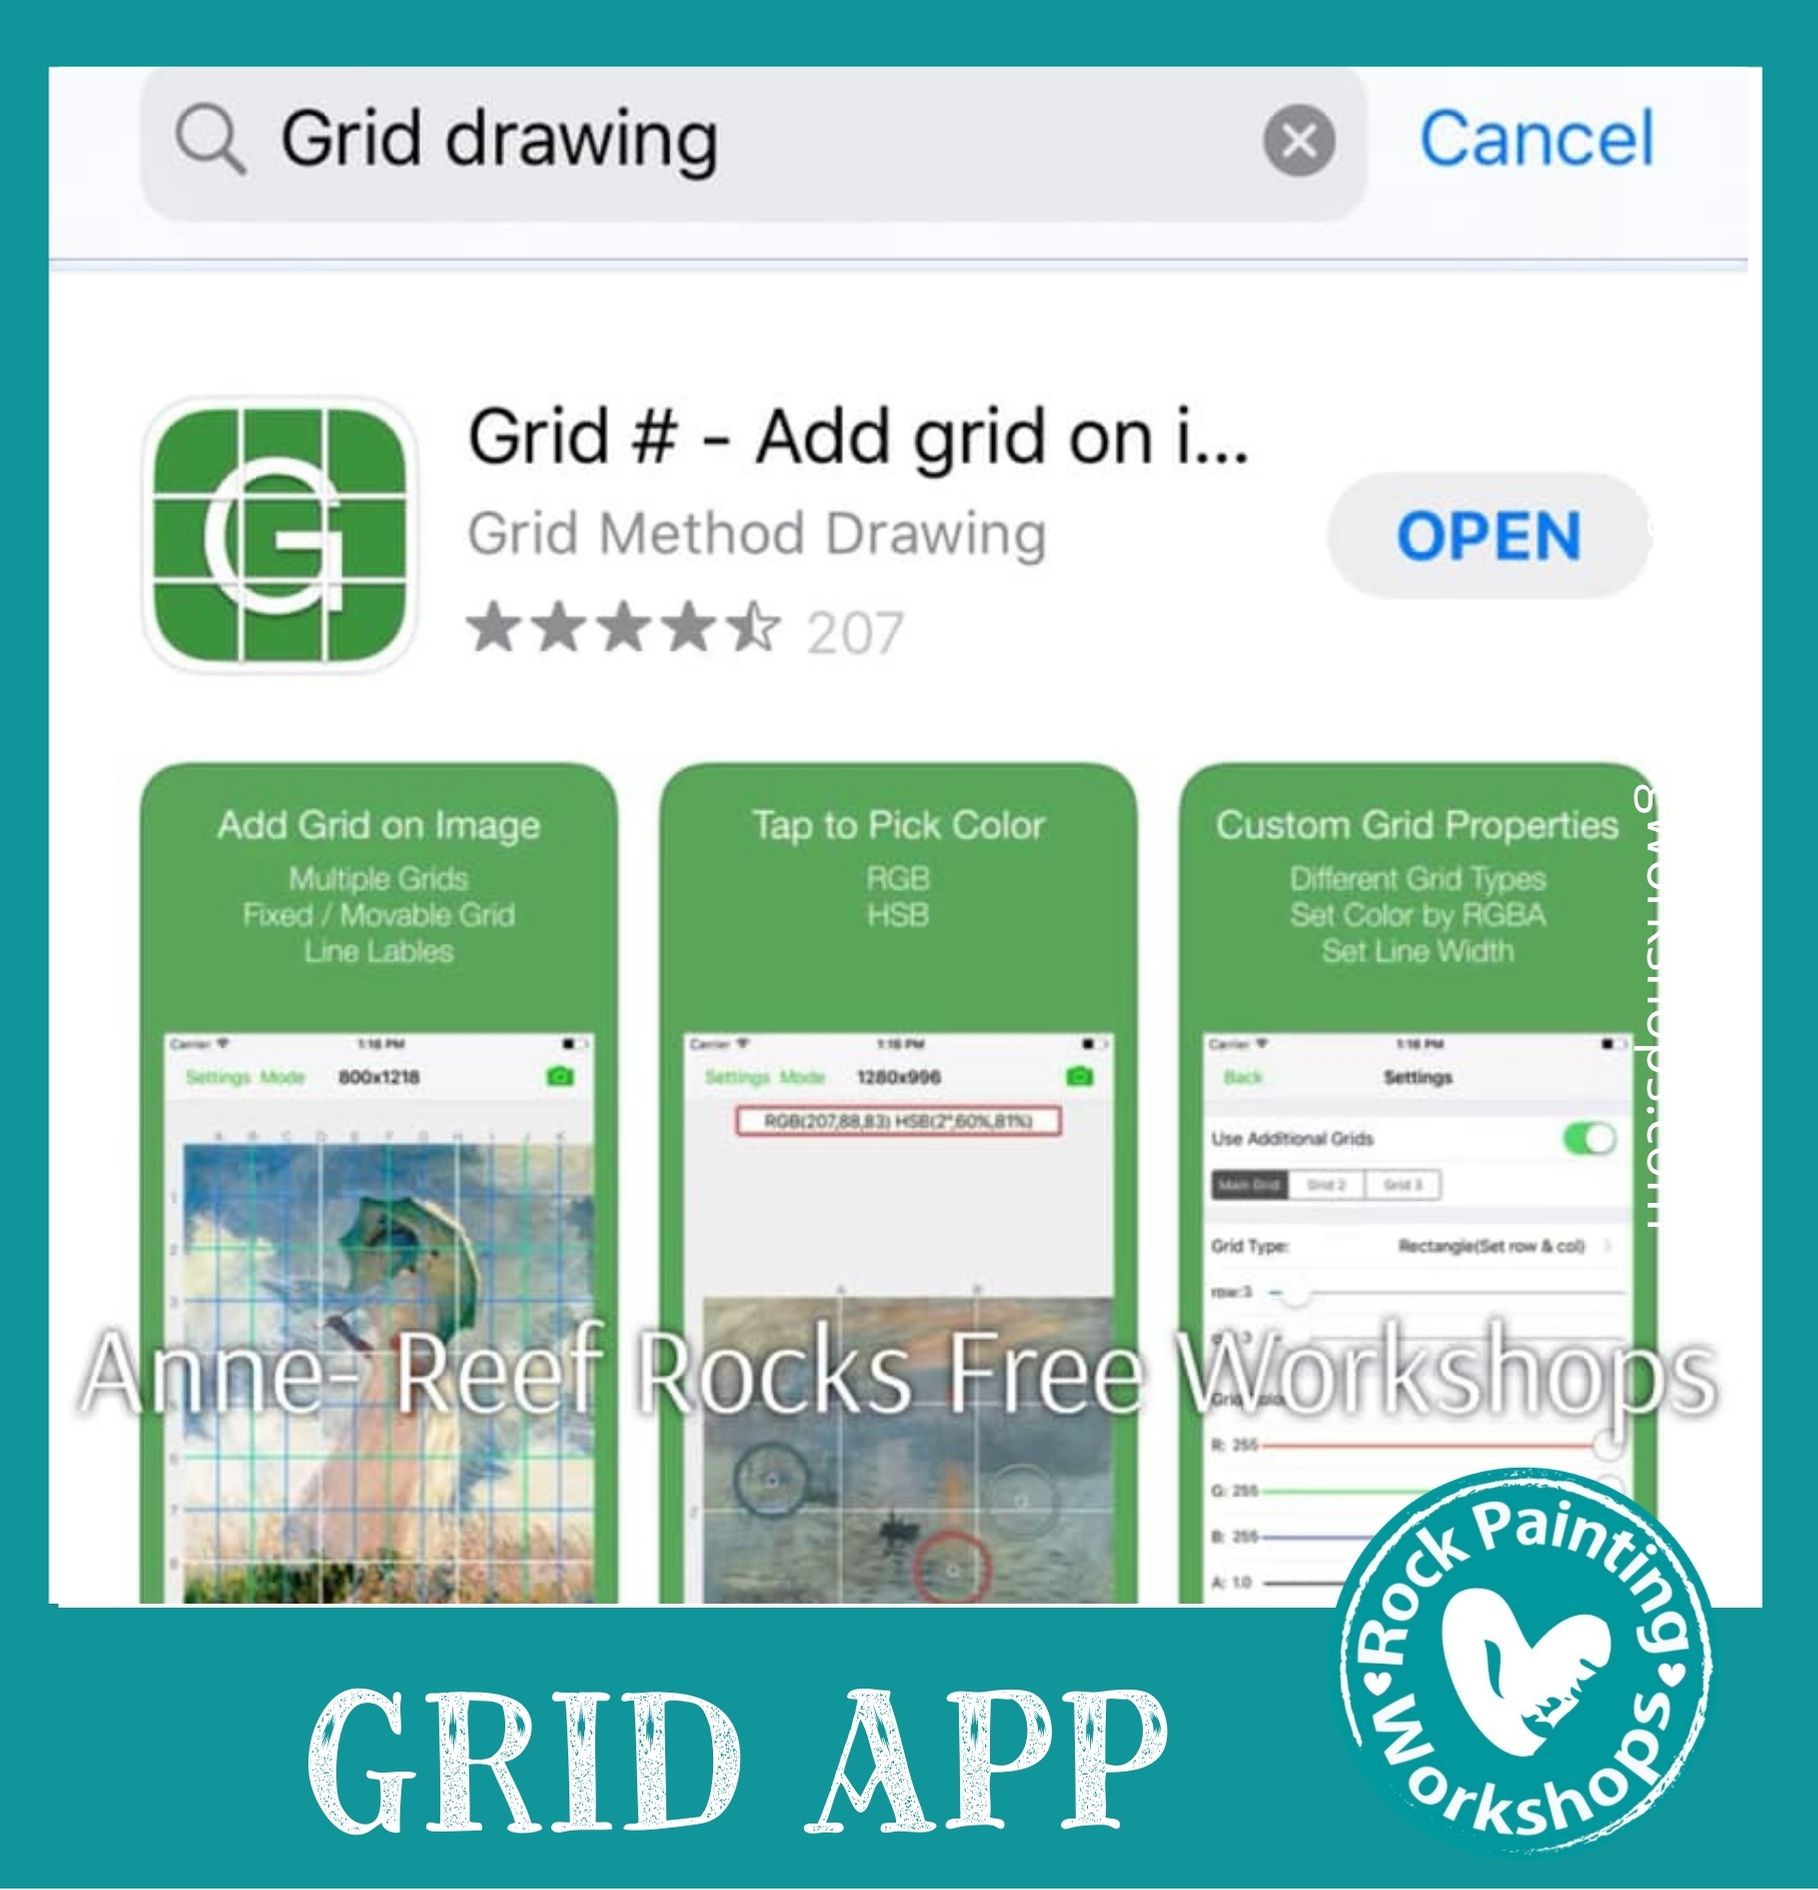
– Grid App (This is the apple version) We offer other suggestions below
– 0.7m Fineliner Acrylic Paint Pen Available Here
Lets chat Grid Method on rocks


You do not ‘need’ an app on your phone but it does make it easier to place the grid on your image.
If you go to your app store and type in grid drawing, options for a grid app will come up. This one shown here is from the apple store it is called Grid#
The grid app gives you the option of importing your picture and placing the grid on top of your image.
You get to choose how many rows and columns you will need on the image to make it easy to draw.
Without the app you will draw a grid on top of your picture.
Using the app – import your image.
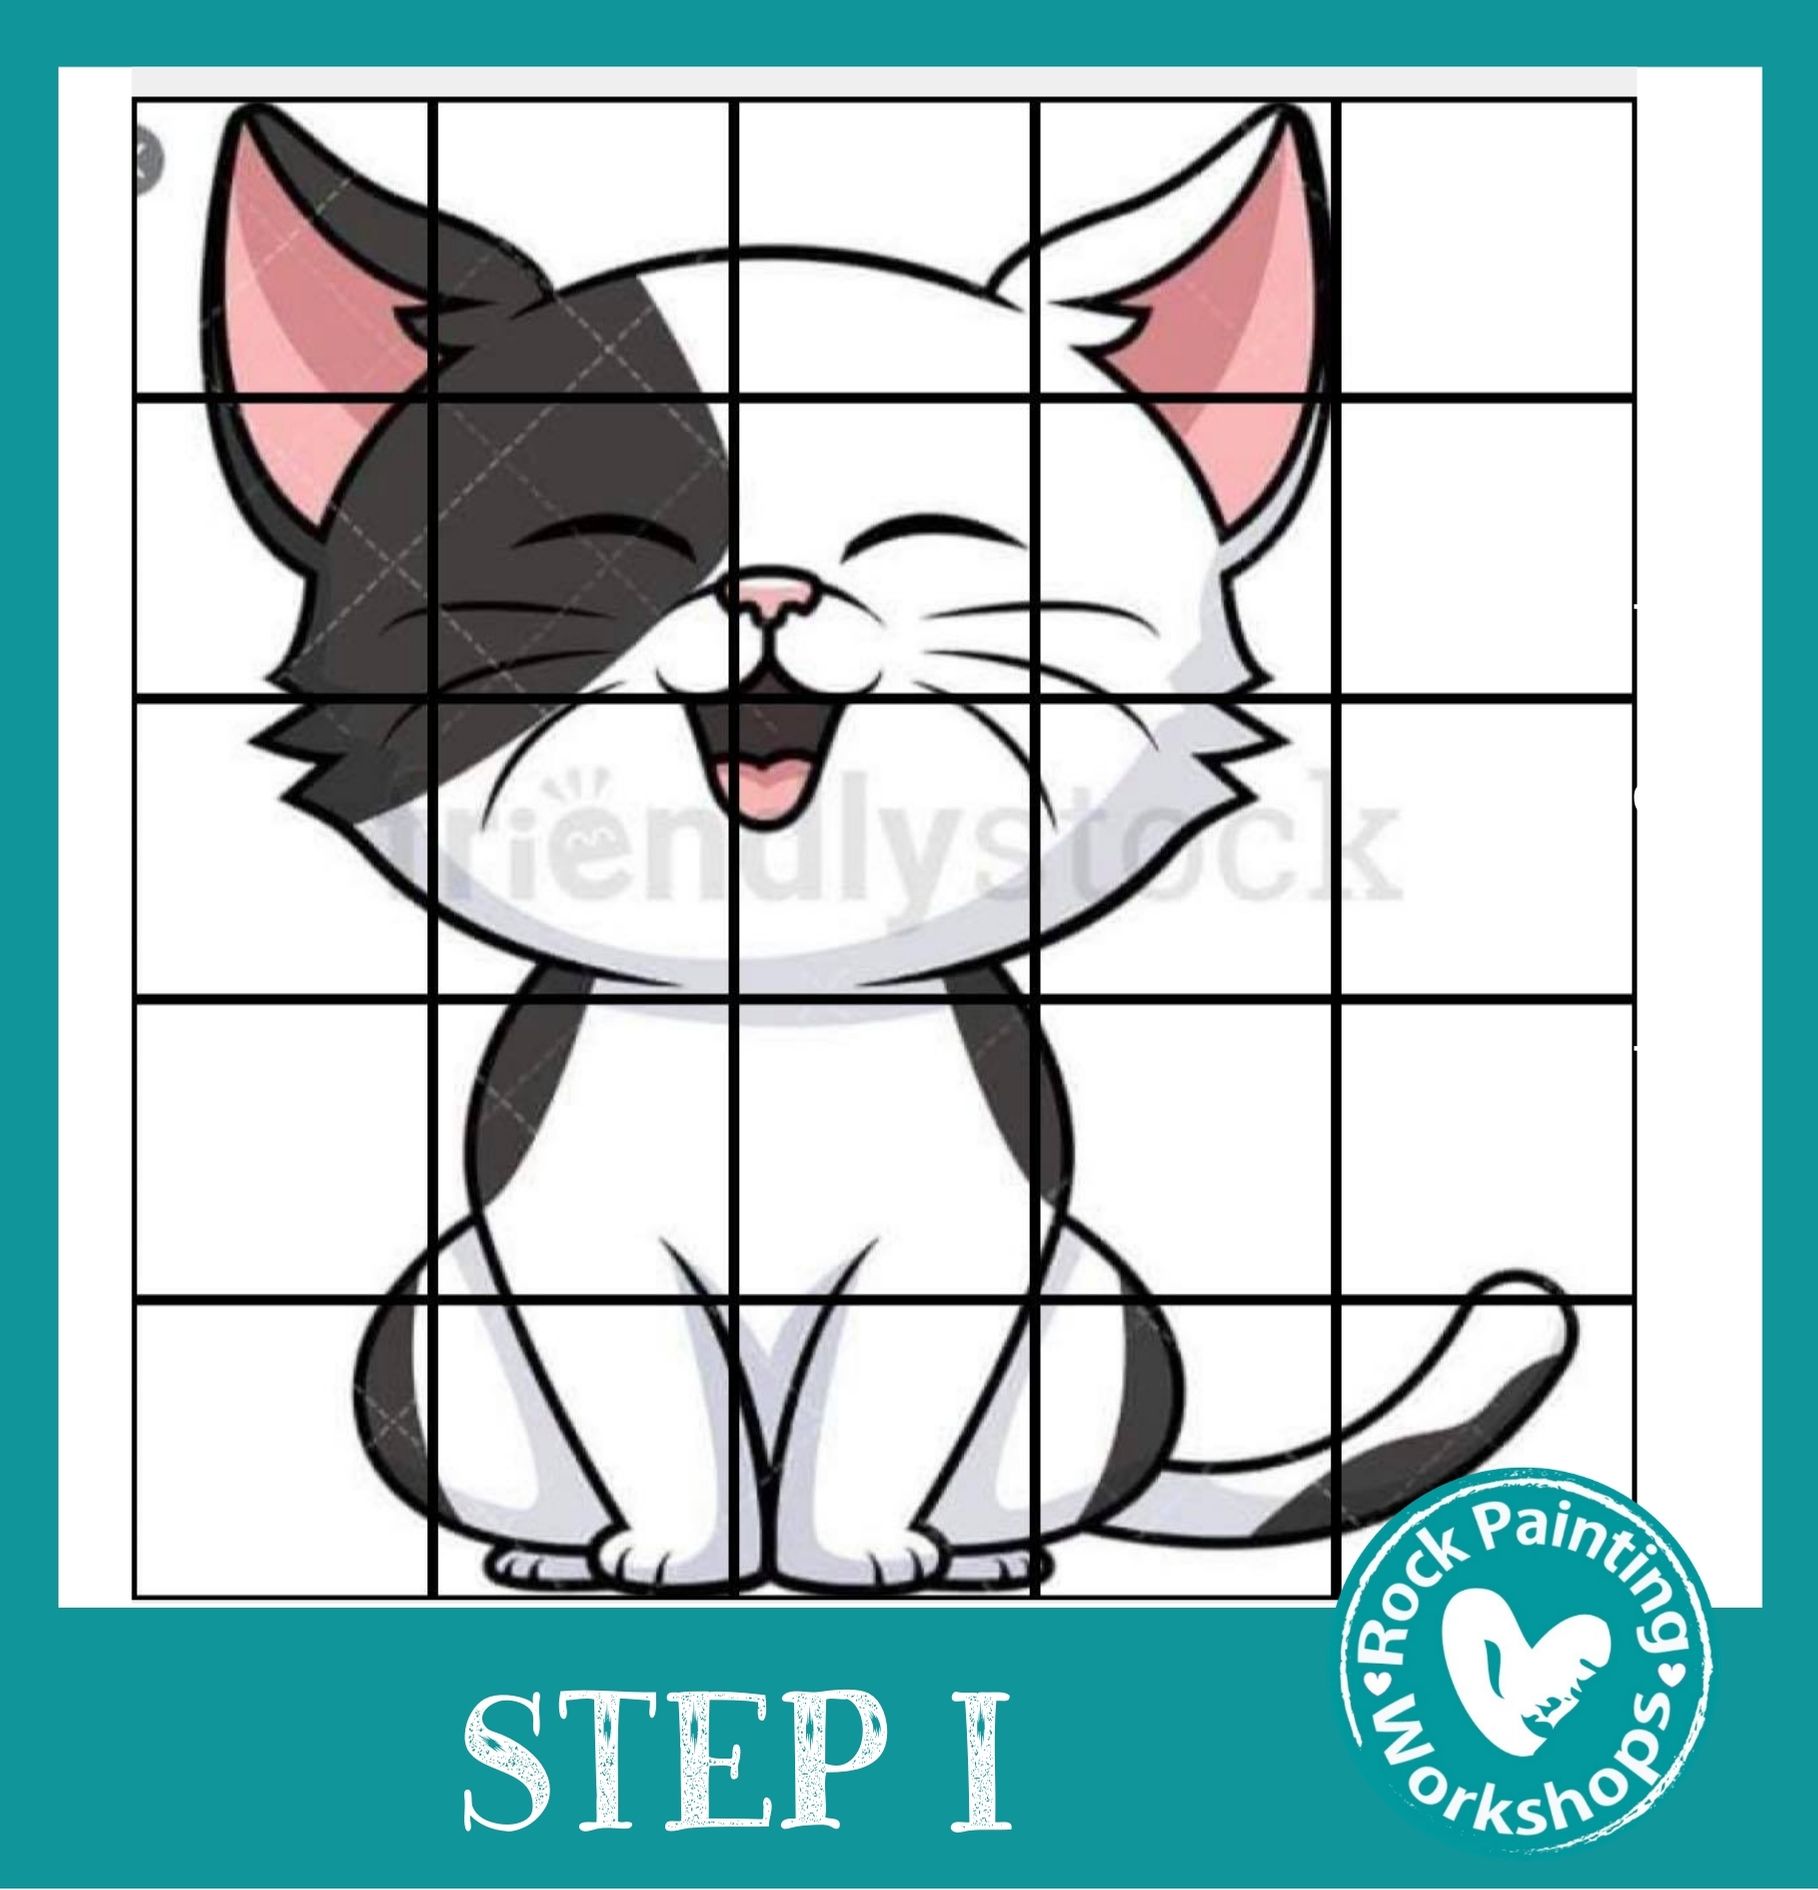
I have used a 5 rows x 5 column option. You can change this to suit your image.
My image is basically square so I kept it even both ways.
Here is the trick – what ever option of rows and columns you chose on your grid you have to put on your rock.
I chose 5 x 5 so on the rock I drew 5 even columns from left to right. To fit my rock they are 15mm wide.
Now you need to create your rows. They have to be the same measurement as the columns are.
The previous colomns are 15mm so now my rows must be 15mm wide so I create even squares.
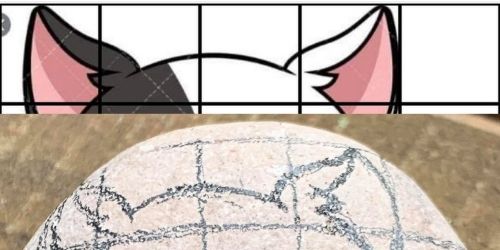
Now you will transfer the image square by square.
Look at one square on the grid app and the image just in that square you draw on the same square on the rock.
It must be the corresponding square.
Keep transferring your image square by square until you create an overall image.
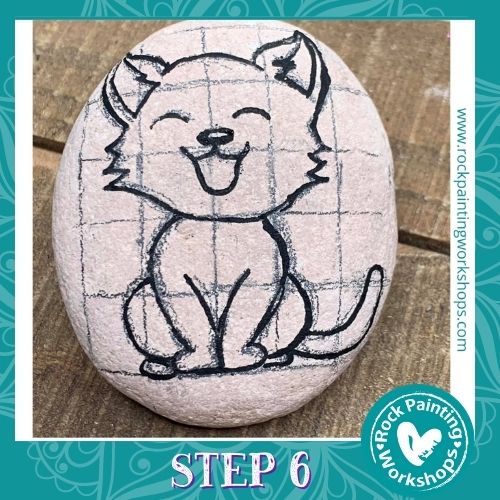
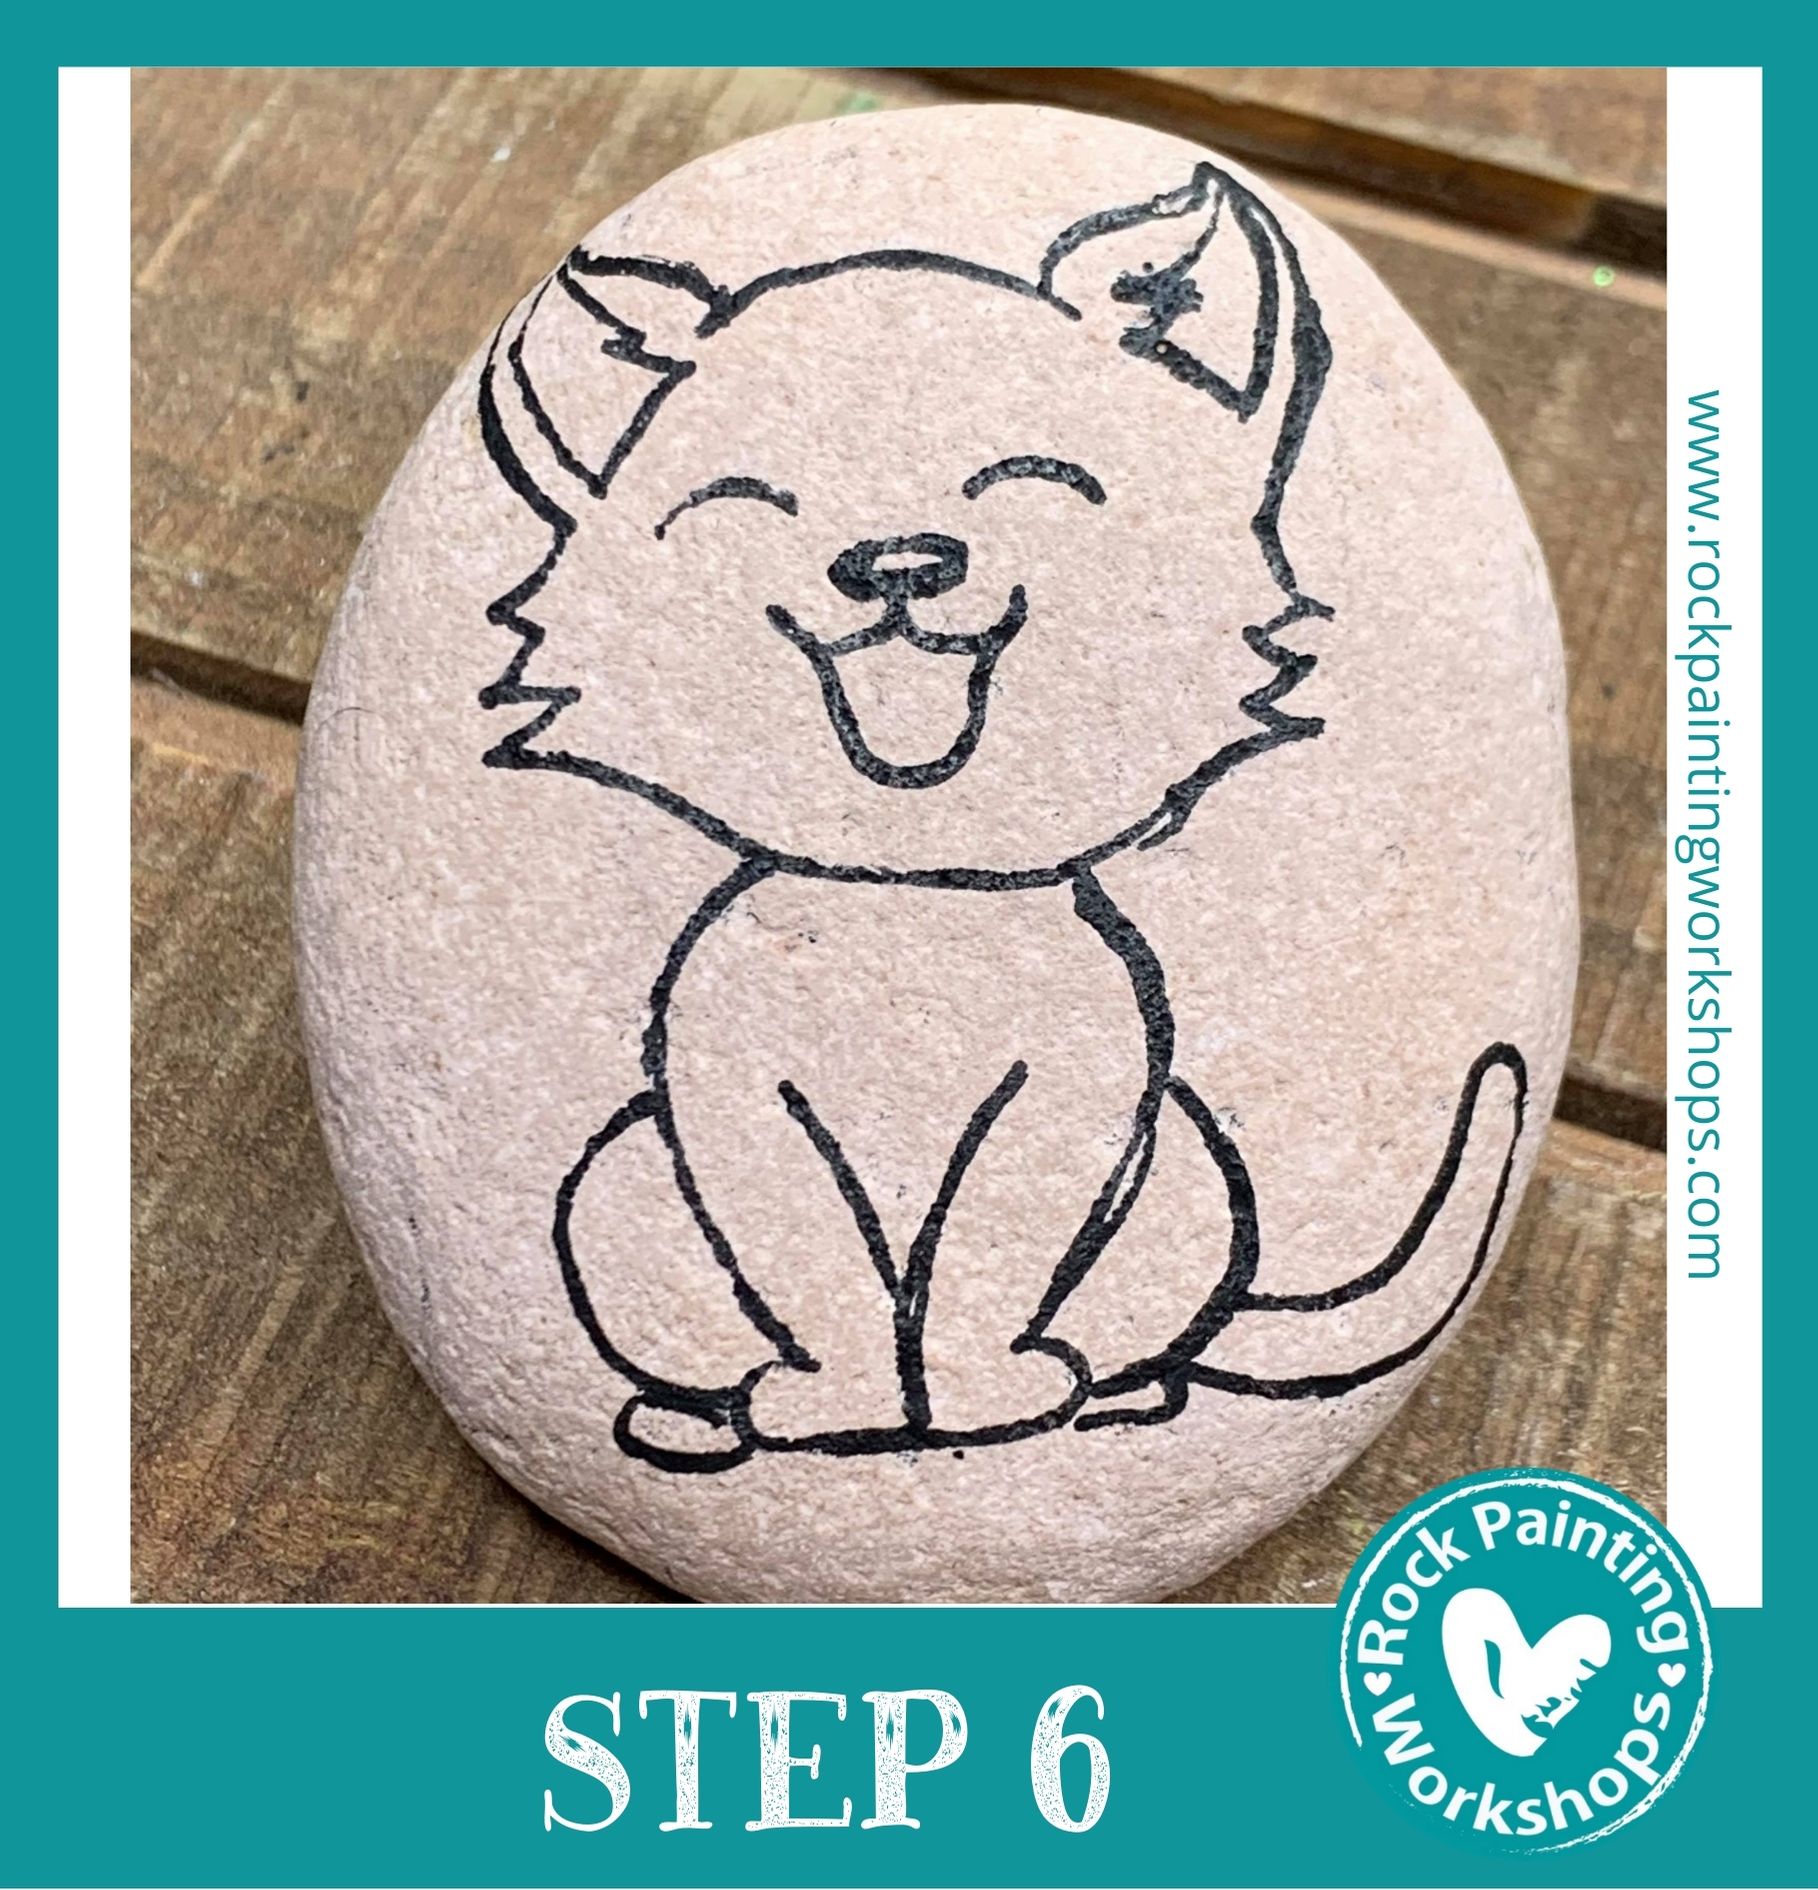
Take your 0.7m fineliner acrylic paint pen and draw over the finished lines you are happy with.
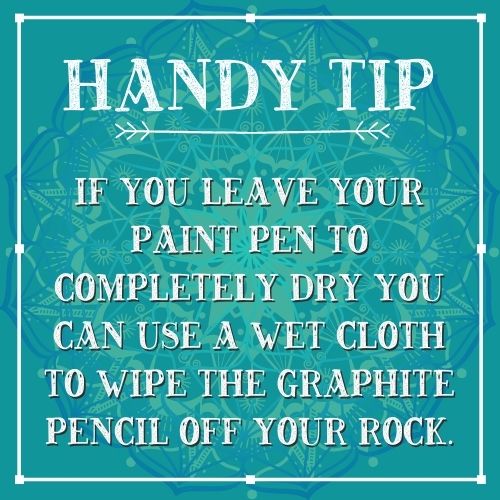
Let the pen dry. Now take your polymer eraser and erase all the pencil. It will look smudgy at first but keep erasing until it is all gone.


This will be the image you are left with on your rock – all ready to colour.
This method is suitable from basic images to giving correct proportions for large scales sketches.
Drawing on rocks was easy right?
Lets move on and learn how to fully paint your rock.
Learn step 2 – Colour on Rocks
The lesson is AVAILABLE HERE
Learn how to draw your ideas on a rock so it is ready to paint.
This method works for simple designs right through to your intricate ideas
Find the TUTORIAL HERE
Learn the method of image transfer. Choose an image the size of your rock or a size that will fit on your rock.
Use our transfer method & you can have the image on your rock in minutes.
Find the TUTORIAL HERE

Our Supplies page is HERE to read up on everything you need to paint Rocks.
Learn heaps of different techniques on how to paint rocks – Right HERE
We are adding new tutorials all the time CLICK HERE for heaps of new ideas

