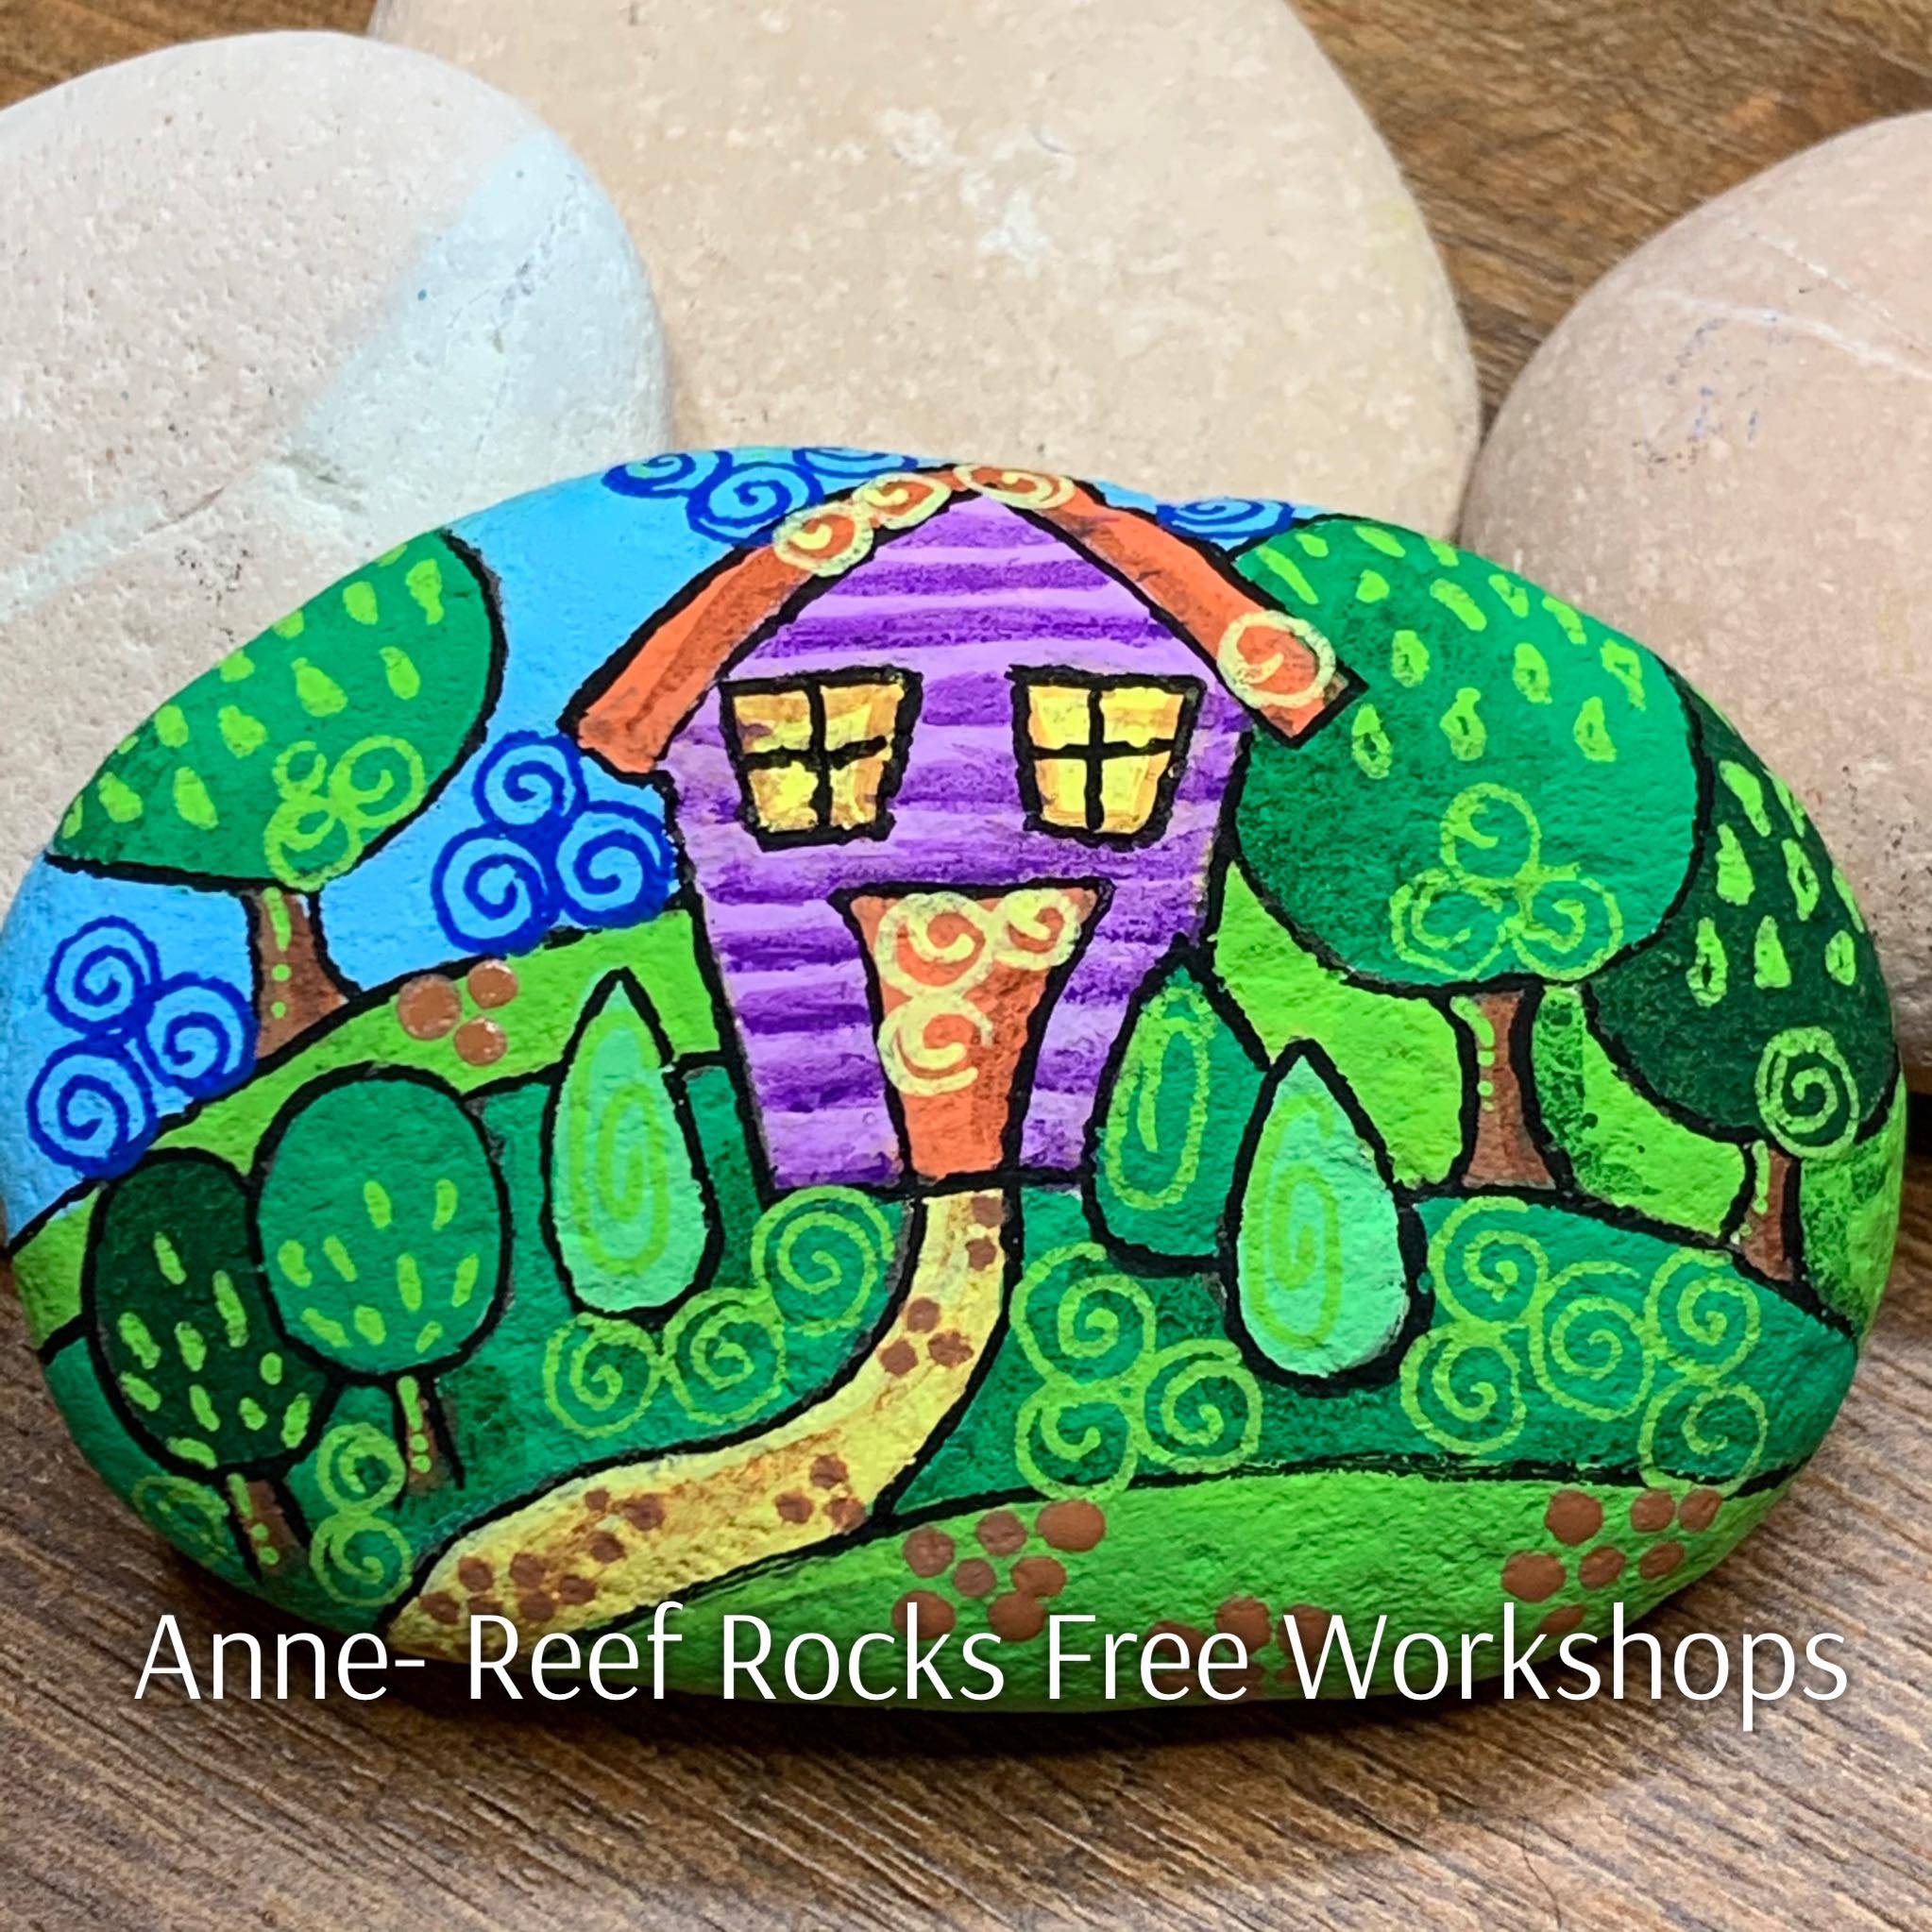
It’s stage 2 of our caravan planning ! Those who have been here for a while know my husband bought me a wee caravan as it was on my bucket list ….. And we take our lists very seriously ticking things off them .
The vision is it would go on the property and I would decorate it inside in some obnoxious manner ( goal was a chandelier) and then it would have its own garden and be the best guest house ever ![]() and so it goes on . Well then the Lad came home to help during hubby’s treatments. And he claimed it – they renovated the inside – practical (no chandelier) it looks good but I have reminded them there is …(no chandelier)
and so it goes on . Well then the Lad came home to help during hubby’s treatments. And he claimed it – they renovated the inside – practical (no chandelier) it looks good but I have reminded them there is …(no chandelier) ![]()
But it’s moving in to the garden soon and getting a patio and garden ![]()
![]() so I’m planning all this on rocks
so I’m planning all this on rocks ![]() that way I can imagine it’s orange snd purple( it’s not) it has lots of tree ( it doesn’t) pretty stone paths ( they have not even thought about it) and it’s a wee guest cabin ( it’s not it’s a caravan ) Moral of the story? Your rock can be anything you want it to be …. because your caravan may not
that way I can imagine it’s orange snd purple( it’s not) it has lots of tree ( it doesn’t) pretty stone paths ( they have not even thought about it) and it’s a wee guest cabin ( it’s not it’s a caravan ) Moral of the story? Your rock can be anything you want it to be …. because your caravan may not ![]()
![]()
![]()
![]()
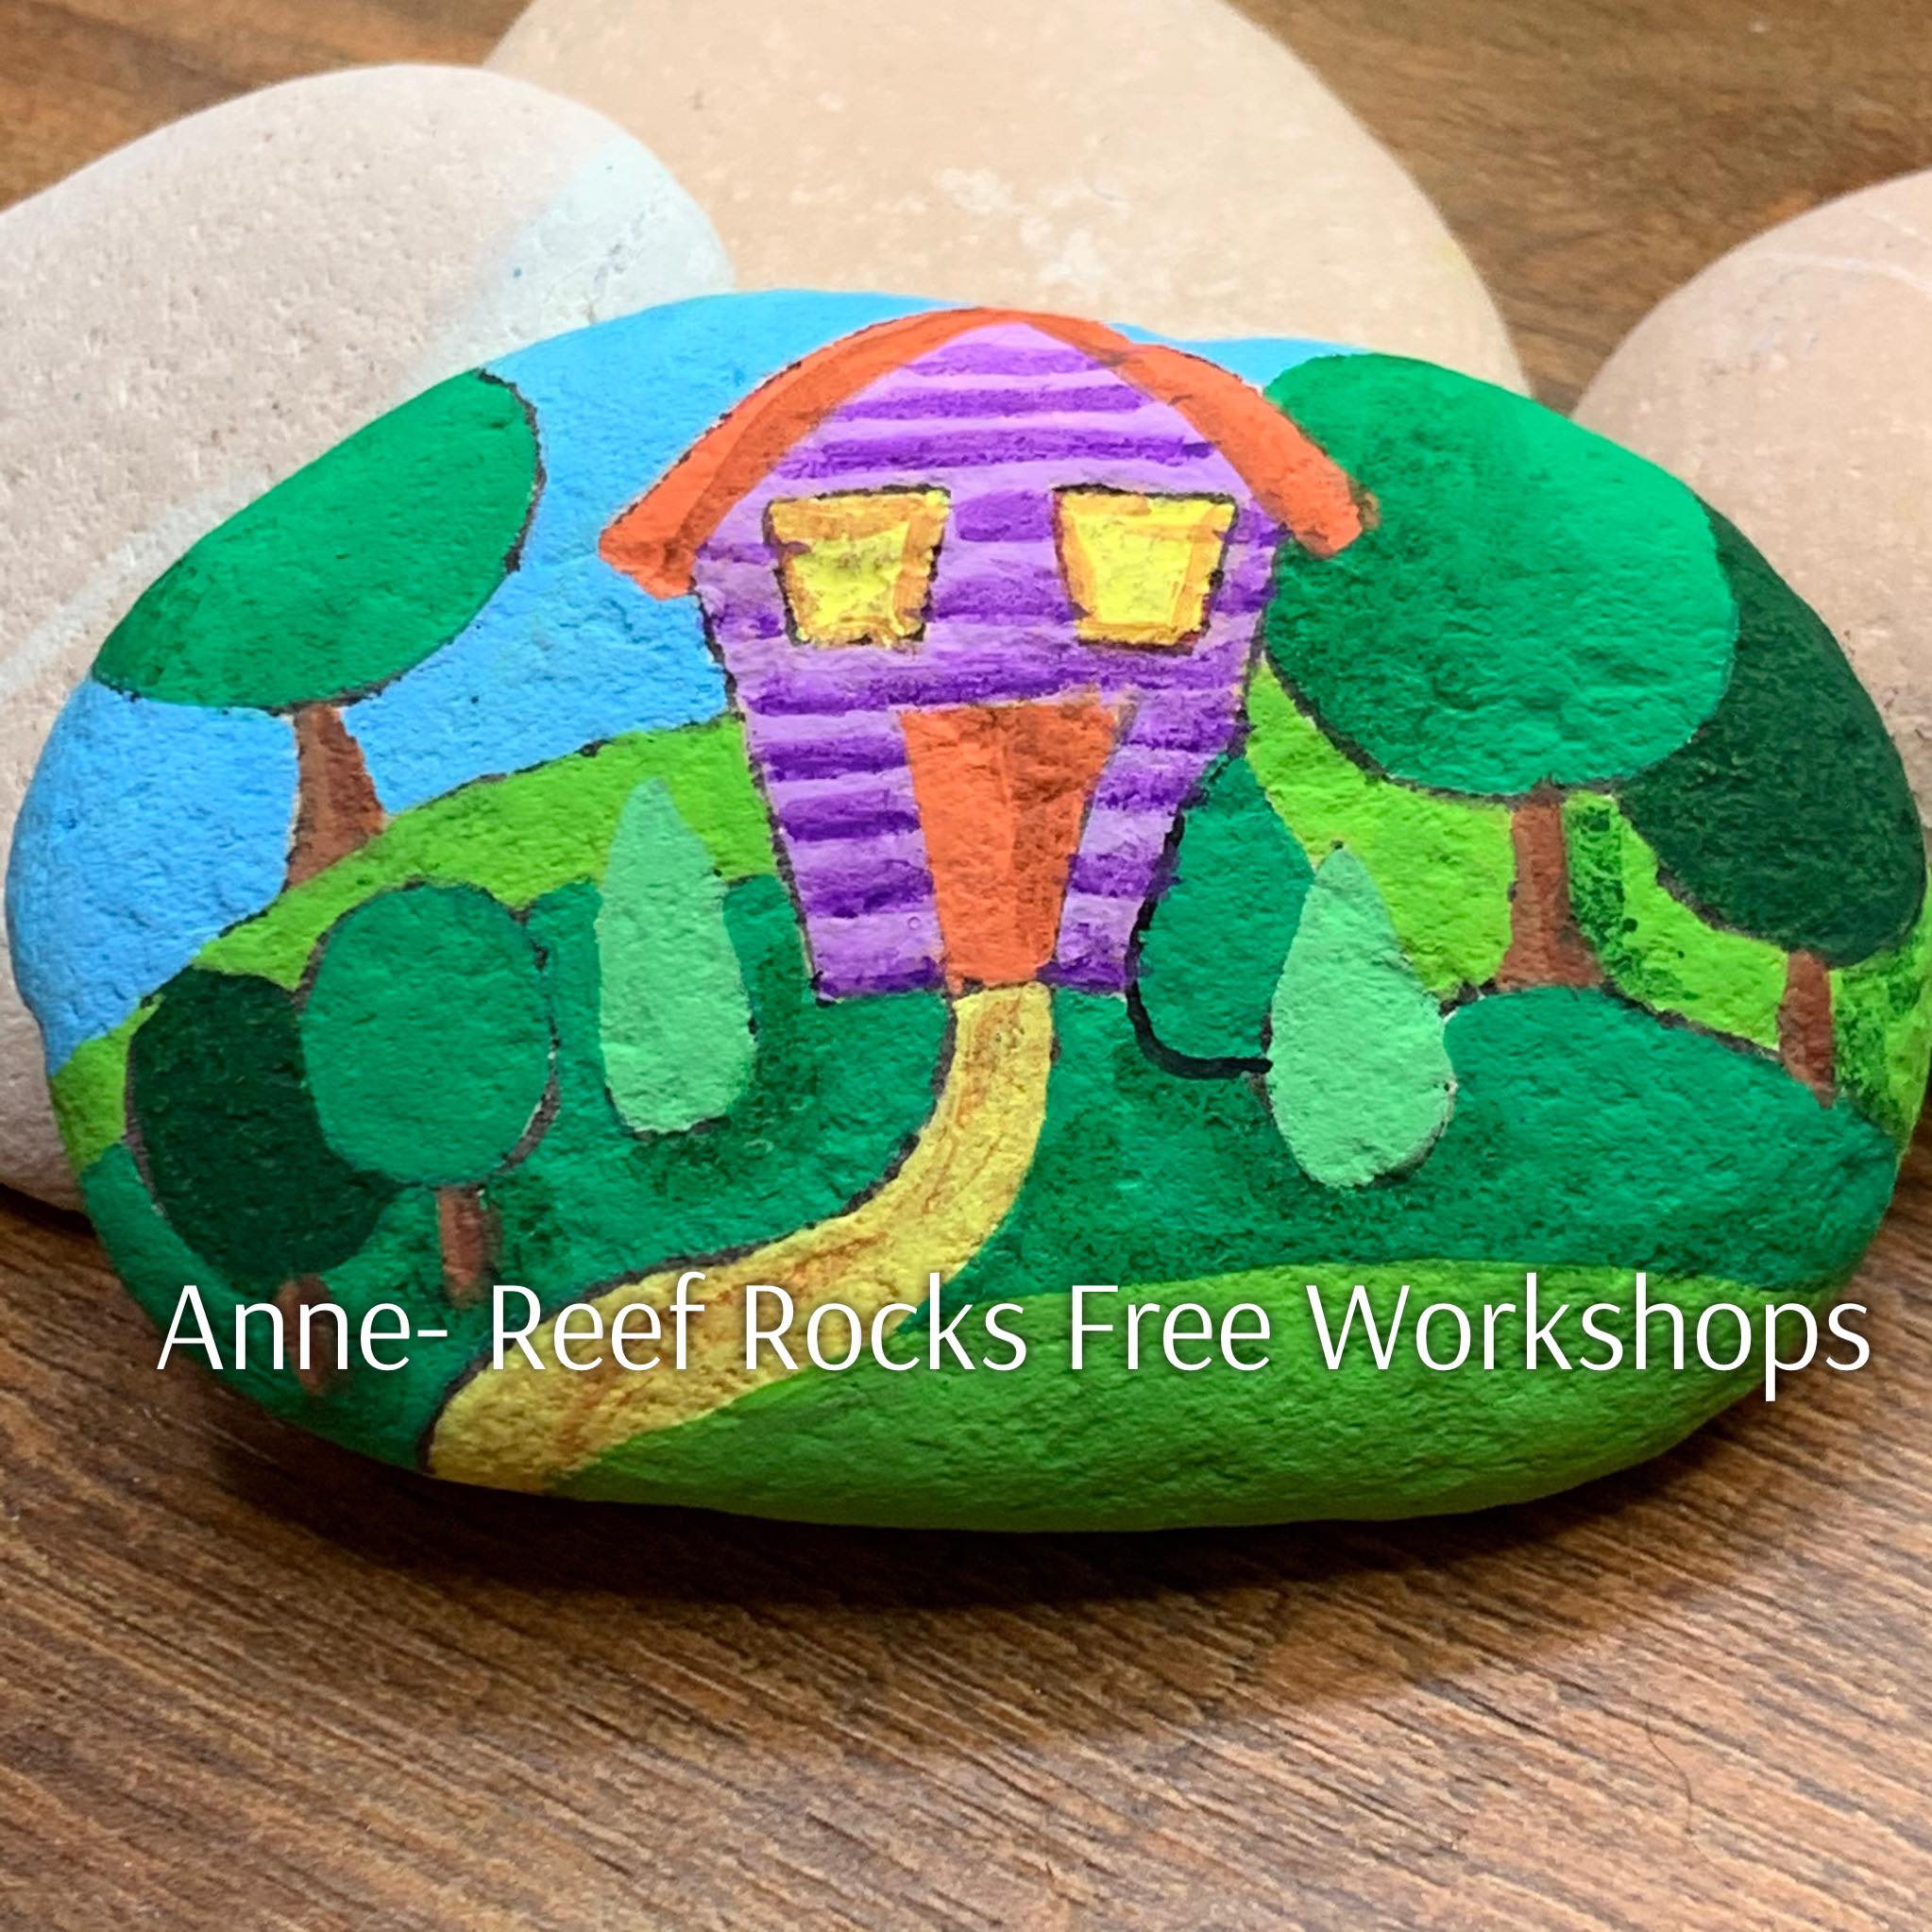
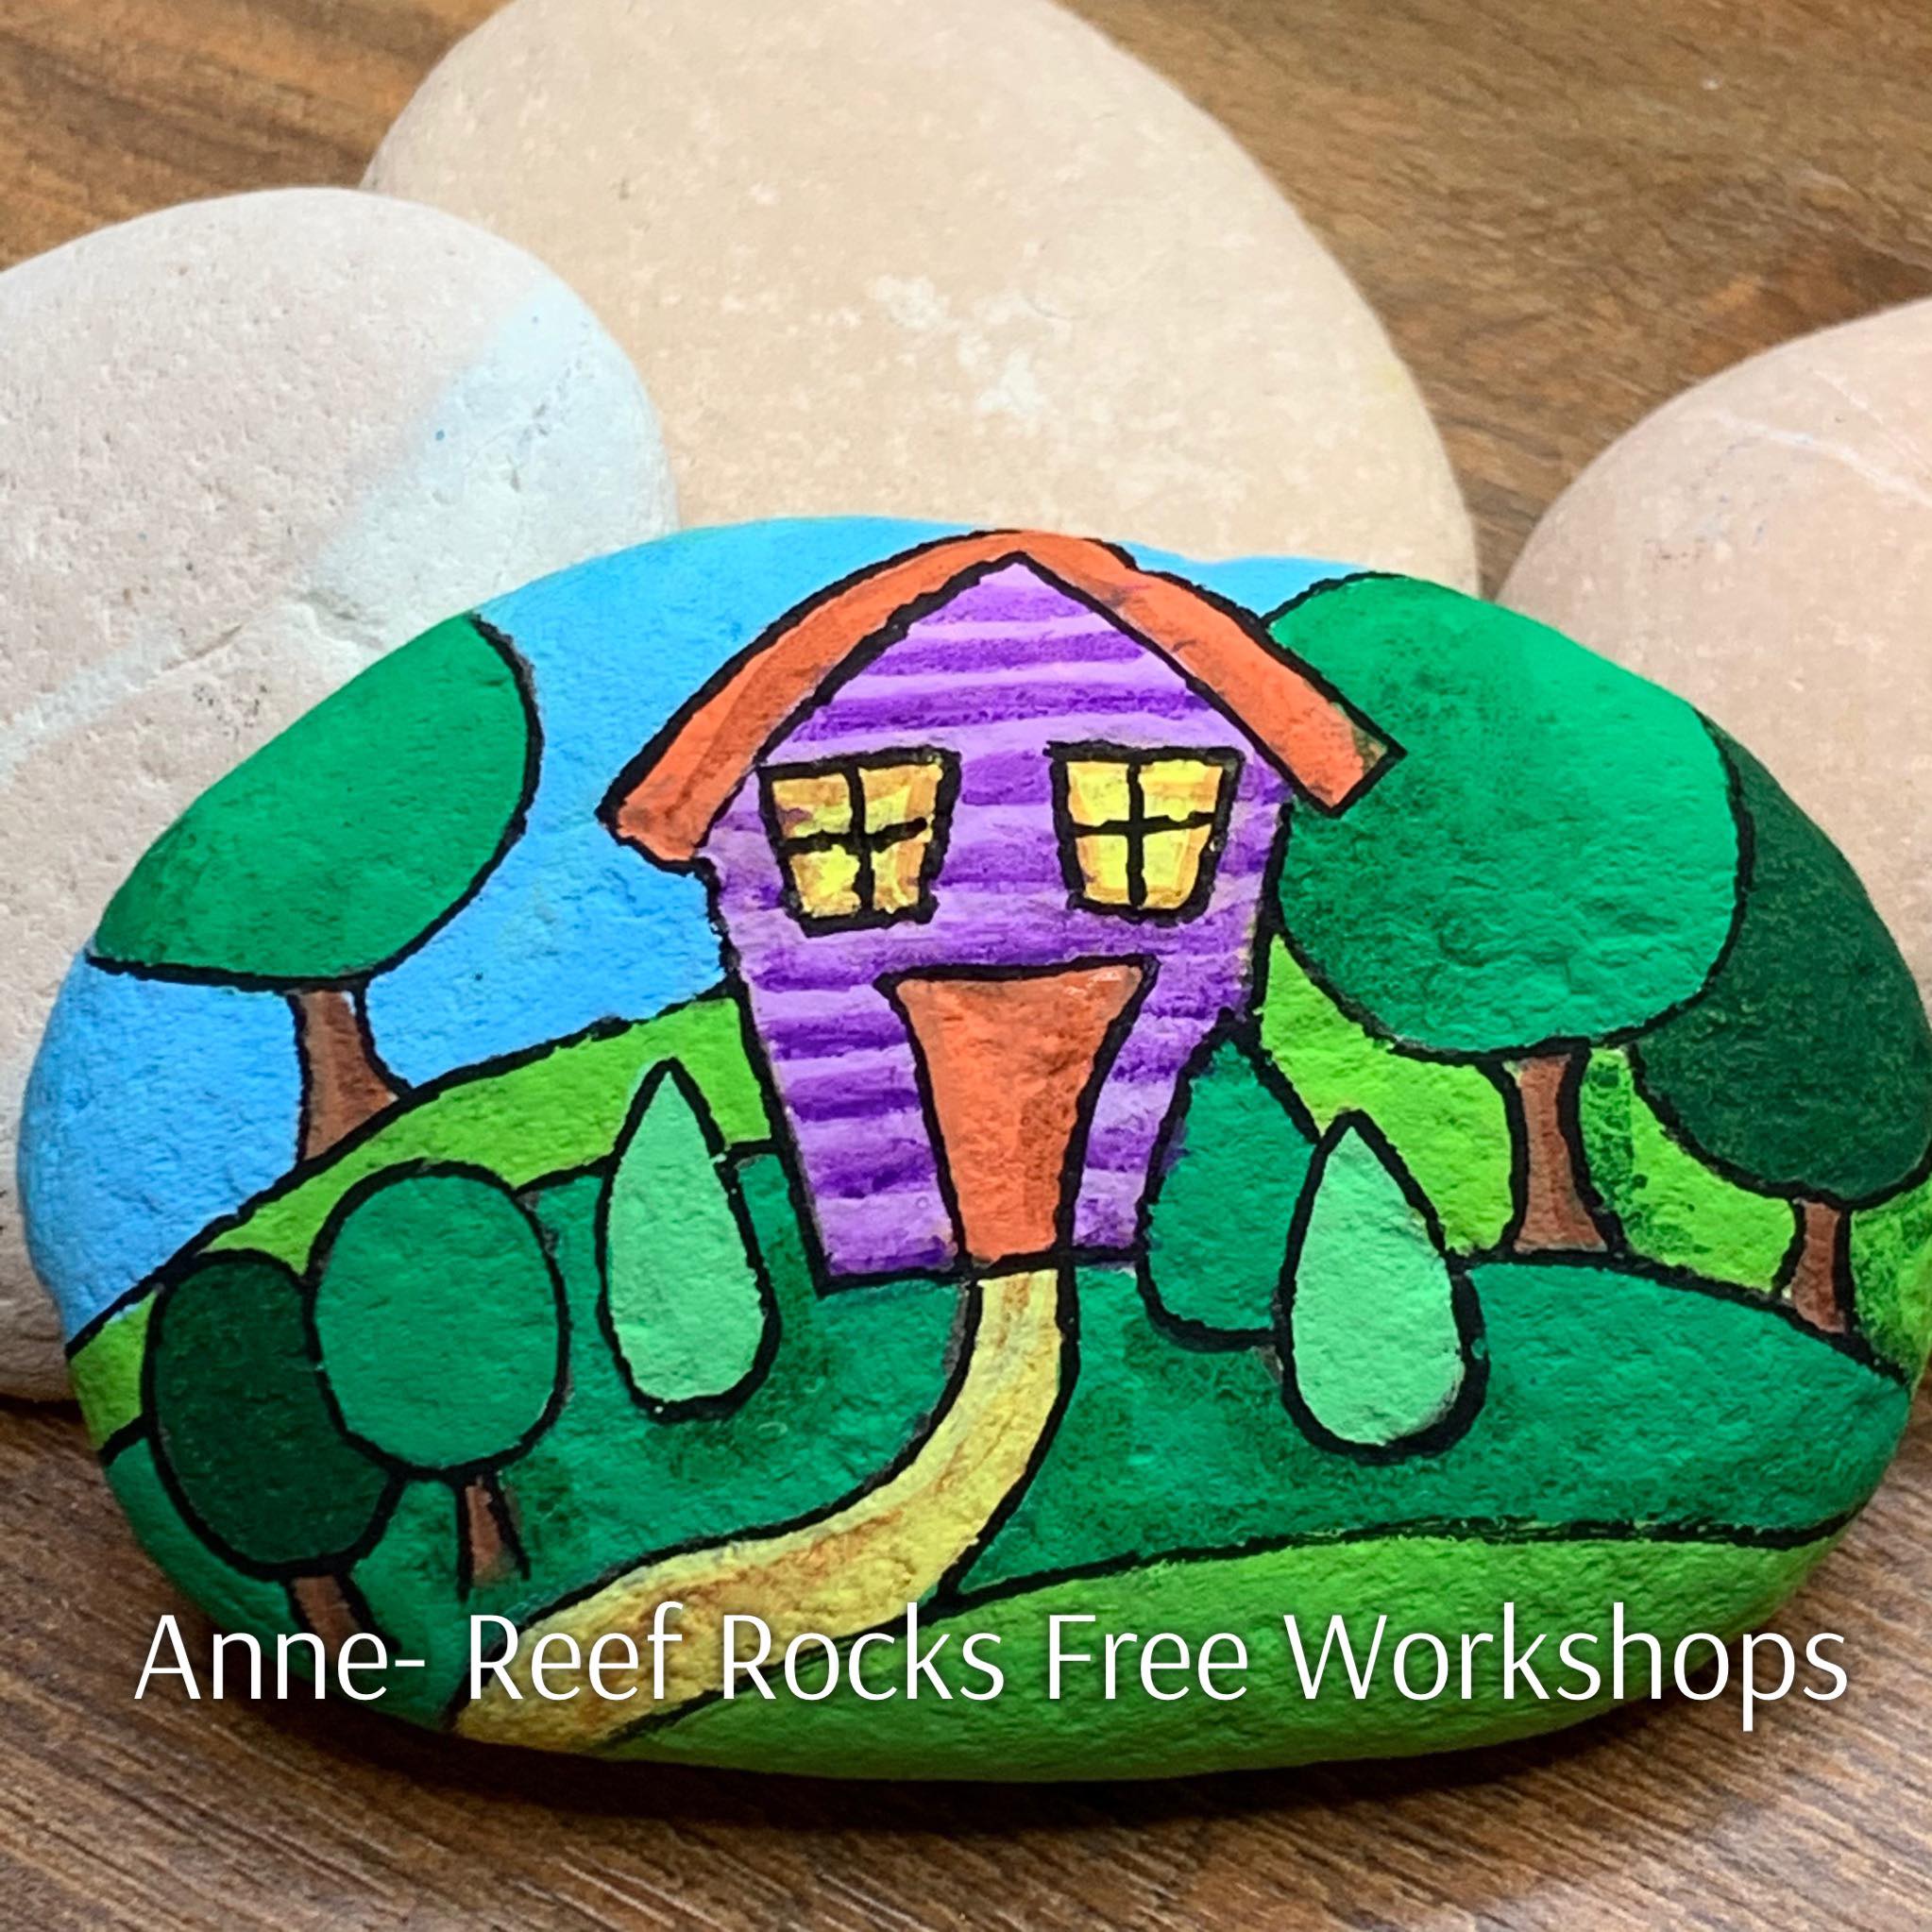
This picture is the shading finished, it was all done with acrylic paint pens.
It can be done with regular Acrylic Paint.
When the shading is dry then take your Black fineline Acrylic paint pen and go over all your outlines.
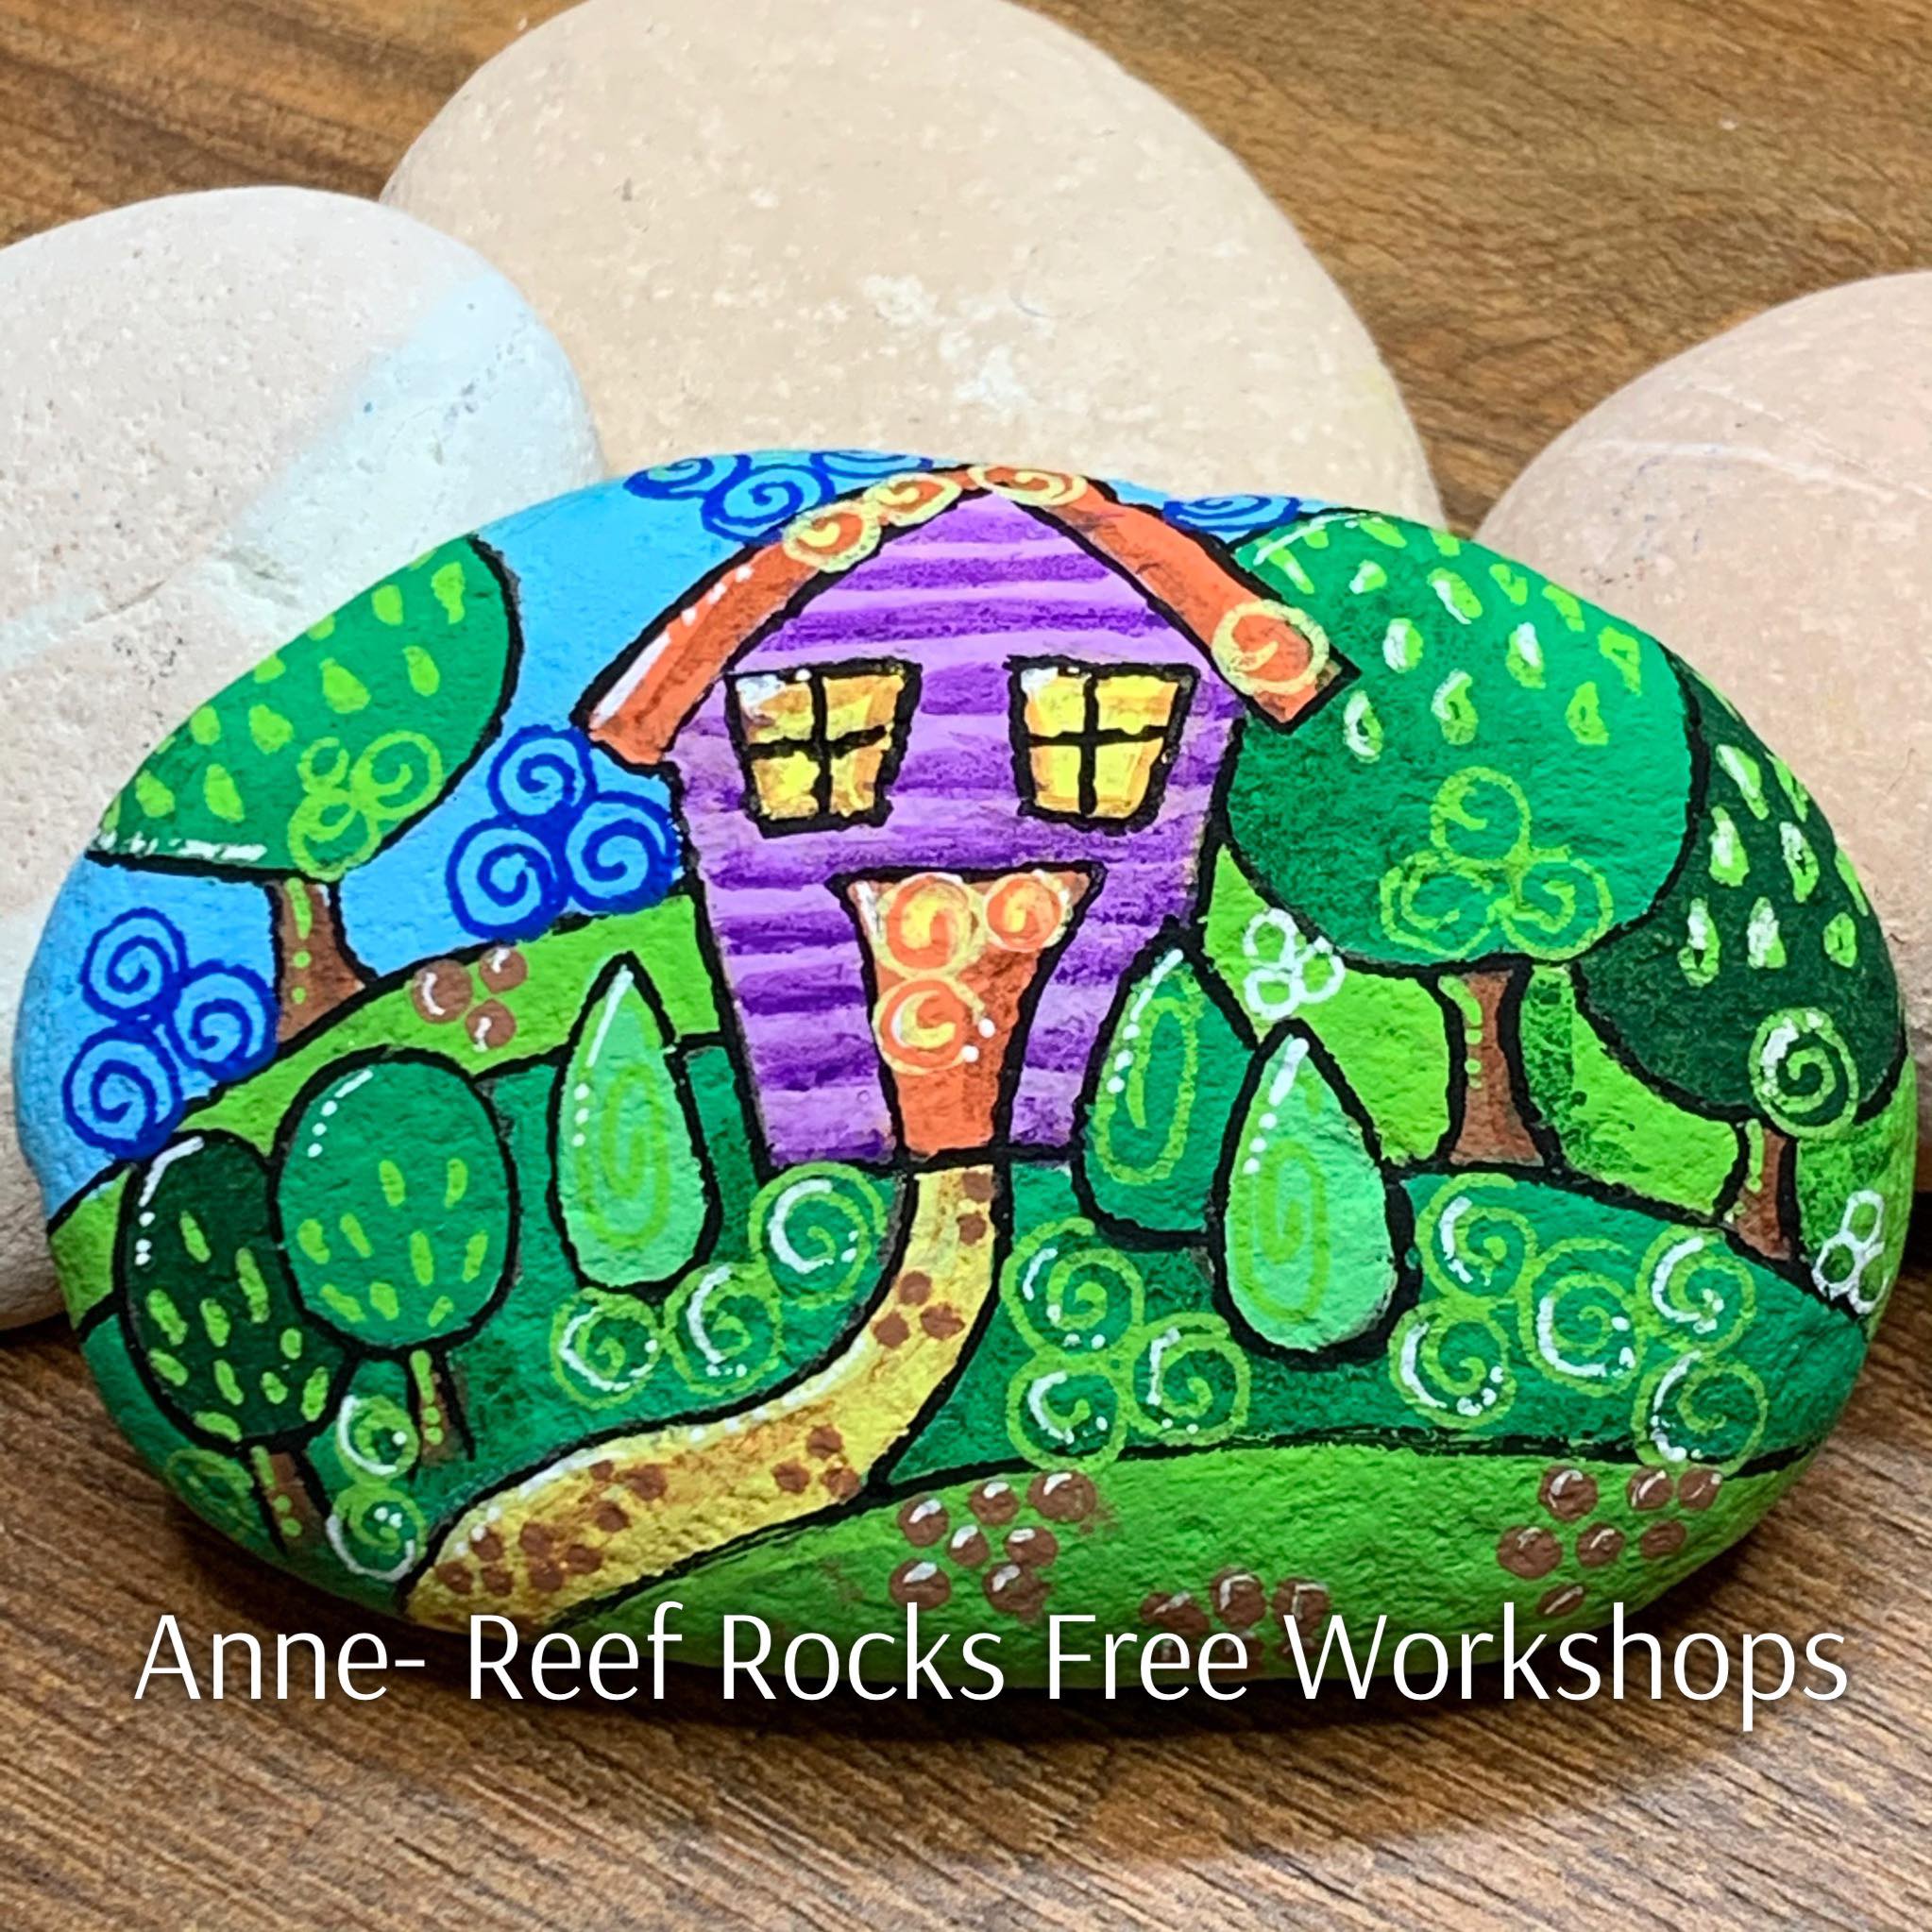
Let the previous paint lines dry, now add in some highlights and decorations.
Use a white fineline acrylic paint pen and highlight a few places on the rock – this represents light that reflects on your rock.
I also used a light green to highlight on this rock. Remember your rock is whatever it wants to be – so just enjoy creating it ! Things change, ideas flow, colours are different – It all works out the way it is meant to .
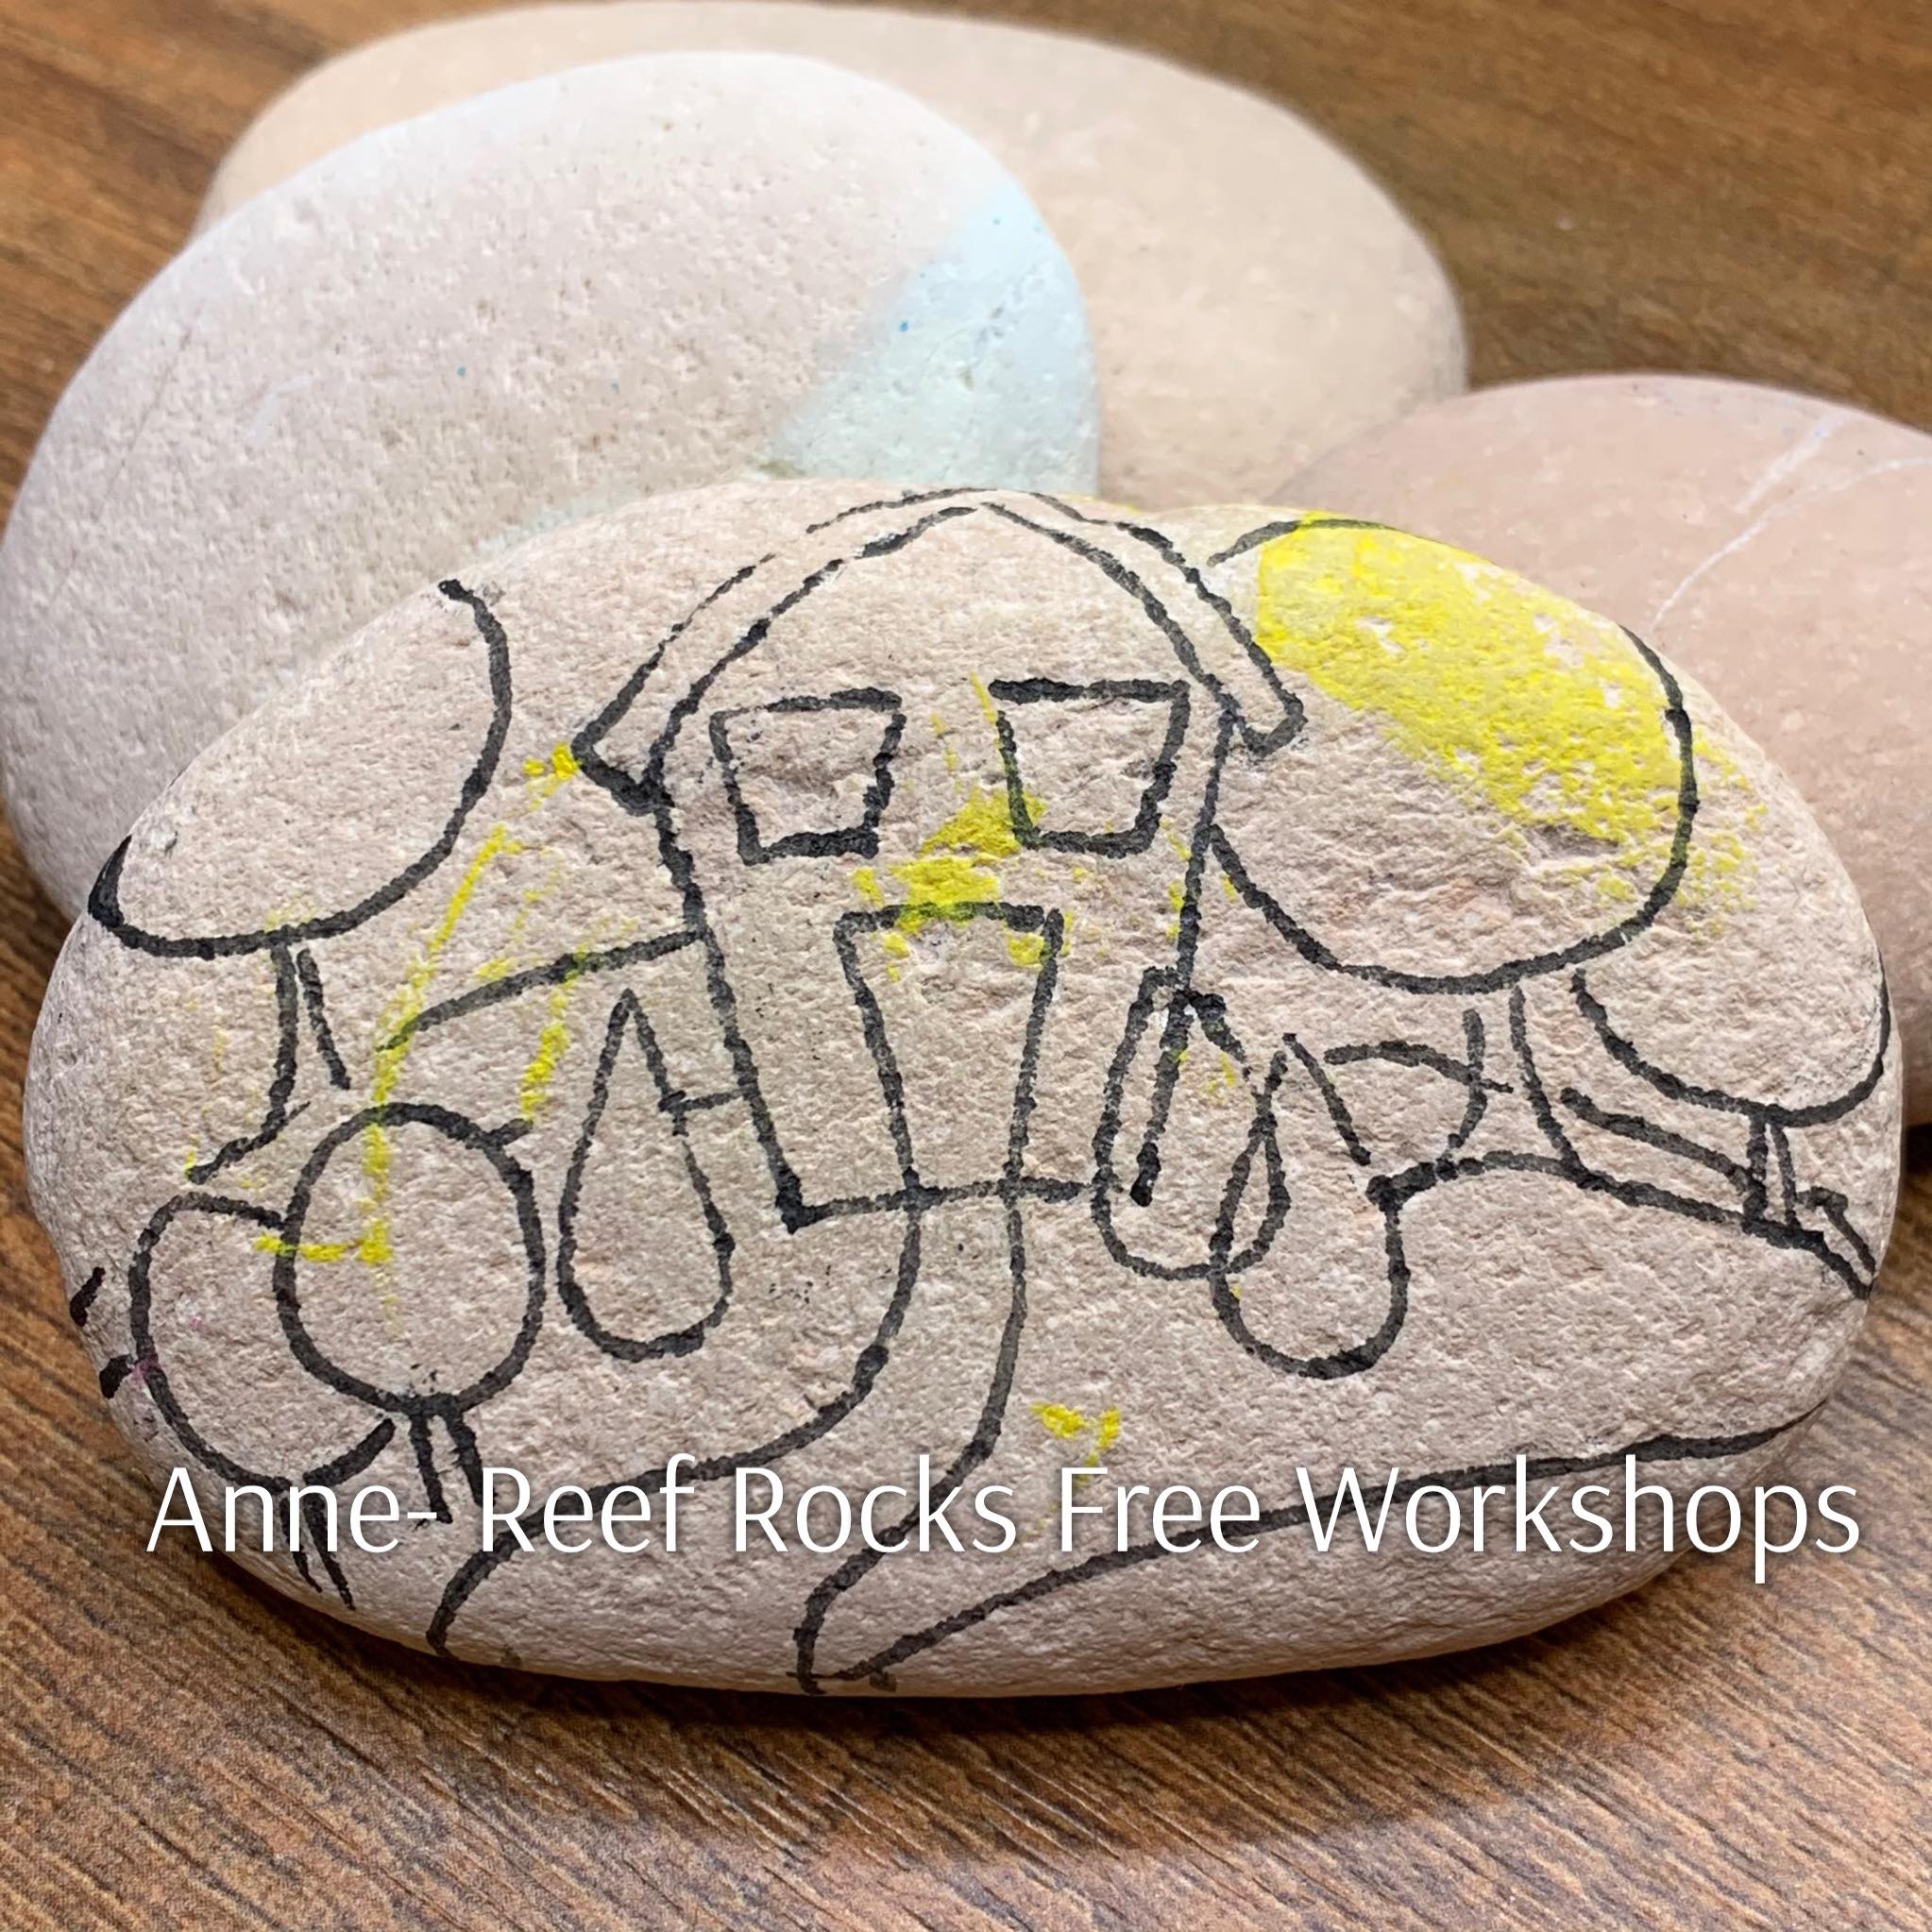
On your rock draw your design with a HB Pencil, sketch it until you are happy with your design.
Draw the image on your rock with a black acrylic paint fineline pen in size 0.7m.Let the pen dry completely and then erase any pencil lines from your rock. Use a white polymer eraser as it is the easiest one to use on rocks.
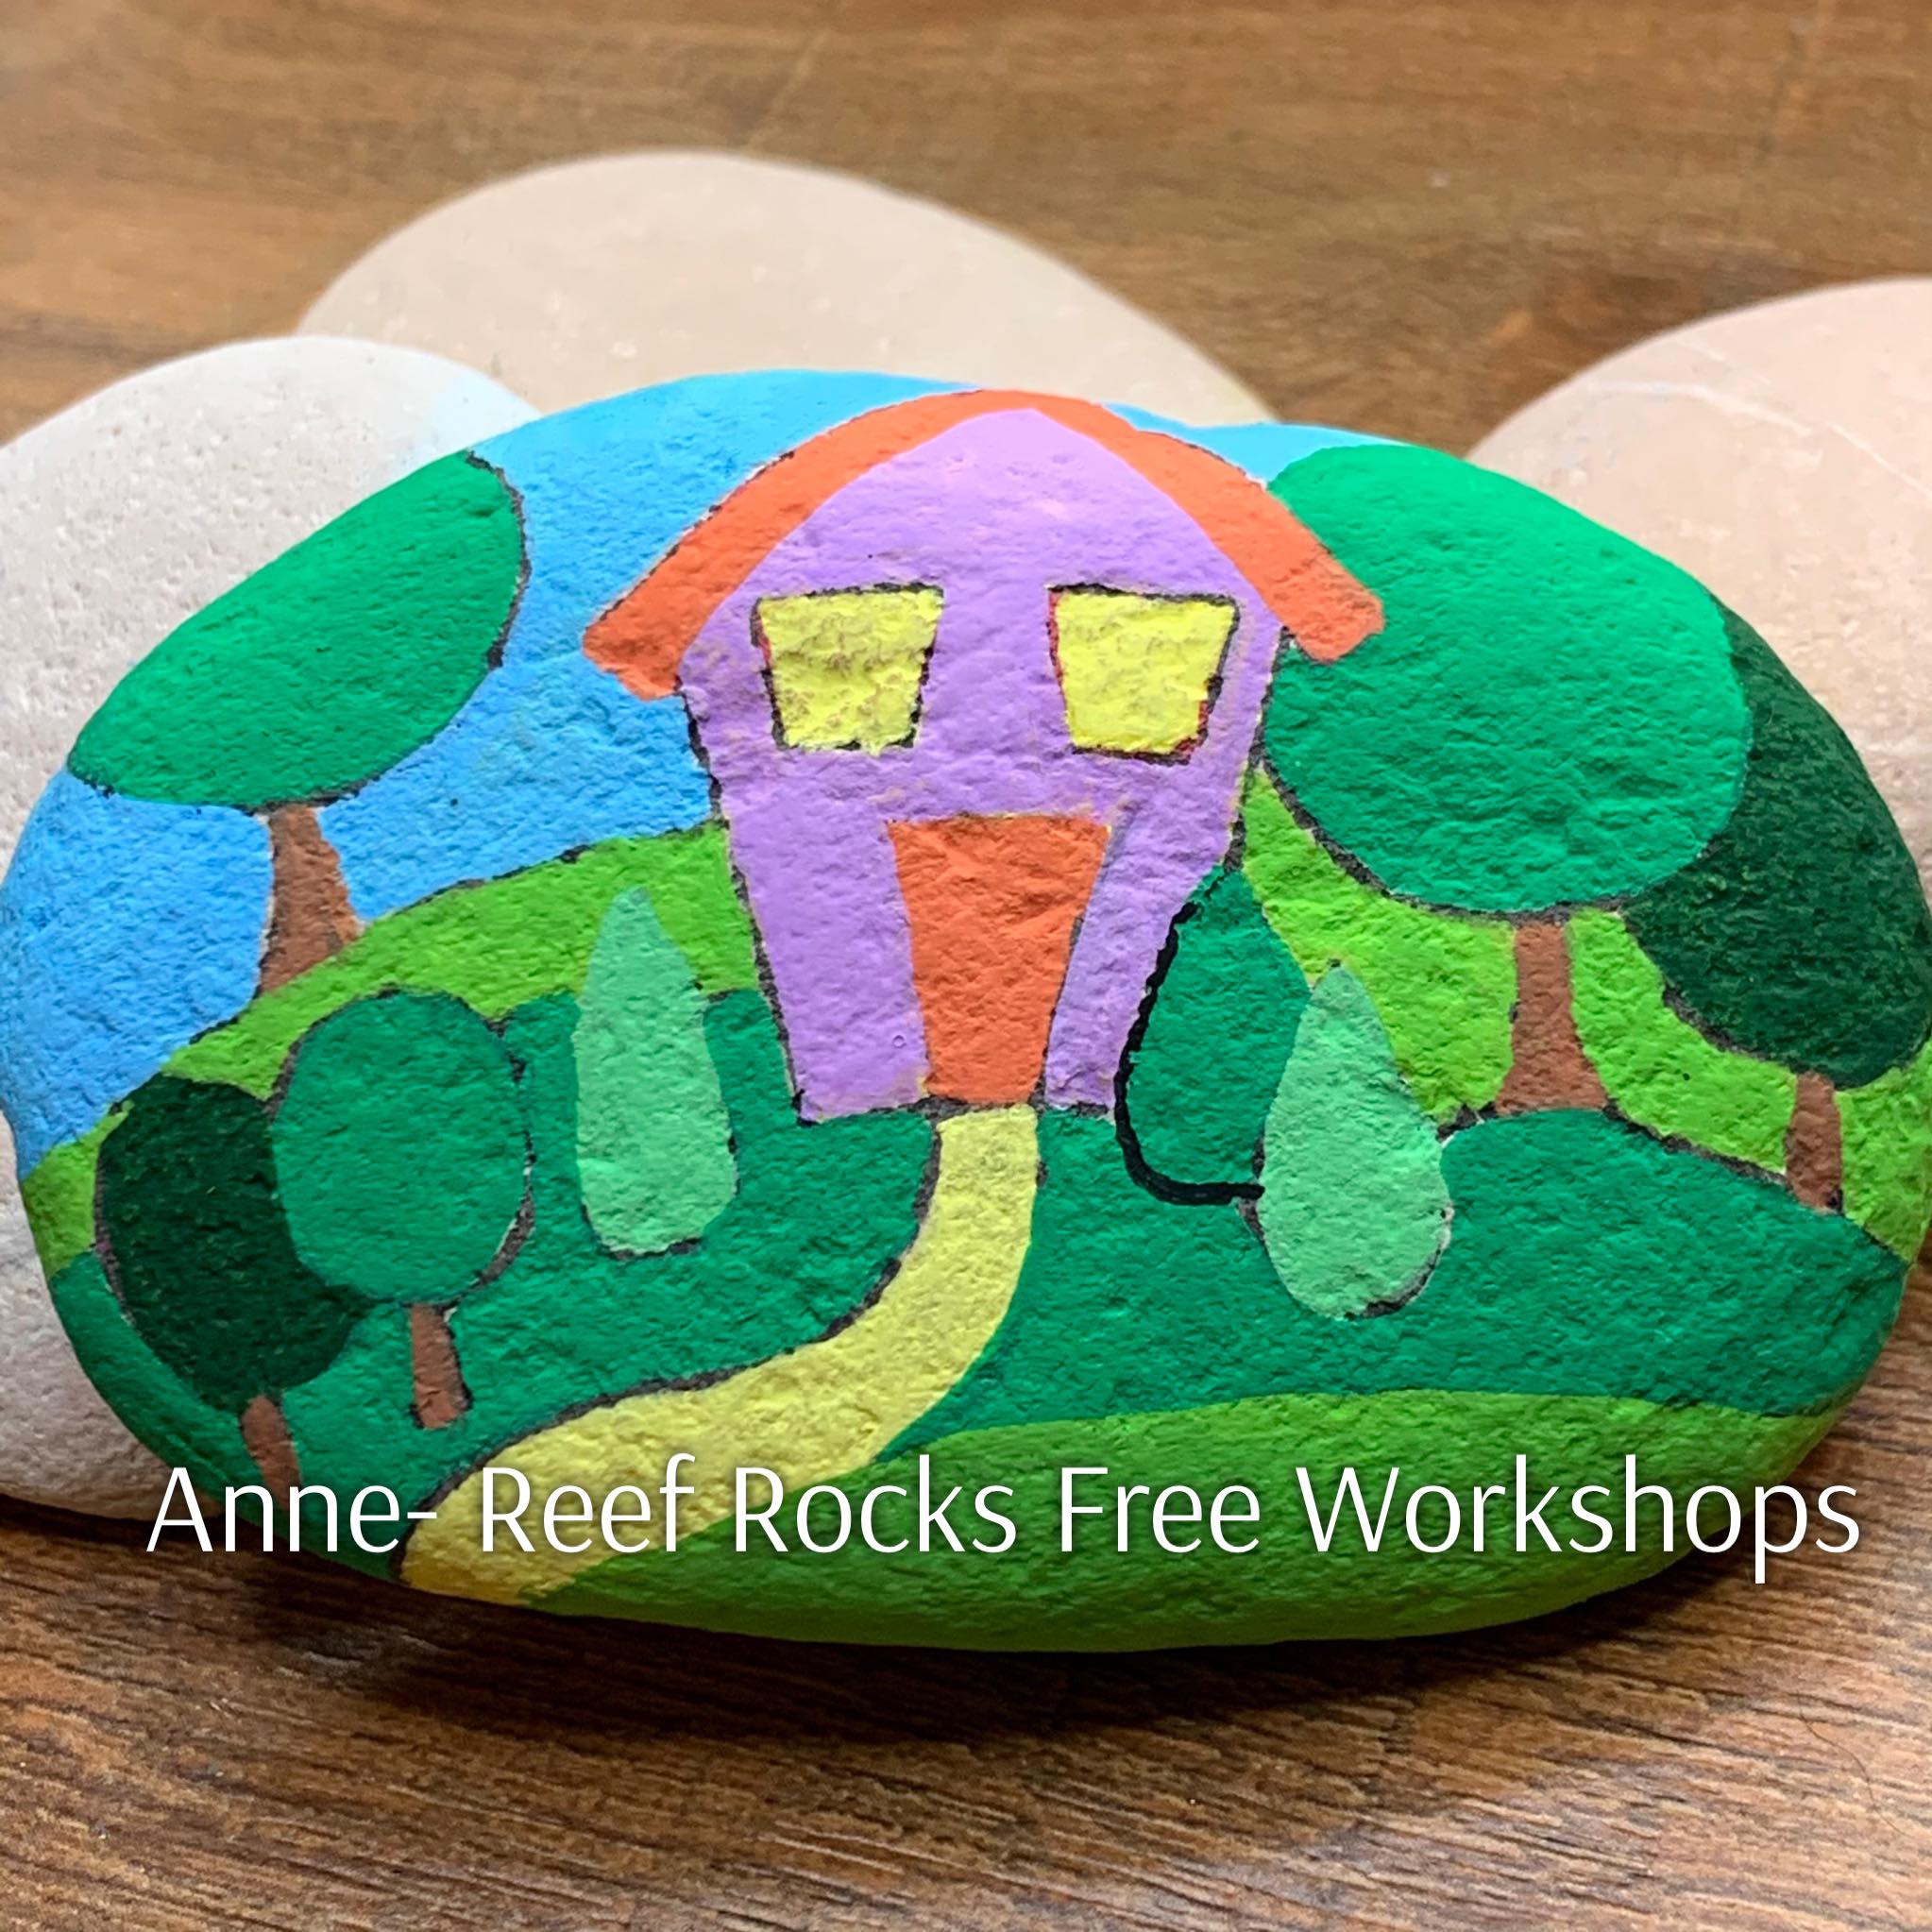
Colour in the image using your acrylic paint or acrylic paint pens. Pop on to our techniques page to learn more about this technique.
#TIP you will always get an even finish building up the layers. This is for Acrylic Paint or Acrylic Paint Pens.
This shading technique is created with Acrylic Paint Pens, this gives a shaded look but the permanence of acrylic paint.
The rock background was created with Posca paint pens, any Acrylic paint pens or acrylic paint will work – Let the previous layer dry it will only take a minute or so .
The blending technique can be found here on our TECHNIQUES page.

Have you joined us on Social Media? We would love to hang out with you there, jump on these links & come introduce yourself.
Click on our “Let’s Learn Links” below to learn some great techniques.
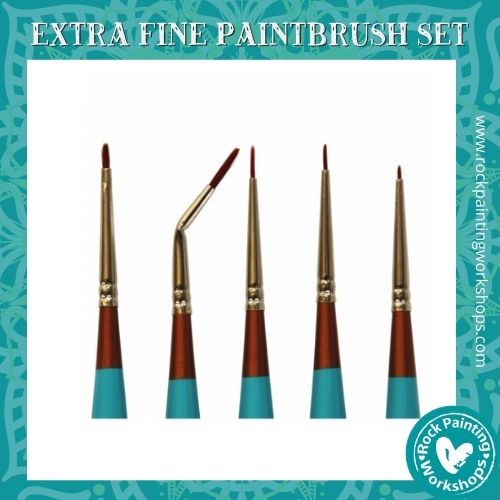
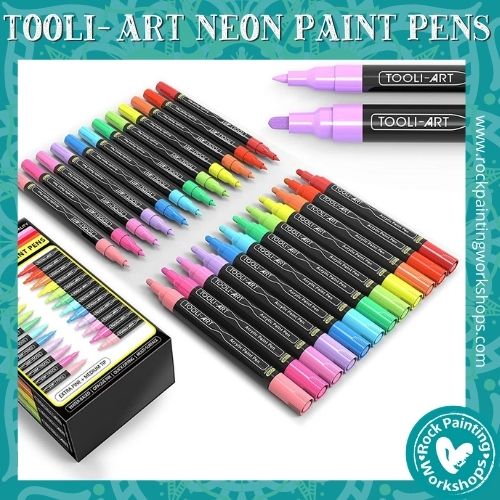
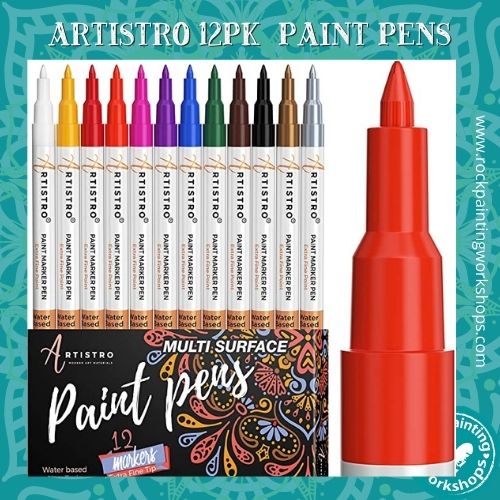
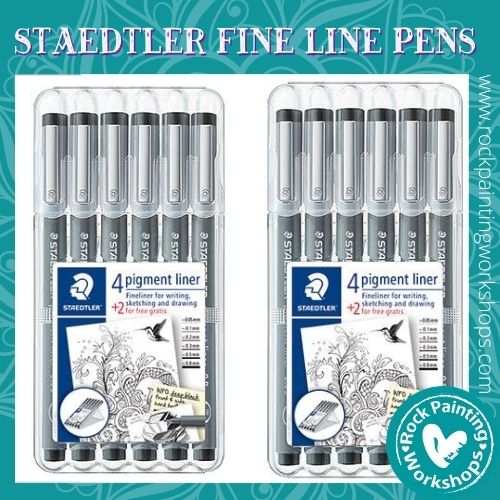
Below are some awesome products we used to create this tutorial and many others. If you need supplies, consider buying through us. The seller pays a small commission (not you) and this contributes to the costs of sharing tutorials. More products can be found here SHOP NOW


